And off we go! Today we started the practice project! The final blocker for us going is now resolved…I finally bought a compressor. I’d been waiting on someone I know to get me the specs on theirs, which they wanted to sell. As it turned out, it was a very small compressor, and I knew from what I had been reading that I needed at least a 20-gallon capacity.
What complicated things was as I went out looking for advice on the intarwebs, most people said what I really need was at least a 30-gallon compressor. Those are a bit expensive, so I looked at what I wanted to do, and compared the requirements of the tools I have (and was planning to buy), and I’m fairly confident I can get by with the 20-gallon one.
So, that being decided, I opted for a 20-gallon McGraw from Harbor Freight:
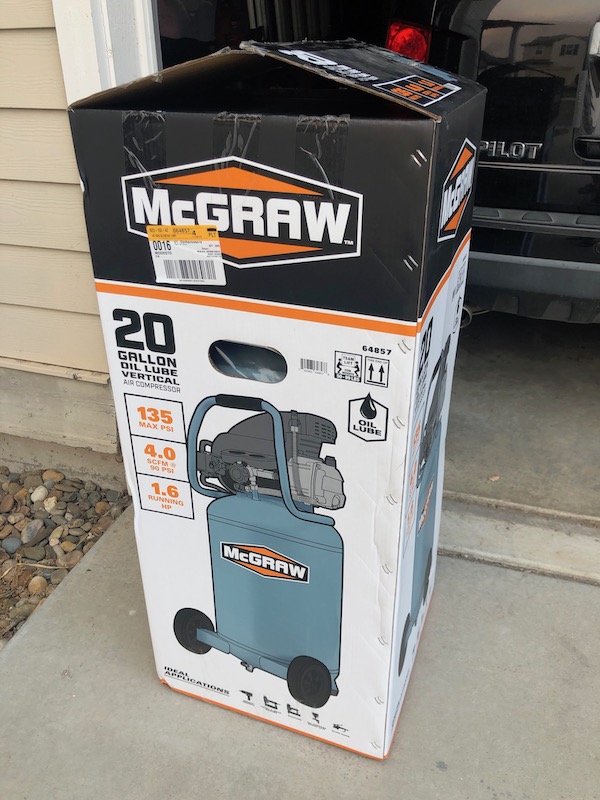
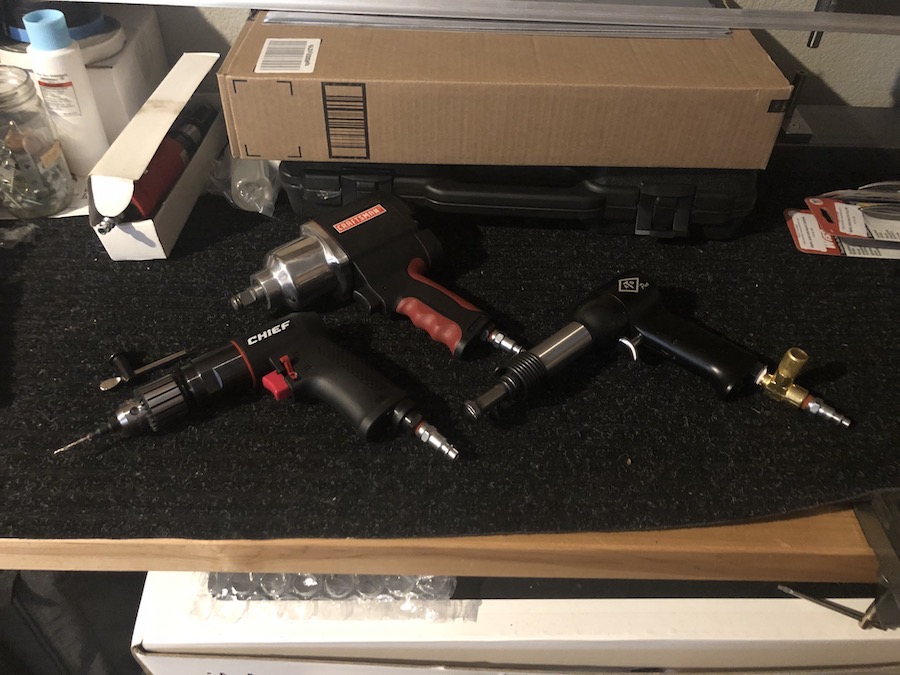
It’s an oil-lubed compressor, which means it should last a bit longer than the “dry” compressors. I also ended up buying an air drill and a touch-up paint sprayer, which I’ll try to use to prime small pieces:
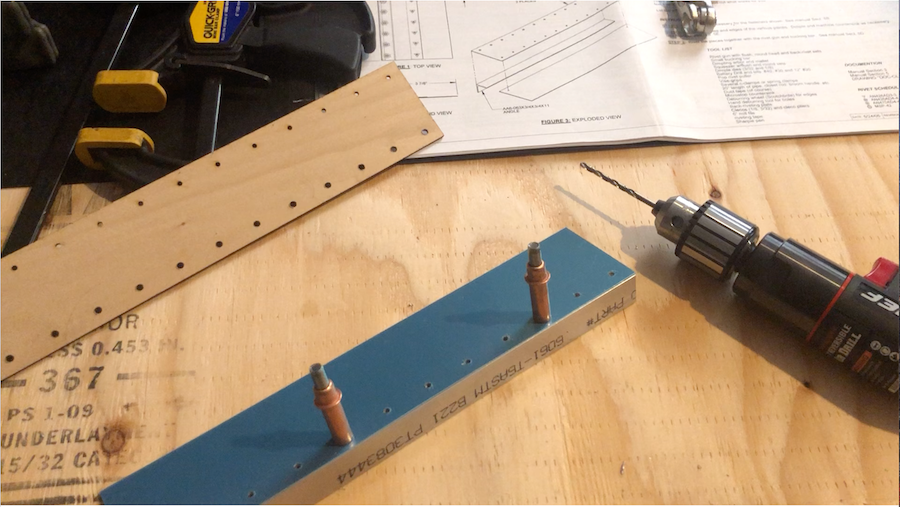
So, with everything in place, and the compressor pumped up, Sheila and I tried our hand at drilling, deburring and dimpling! I decided to “cheat” a bit. We had to place 2 rows of 12 rivets along one of the pieces of 0.016″ aluminum. The pieces were not pre-drilled, like everything else in the airplane kit. Being a perfectionist, I was immediately concerned that I wouldn’t be able to produce a nice, clean, straight and perfectly-spaced rivet row. So, I decided to make a template and cut it on our laser cutter first!
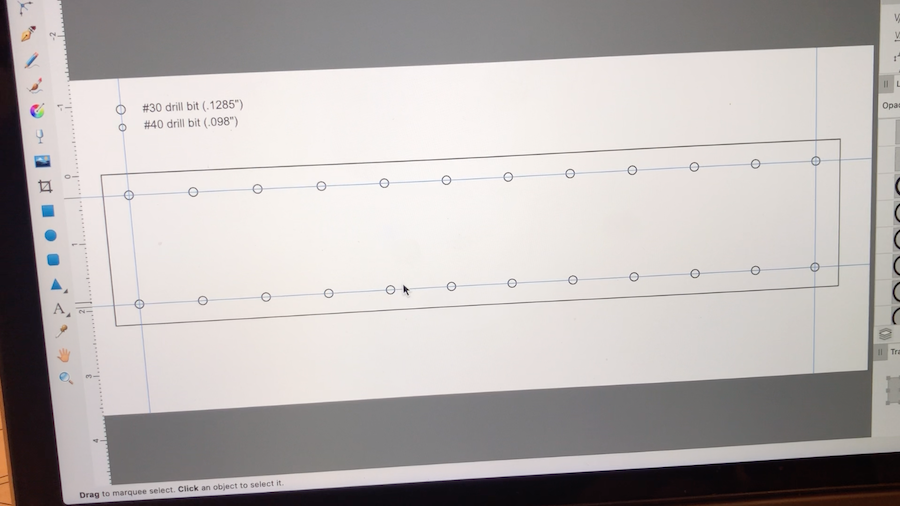
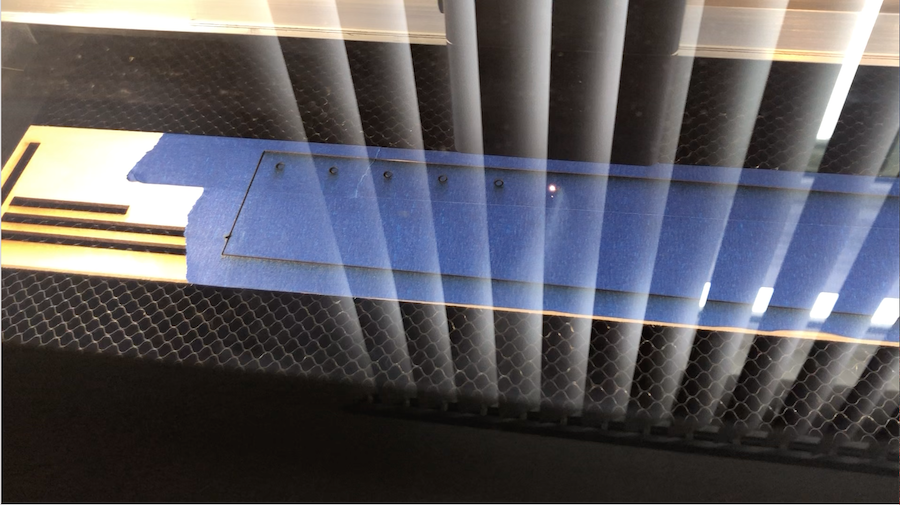
After setting up the template, off to the cutter!
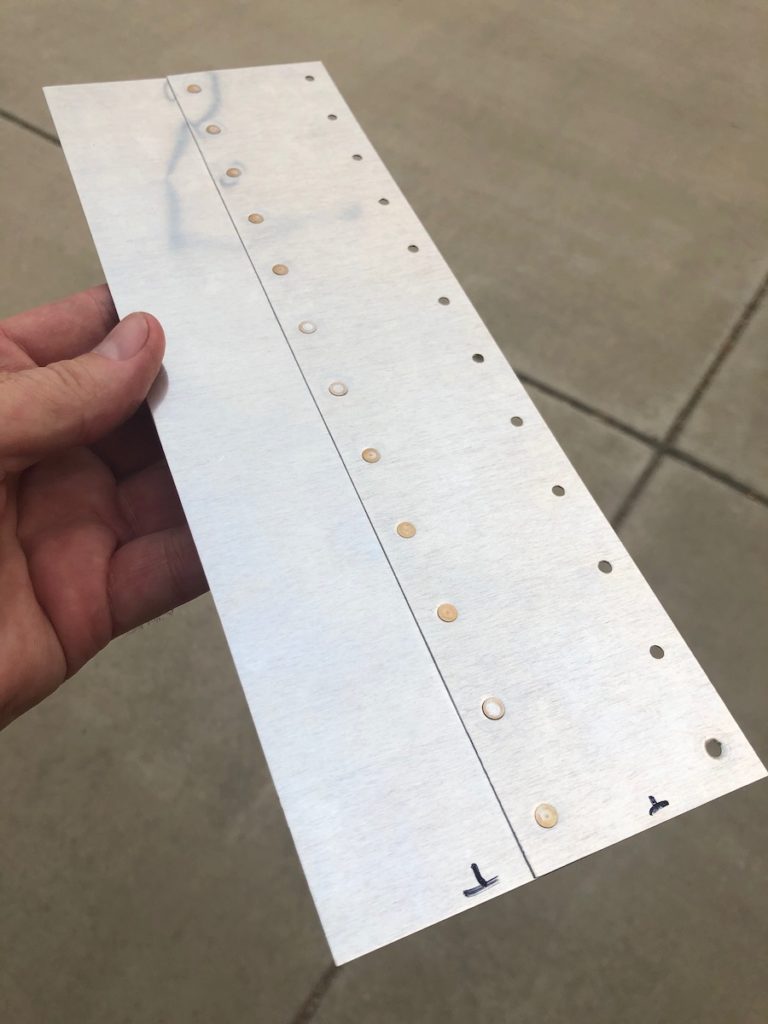
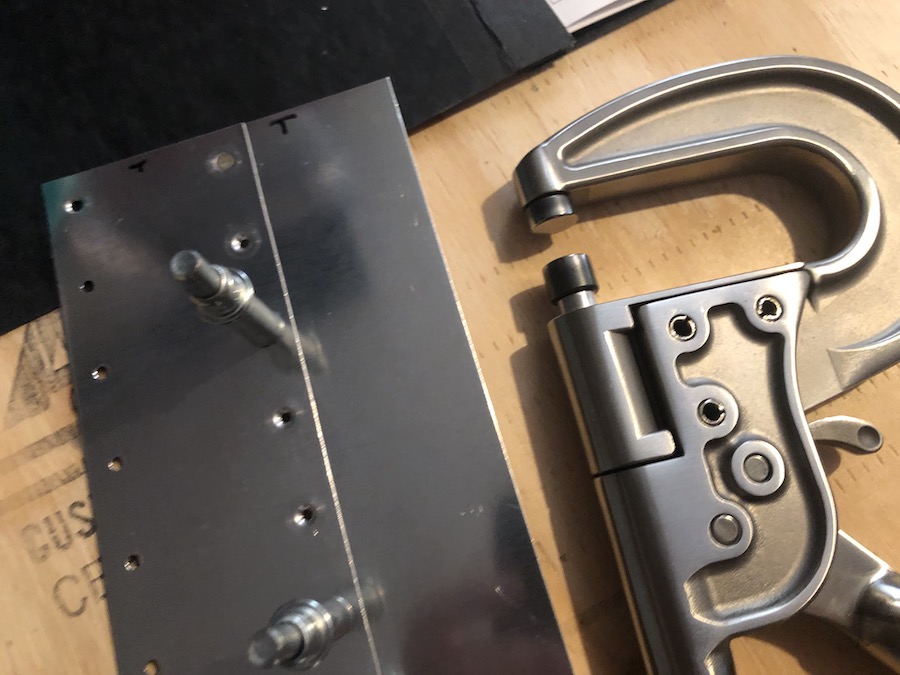
Once that was done, we just sandwiched together the template, the aluminum panel and the angle bracket and drilled through the template holes. Perfect! Next was deburring the holes and the edges of the work pieces to make sure they were nice and smooth. Then, after dimpling and putting a couple clecos through some holes to hole the pieces together, we pressed our first rivet!
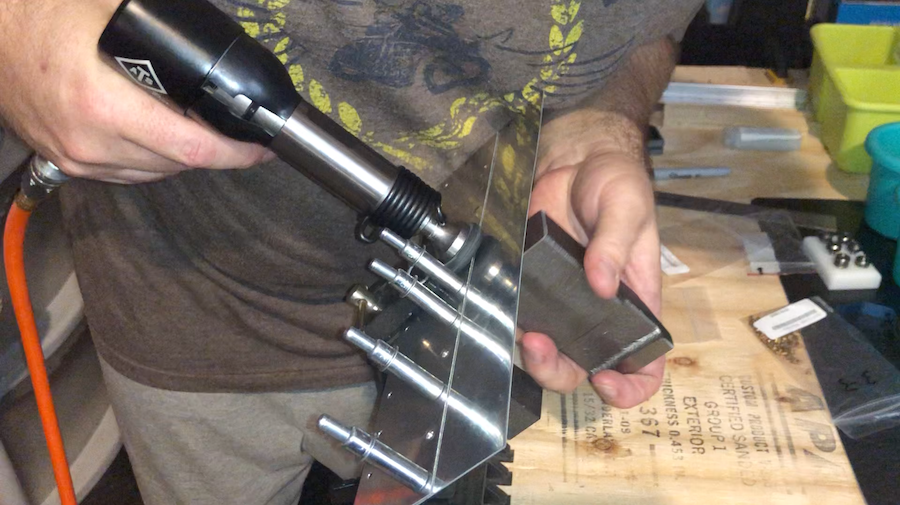
We tried the hand squeezer at first. Several videos have commented that hand squeezing is easier than bucking with a rivet gun, but I found the opposite to be true. I kinda like the gun better! With the squeezer you almost need a third hand (unless you have a table mount you can attach it to). The tricky part for me is holding pressure against the rivet head so that when you start squeezing, it’ll remain flush. I ended up with a “floating” rivet, where I squeezed and left the flush head almost 1mm above the aluminum (I came back later with the rivet gun and managed to rat-a-tat it back level).
We both practiced drilling, deburring and riveting the first part of the first practice project. I neglected to order 1/8″ dimple dies for the second set of rivet holes in this practice part, so we’re waiting for them to arrive so we can attach the last piece, which will also require countersinking!
I’m really impressed with the result, though. Not bad for our first-ever time doing any of this at all! I think if we’re careful, take our time and folliow the instructions carefully, we will absolutely be able to put together an airplane by ourselves!