
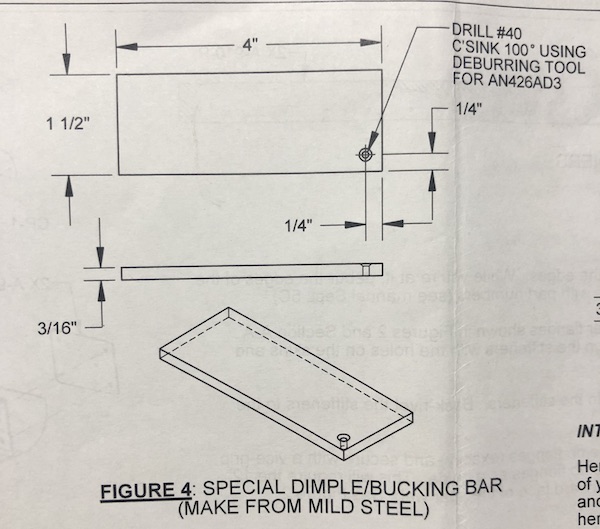
The next chapter in the saga was to fabricate something from scratch. The instructions call for making this special dimple/bucking bar for the small area of the ribs that you can’t fit any other tool into:

The tool we need to fabricate is only 3/16″ thick, so it can slide inside the rib and let us both dimple the holes near the end as well as set the rivets. I lucked out and found that Home Depot had a 3/16″ x 1/2″ inch bar. The problem was it was 36″ long! I only need 4″.
Not having done any kind of metalworking since jr. high school shop class (and even then I’m not sure we did any metalworking), I had to go check out YouTube to see how I could cut down the bar to 4″. I could, of course, leave the bar as-is, but I want to practice all these new skills.
I found a video that showed 5 ways to cut steel, ranging from a plasma torch to a die grinder to a chop saw. Since all I have is a couple compound saws and a circular saw, I decided to try a metal sawblade in the smaller of compound saws.
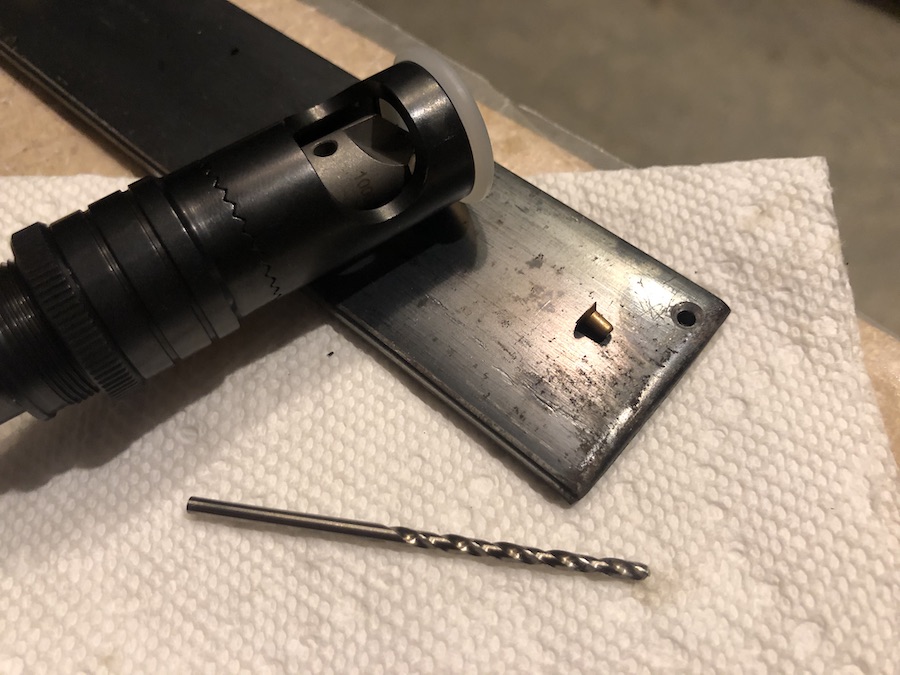
But before we go there, I have to drill a hole near the edge of the steel. I read that using cutting oil would help prolong the life of the bit and help keep the shavings in one place. The video, found here, showed using a dpring-loaded punch to make a starter hole. Well, I had to have one of those! So, off to Home Depot I went, where I picked up the bar, a 7″ diamond metal cutting blade and a bottle of the closest thing I could find to cutting oil.
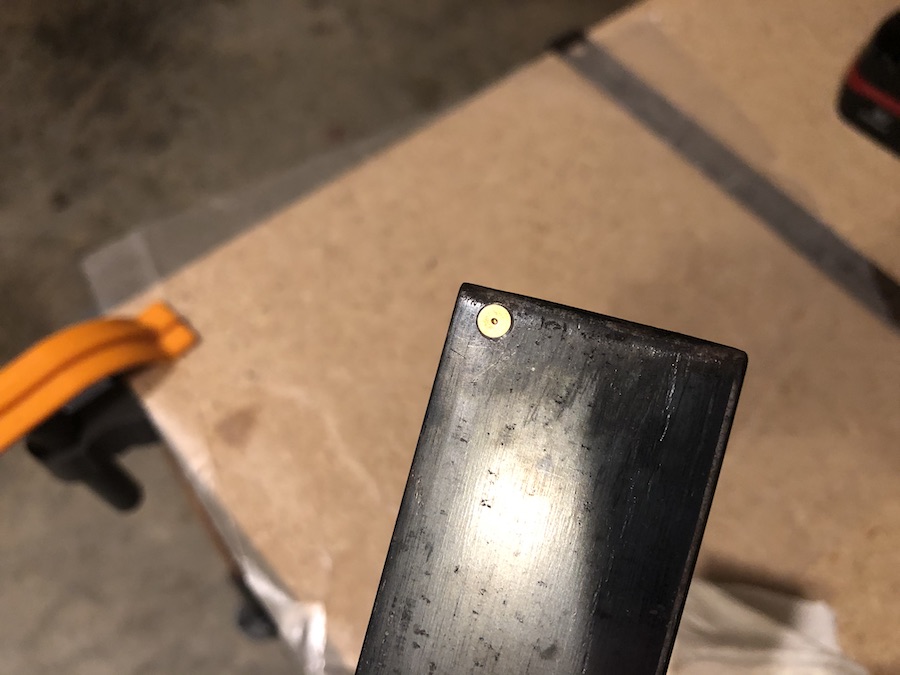
Drilling the hole went smoothly. First I used the punch to make a good-sized hole 1/4″ in from the top and side. Drilling was uneventful. One thing I learned was that drilling metal works best if you drill SLOWLY. So I kept the speed down and got through the piece.
Next was the daunting part…at least for me…countersinking the hole. I had tried this on the first part and it didn’t end well. I asked Grant Powers, who is also doing an RV-7 build vlog, how to make sure the countersink is not too large. He pointed out Van’s instructions in section 5 regarding countersinking, which has the correct procedure, down to adding 7 clicks on the microstop pilot cutter to underset the dimple just enough.
That’s it for tonight. Tomorrow we set up the saw and try to cut the bar down to 4″!
Follow Up
Here’s the finished piece! The saw worked very well, and the sparks gave quite a show!
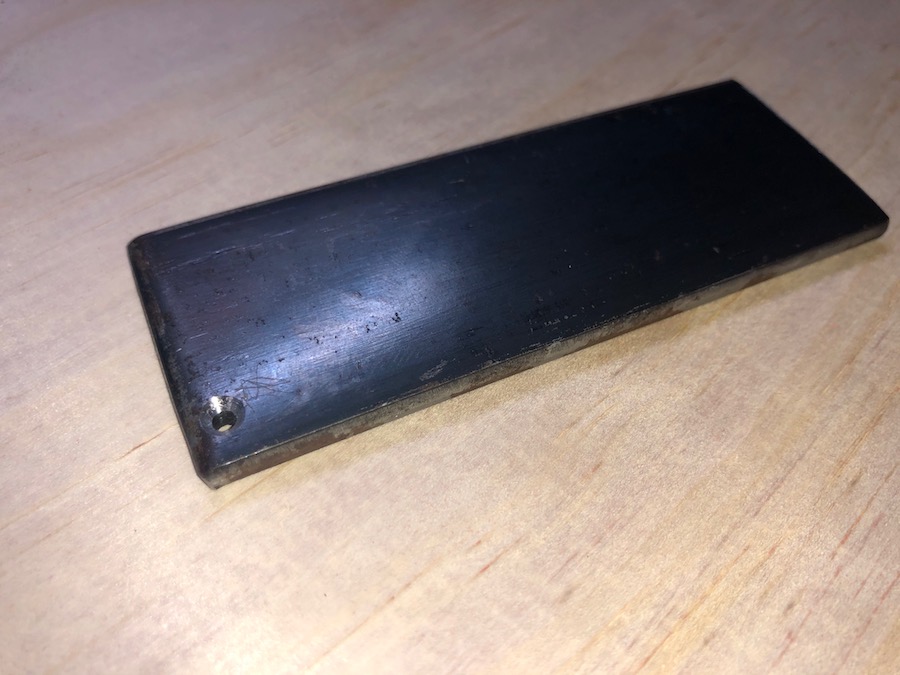
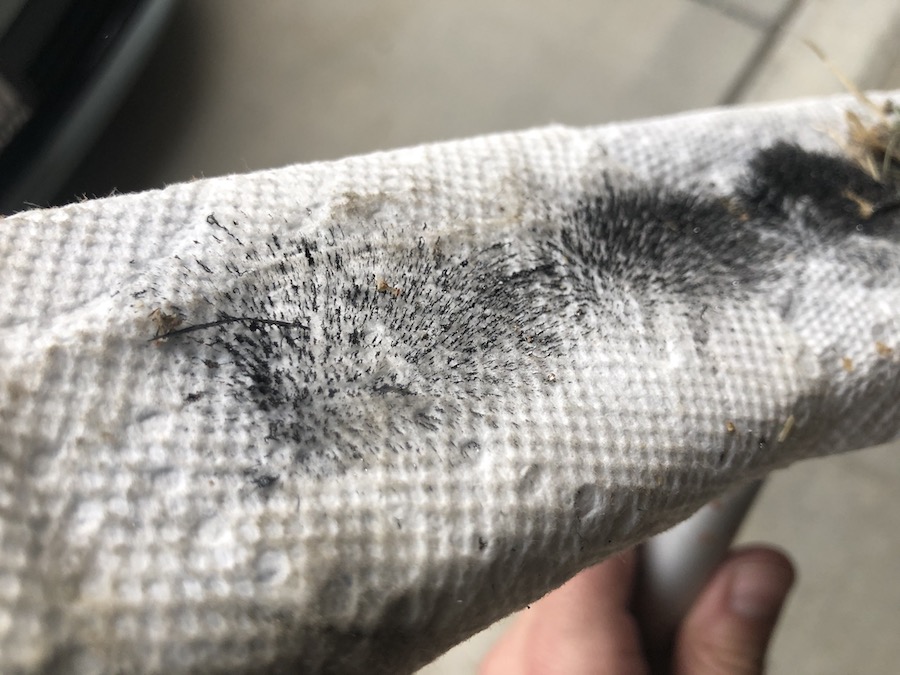
Follow-up! I was able to cut the bar on my saw using the diamond-tipped 7″ metal saw blade. Not having done much work with metal, the sparks were a treat! I was able to clean up all the steel dust with a magnet wrapped in a paper towel.