

I think this is our first real issue with the build. During the preparation of parts HS-702 (front spar), there was quite a bit of modification required. I had to cut off part of the flanges and hammer the scar flat. Then I had to drill 2 pilot holes and enlarge them to 1/4″ to act as stress reliefs for a bend in the newly formed “tab.”
Well, my unibit skills were as of then unproven, and I opted to try enlarging the holes using my air drill. It wasn’t pretty. I should have put the unibit into the drill press instead. The unibit made a ragged and uneven hole, which if I can salvage, means enlarging the 1/4″ hole a bit. I’ve posed the question to the Van’s builder support team as to whether that would in any way affect the part adversely.
I also cut about 2mm too far in when I was cutting off the flanges, so now there is a small notch in the side. I could drill a relief hole around it also, but once again I’m concerned about how that would affect the strength of the spar. It may mean getting 2 replacement parts and trying again.
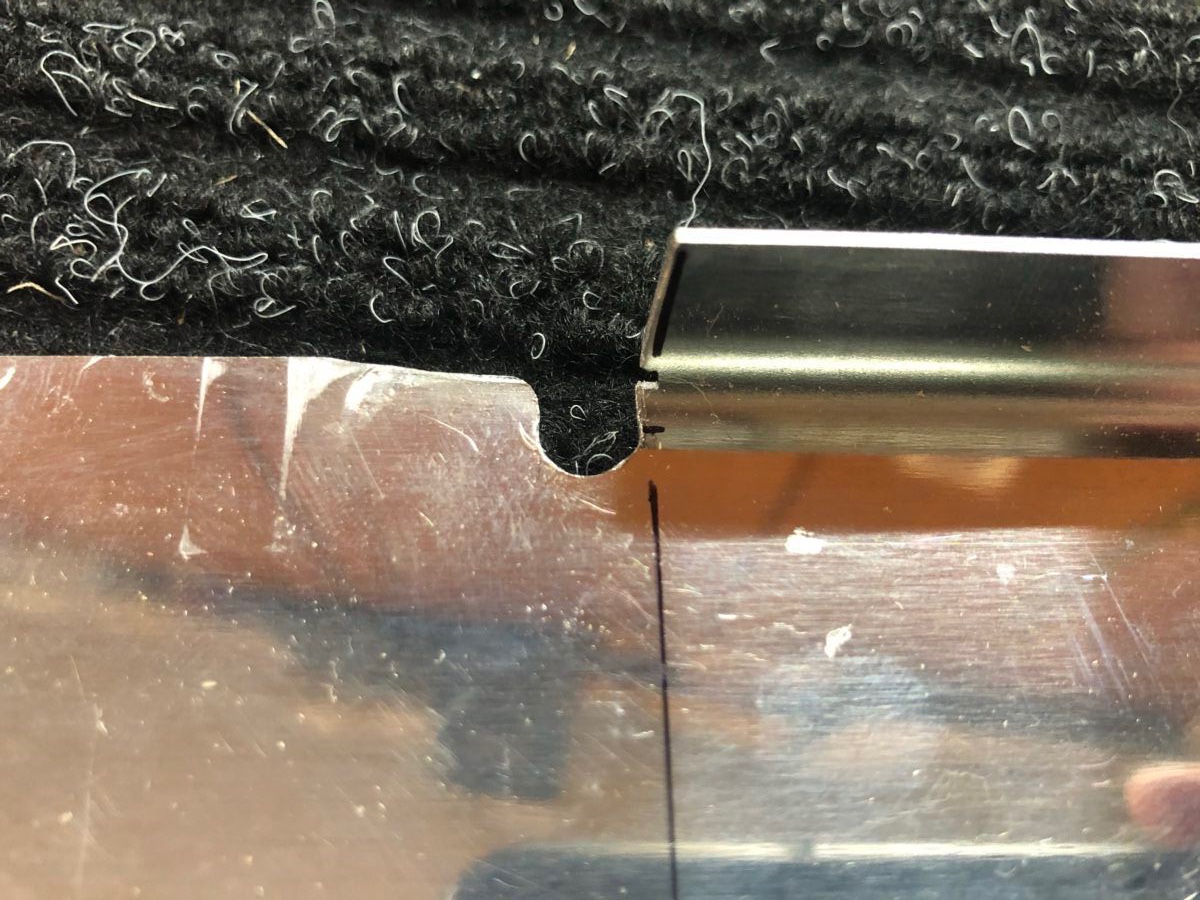
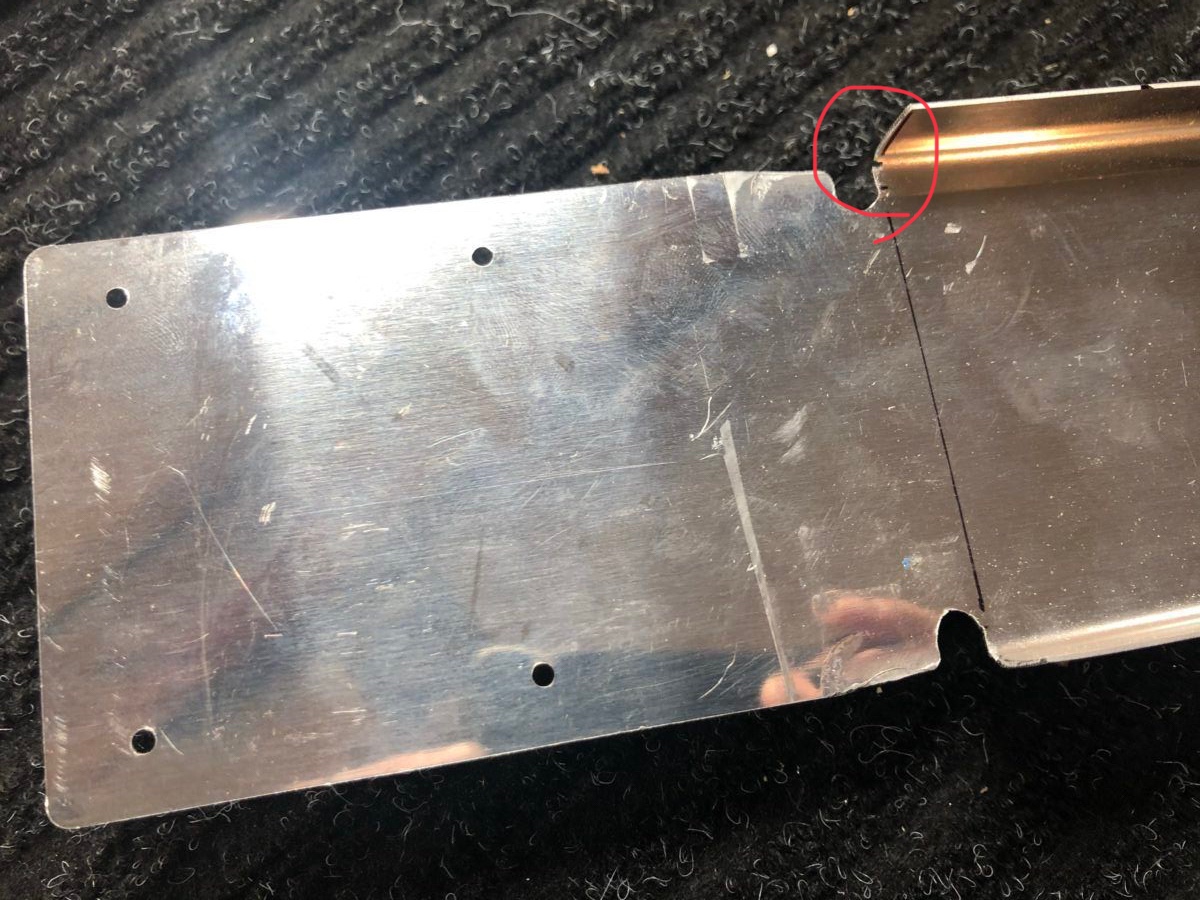
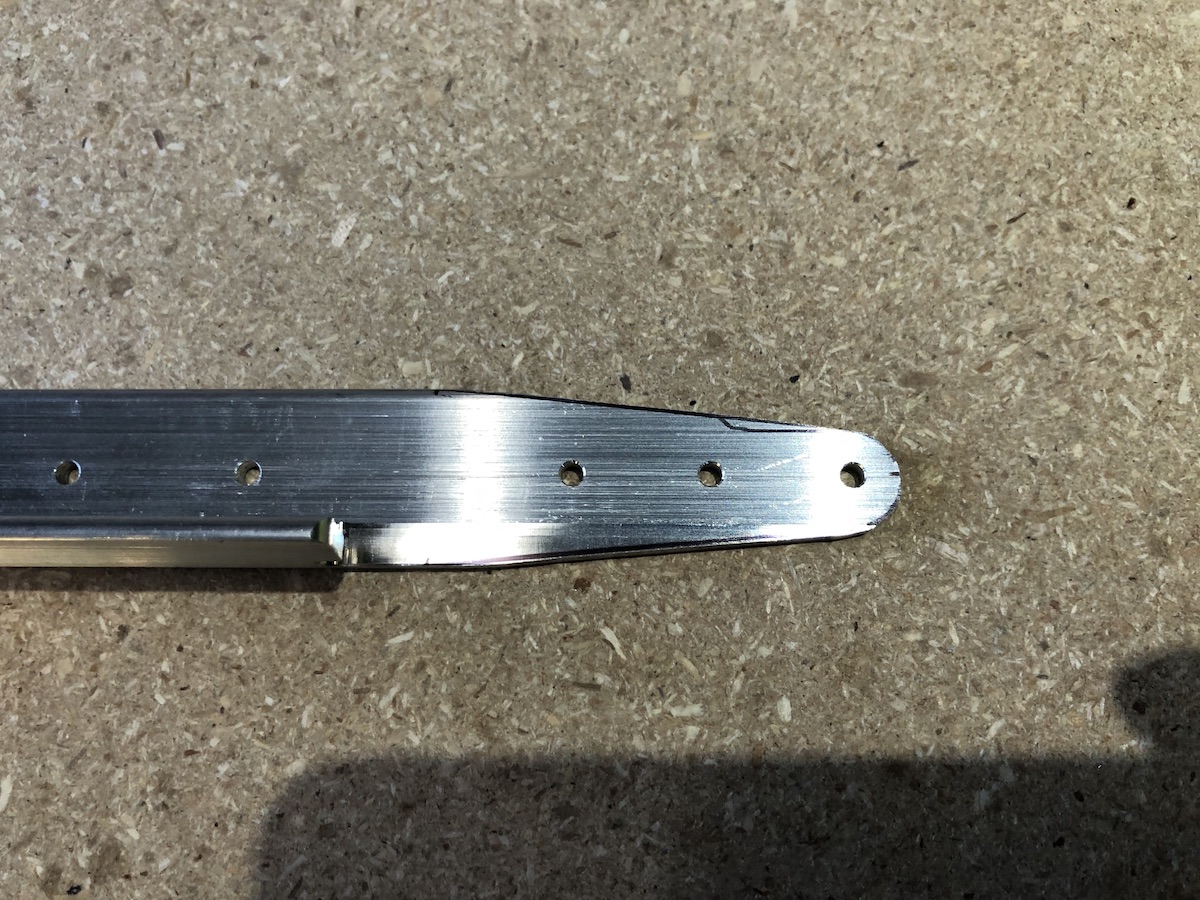
What I ended up doing was trimming down the flange until the notch was gone. Since all parts need to be deburred and cleaned up later, I skipped over cleaning up the notches for now.
The next major step was trimming angles into the flanges at the bend line. If you recall, I couldn’t find any reference for what a the “minimim edge distance” was, so I emailed Van’s, and received an answer within an hour…on a weekend! Those guys rock.
With this new information, we were almost ready to trim. The plans show holes in the flange and a diagram to show you how to trim. Making those holes comes later in the project. I recalled watching another builder’s videos at this juncture in the project. He sort of took a swag at that angle and trimmed away. Later on in the video, he shows that he didn’t trim enough manterial and it interferred with another part. Not wanting to repeat that mistake, I decided to cleco the spar to the skin, which HAS all the holes drilled, and draw the holes onto the spar so that I could measure accurately.
Once done, I was able to draw a trim line while ensuring it didn’t get TOO close to the hole. The value of “minimum edge distance” for this part, which uses an AN364AD3-3 rivet, is 3/16″. Once trimmed and ground up to the line, we moved on to bending the “tabs” up 6°.
I made a 6° angle gauge to ensure that we bent the tab adequately. Using it we were able to bend both tabs up 6° by clamping them to the table with a piece of wood along the bend line. After bending both spar tabs, we clamped and match-drilled a couple spar doublers, which provide reinforcement to this critical juncture.
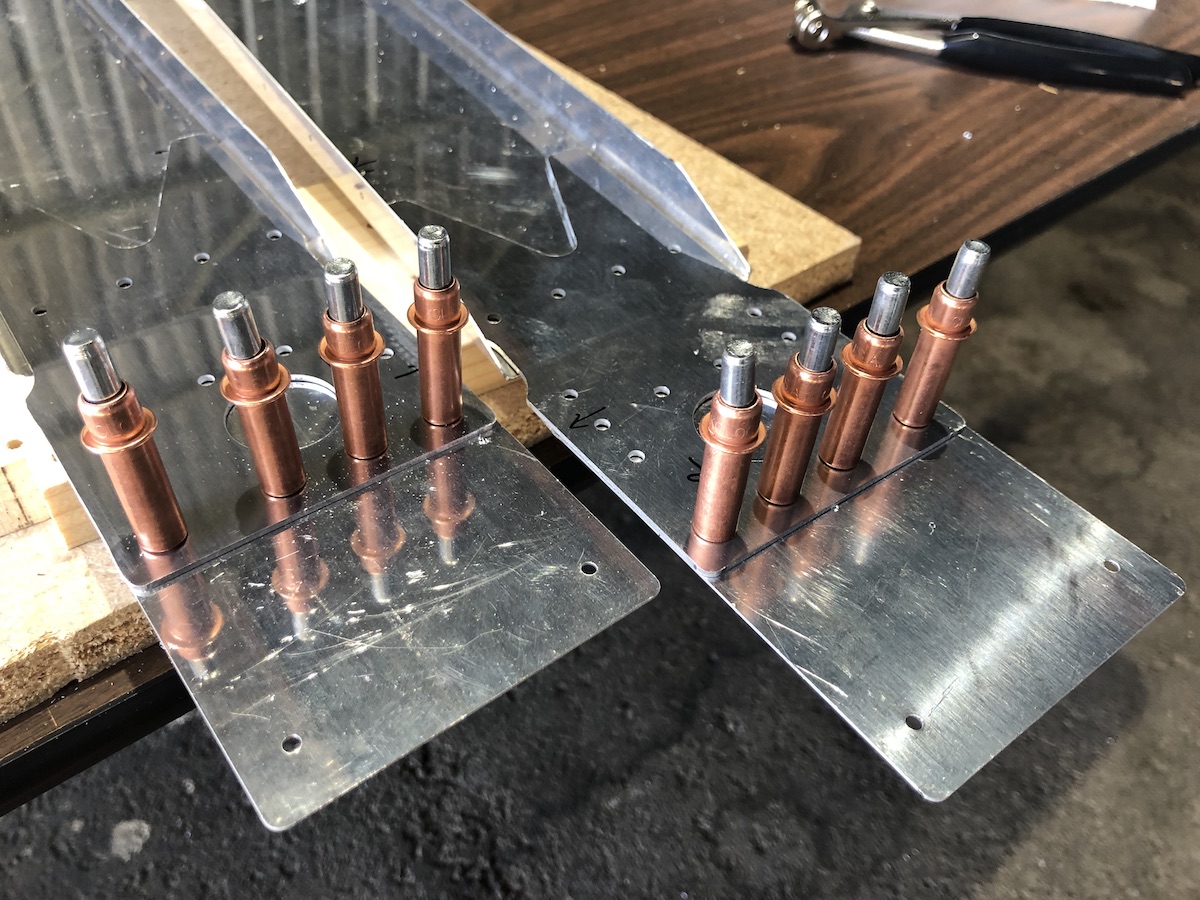
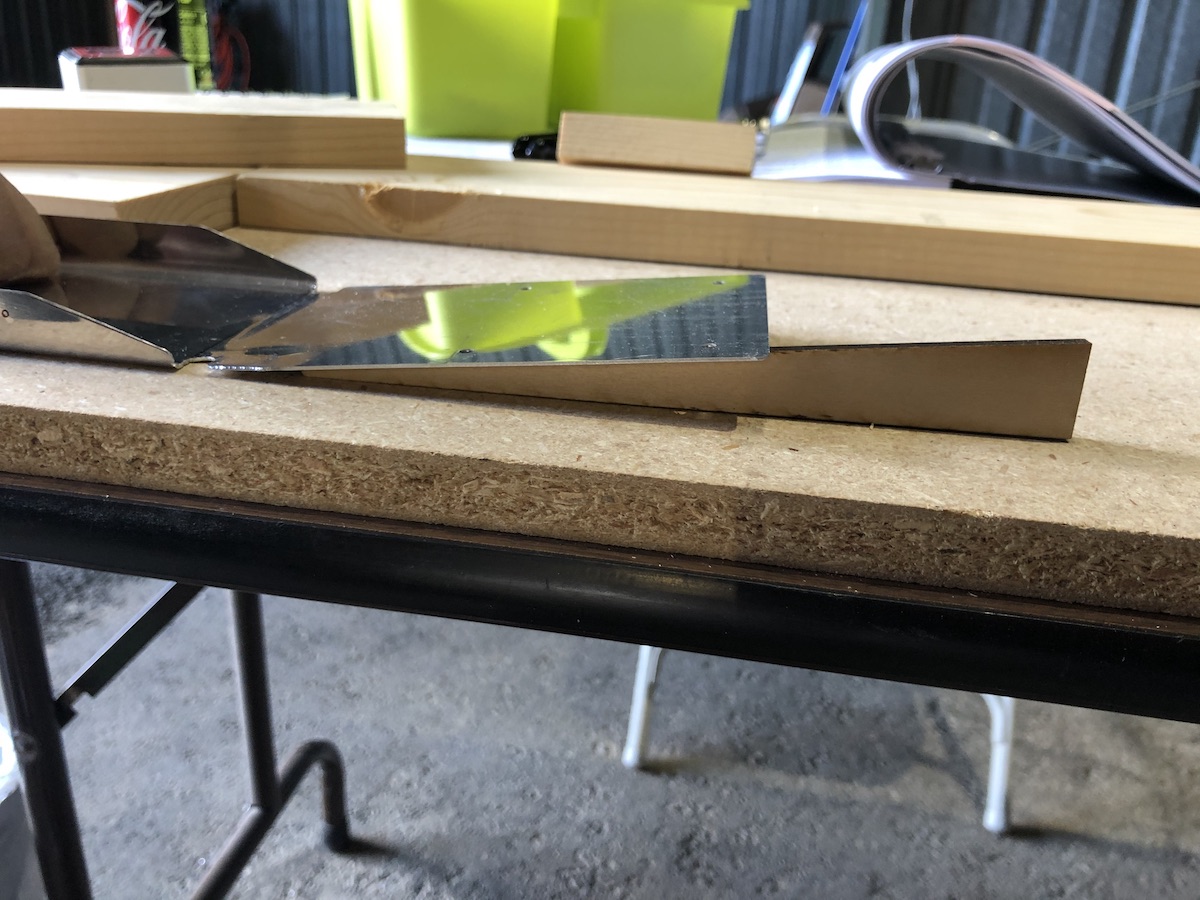
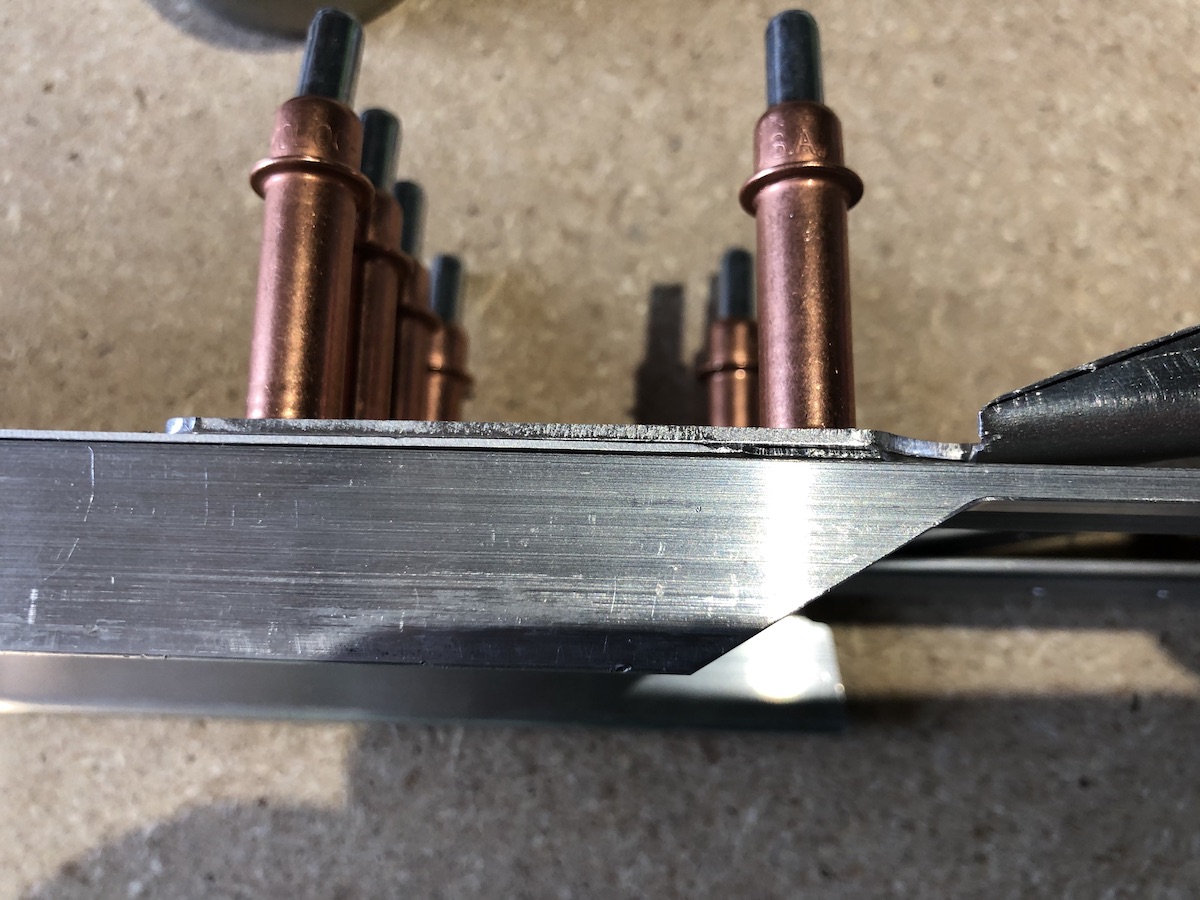
Next the 2 front spars were butted together, and 2 thick aluminum reinforcement angles were attached: HS-710 and HS-714 and everything cleco’ed.
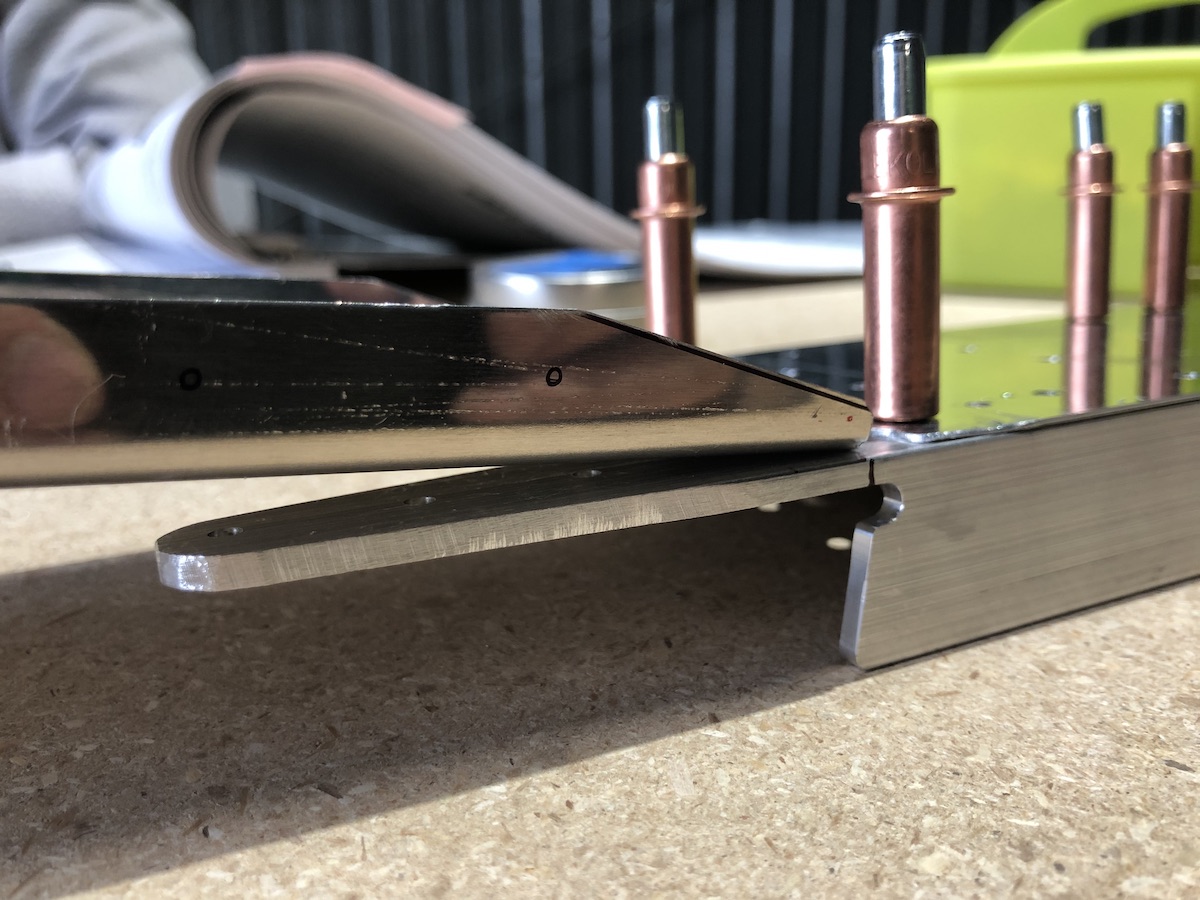
You can see from above that the HS-710 angle is tapered. We had to do that by tracing a hole and lines back 2.5″ from the end. I cut out these wedges on the bandsaw, cleaned up the ends with a file, then deburred them.
Once everything was cleco’ed we checked the “sandwhich” from the edge. It actually looks pretty good, even without the notches being cleaned up.
Next up is bending the 710 and 714. I went and picked up a bench vise for the job, but first I need to build a table to attach it to. That’s tomorrow’s assignment! Today’s time: 4.75 hours
Looking at the picture here, I think maybe I can just shave off a bit more of the flange, until it meets up with the notch at the bottom. Then I can round everything off and it should be okay.