
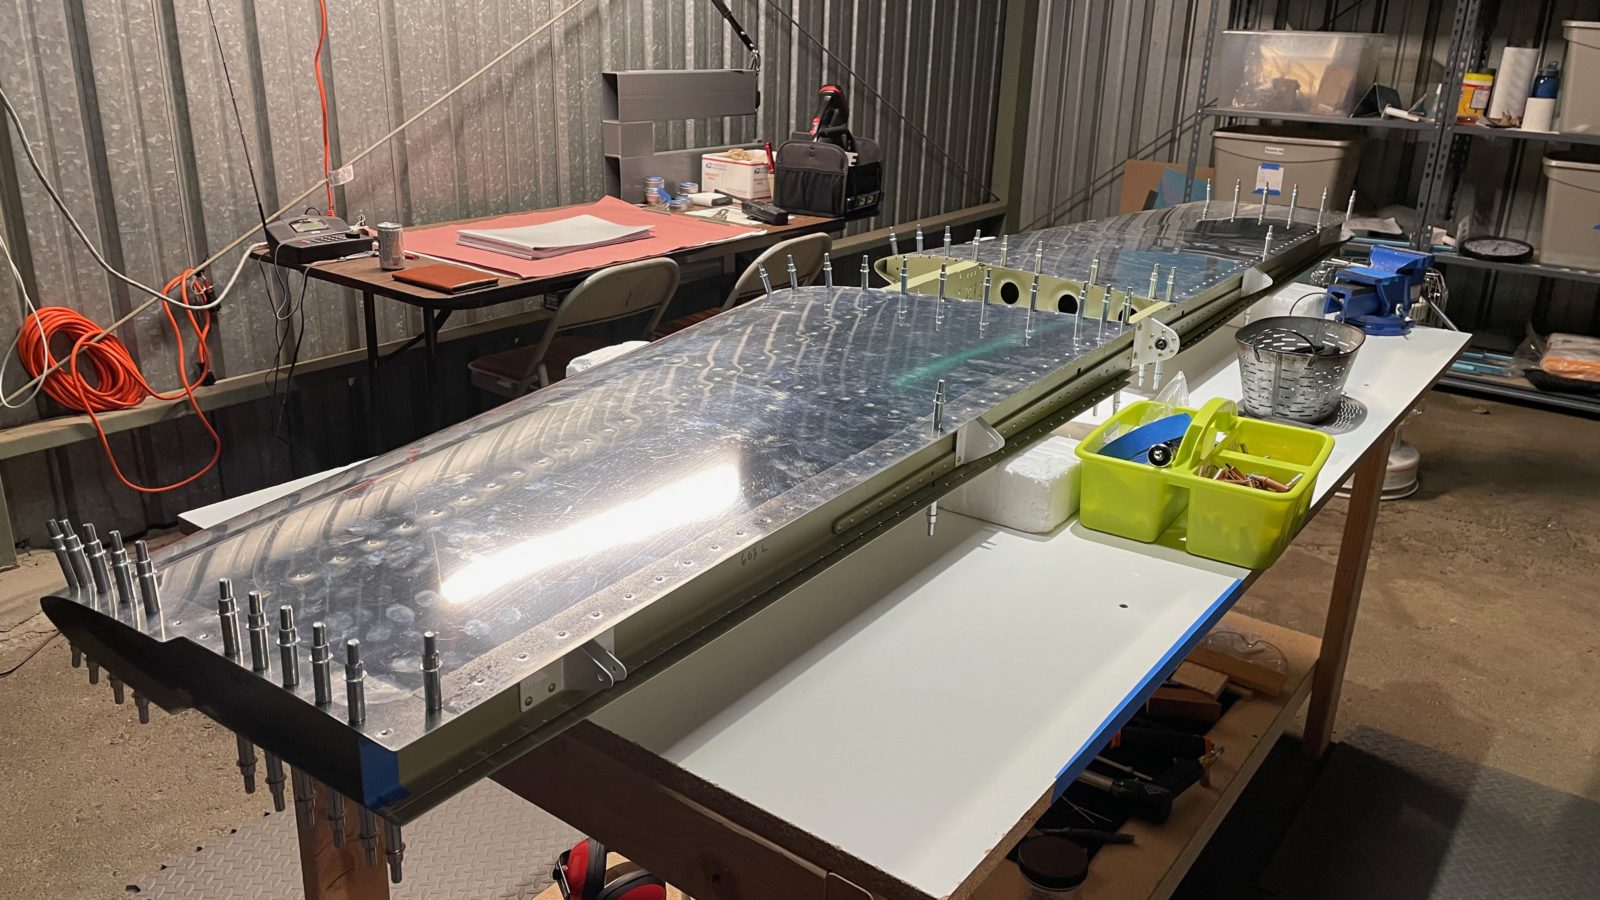
“Congratulations! You’ve finished the first major sub-assembly on your new airplane.” Yep, feels good! Right there in the instruction manual, section 6, rev4, page 6-4, was this simple sentence that brought us our first “RV grin”!
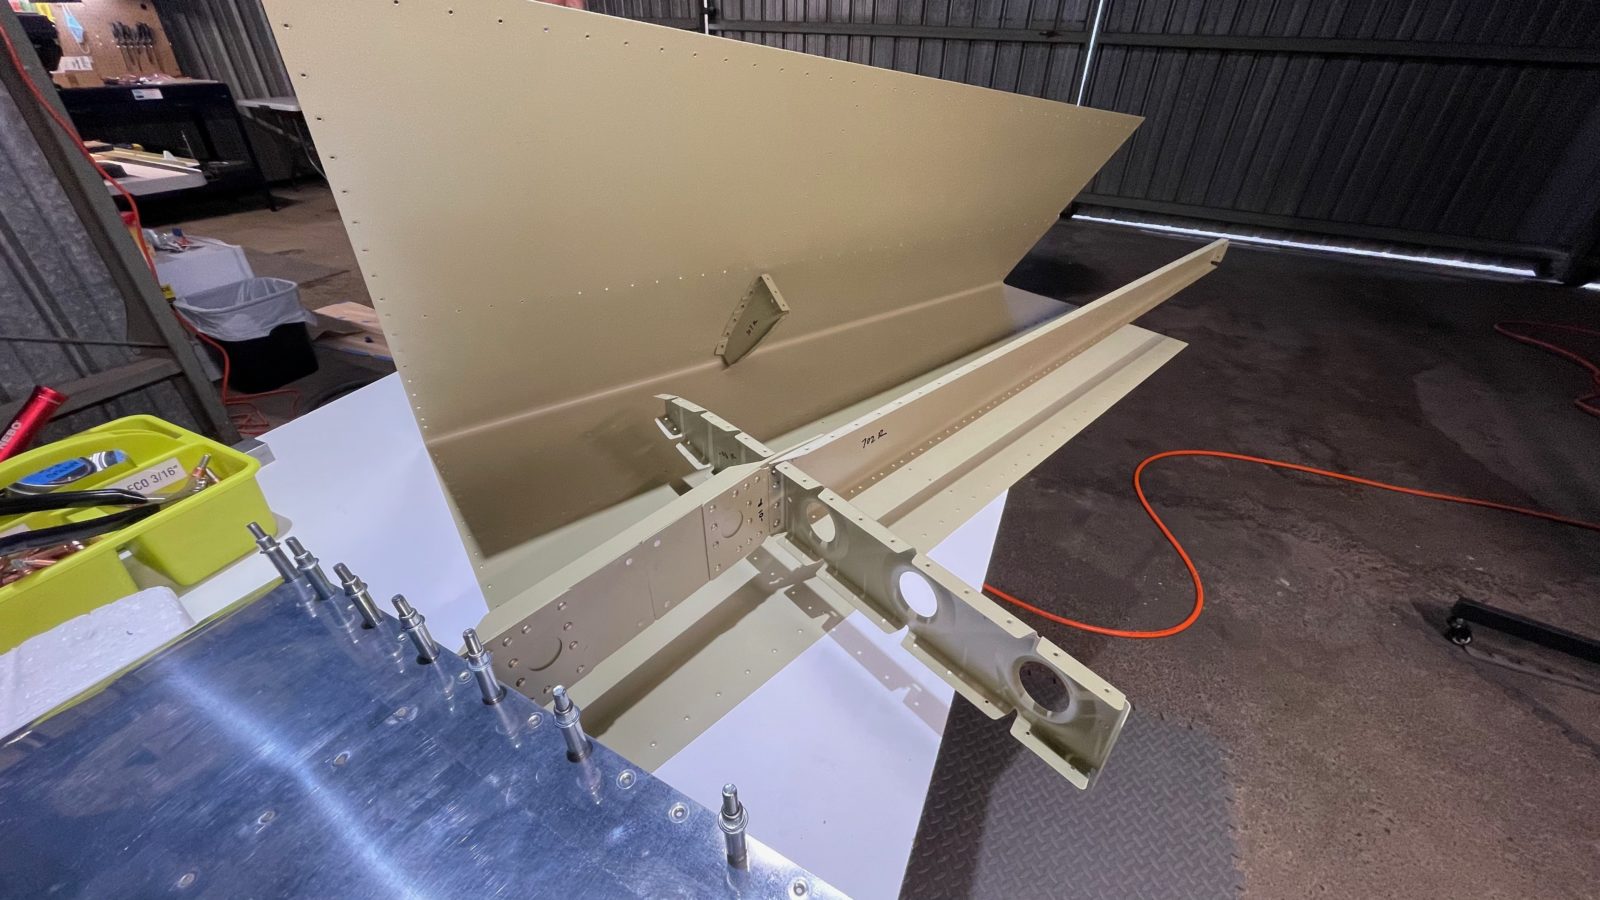
So we’re at around 60 hours so far, and we’ve finally finished riveting the horizontal stabilizer. No rest for the weary tho, we moved right into starting on the vertical stabilizer, which should be a bit quicker (so far it has been). In fact, after a scant 6 hours of work it’s time to prime the pieces. Given, it’s not as large as the horizontal stab, but I think we’re becoming faster at the tasks: prep, match drill, deburr, dimple.
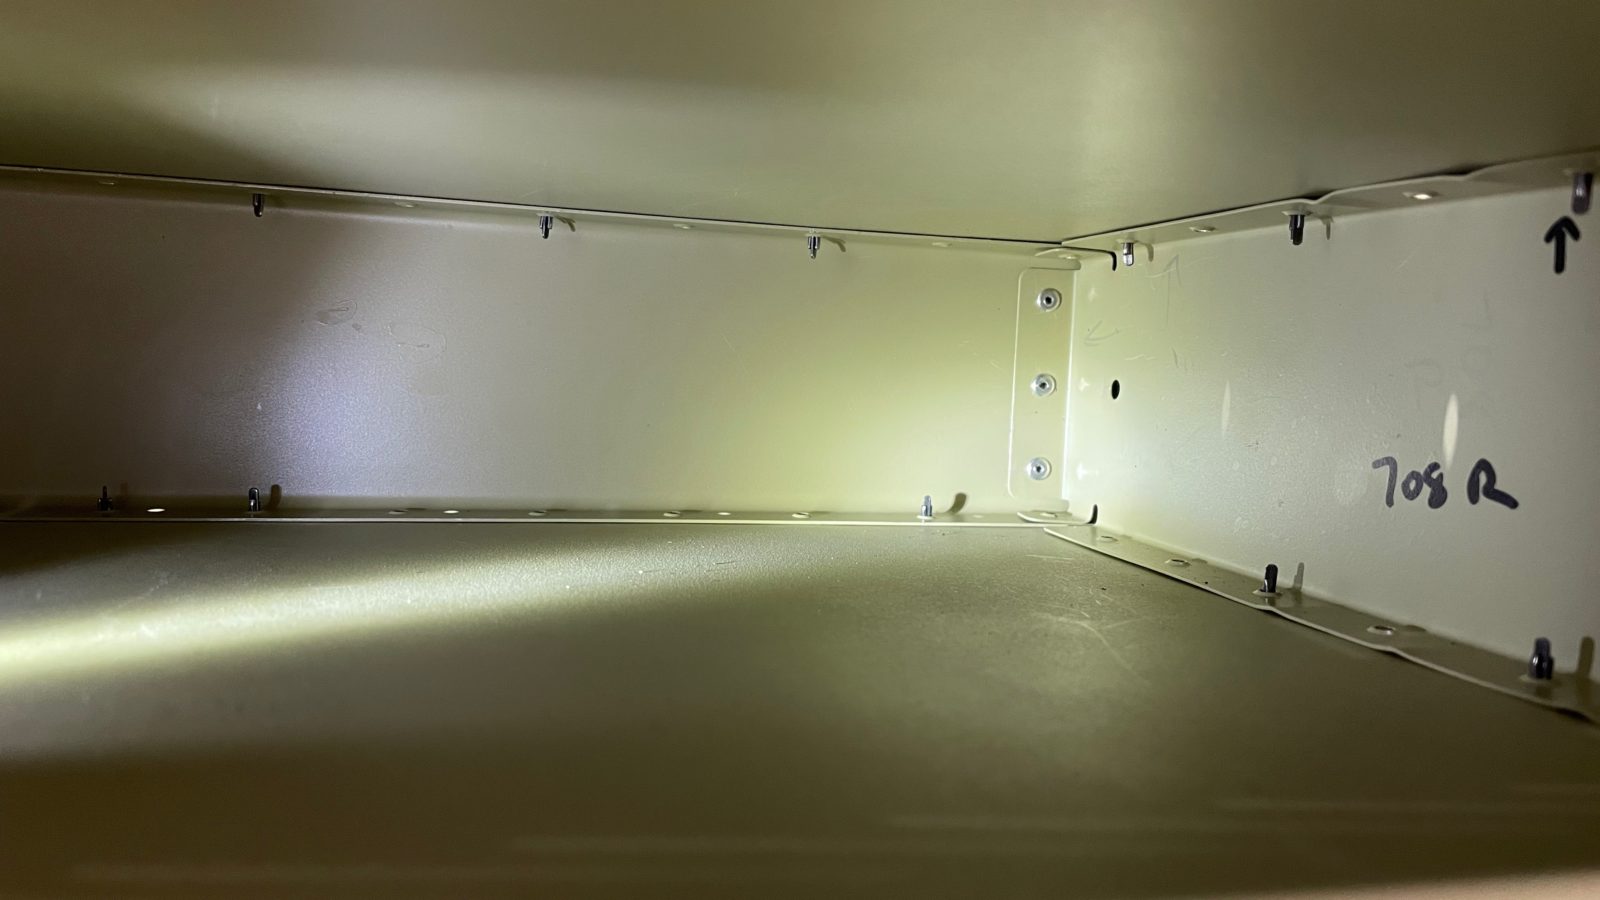
Here are a few photos from the work on the horizontal stab:
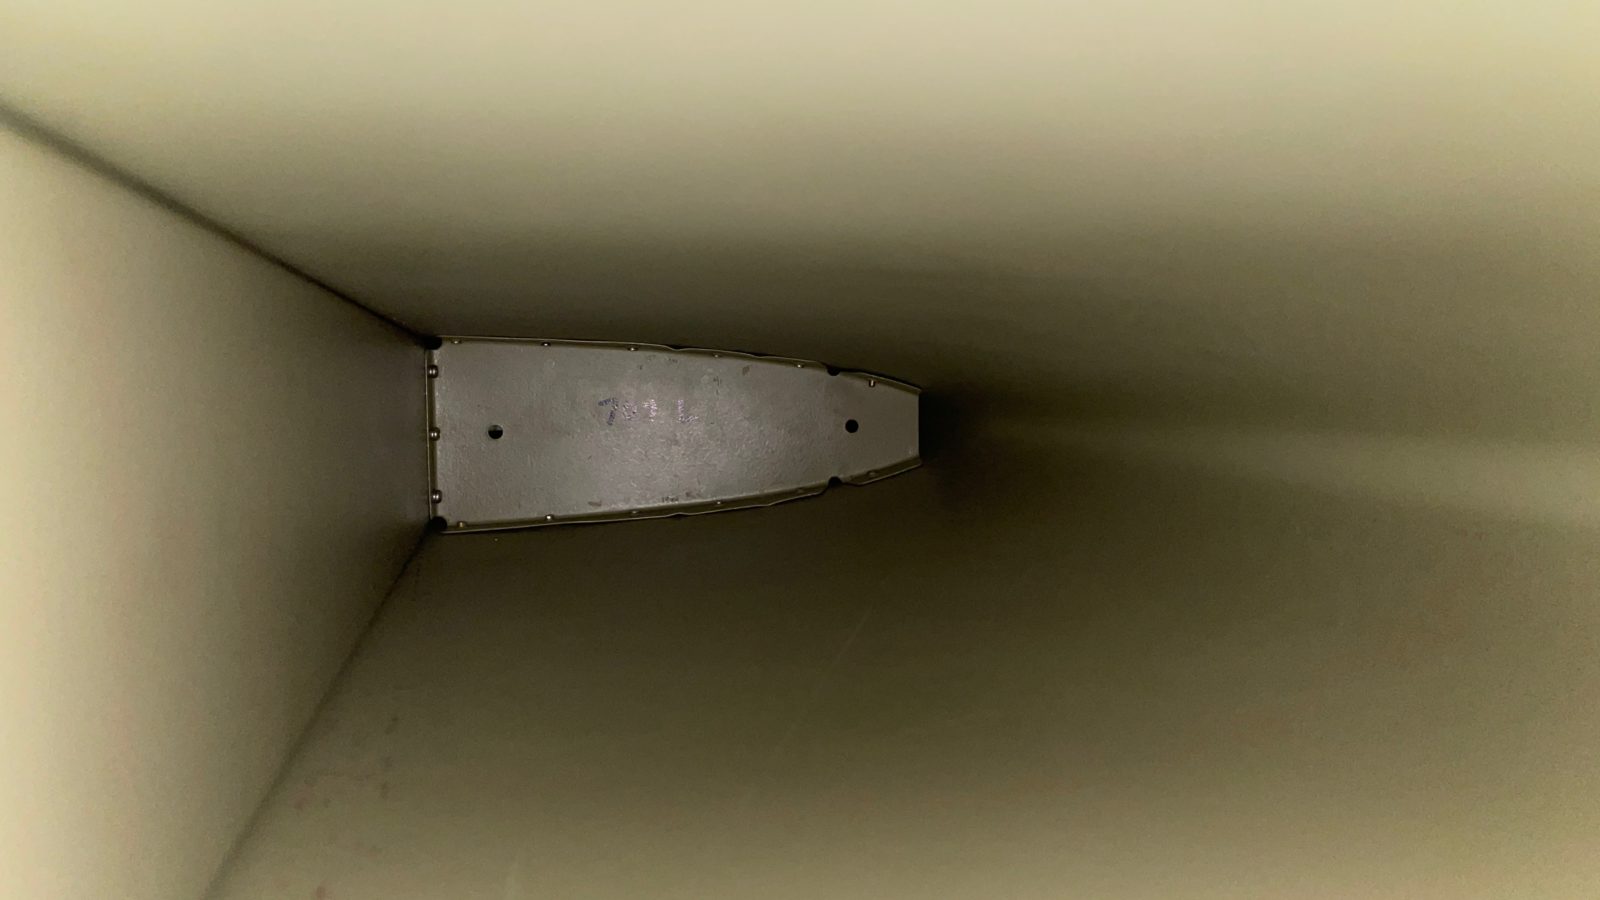
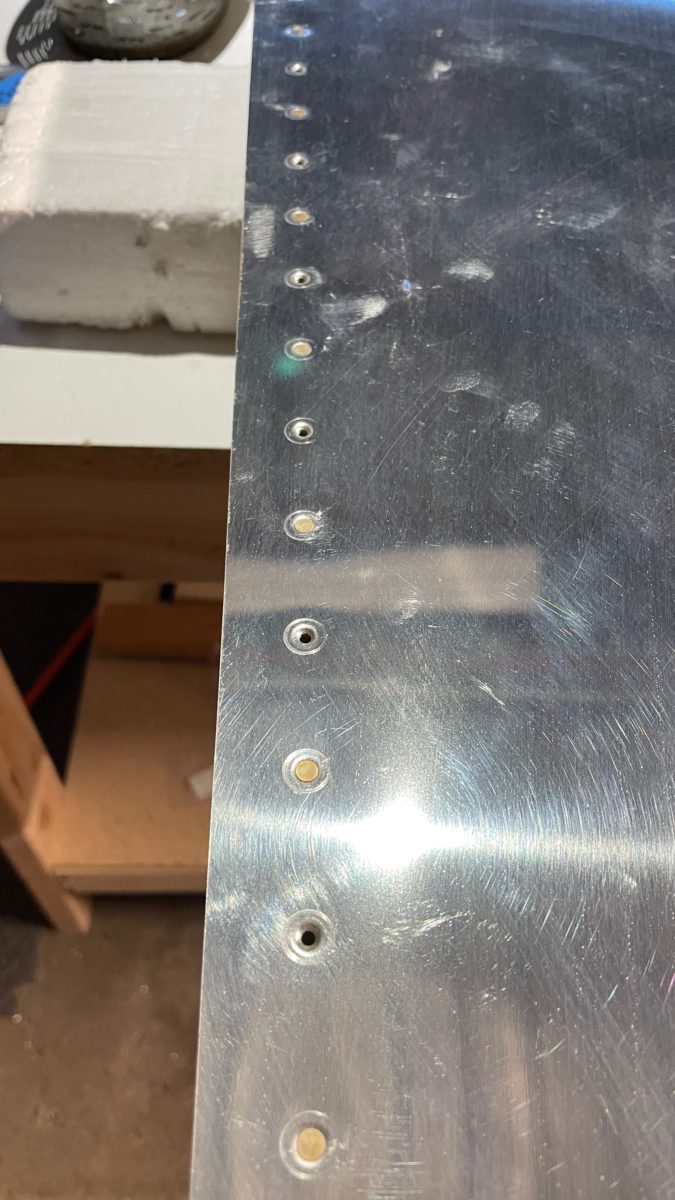
Getting to this landmark didn’t come without a couple issues. Driving the rivets nearest the leading edge was very tricky, and I didn’t use the right bucking bar, or maybe nerves got the better of me, and I left the rivet lifted a bit above the skin. I decided I wanted to remove one and re-do it, however by the time I decided this, the stab was mostly riveted closed. So, I had to remove a rib to get my arm in far enough to buck a replacement rivet. When I drilled out the rib, I inadvertently made a new hole!
We decided to stop and get in touch with Van’s about what we should do. They told us that, since it’s not a critical juncture, we could go ahead and just re-rivet it, as long as the rivet wasn’t loose when we were done.
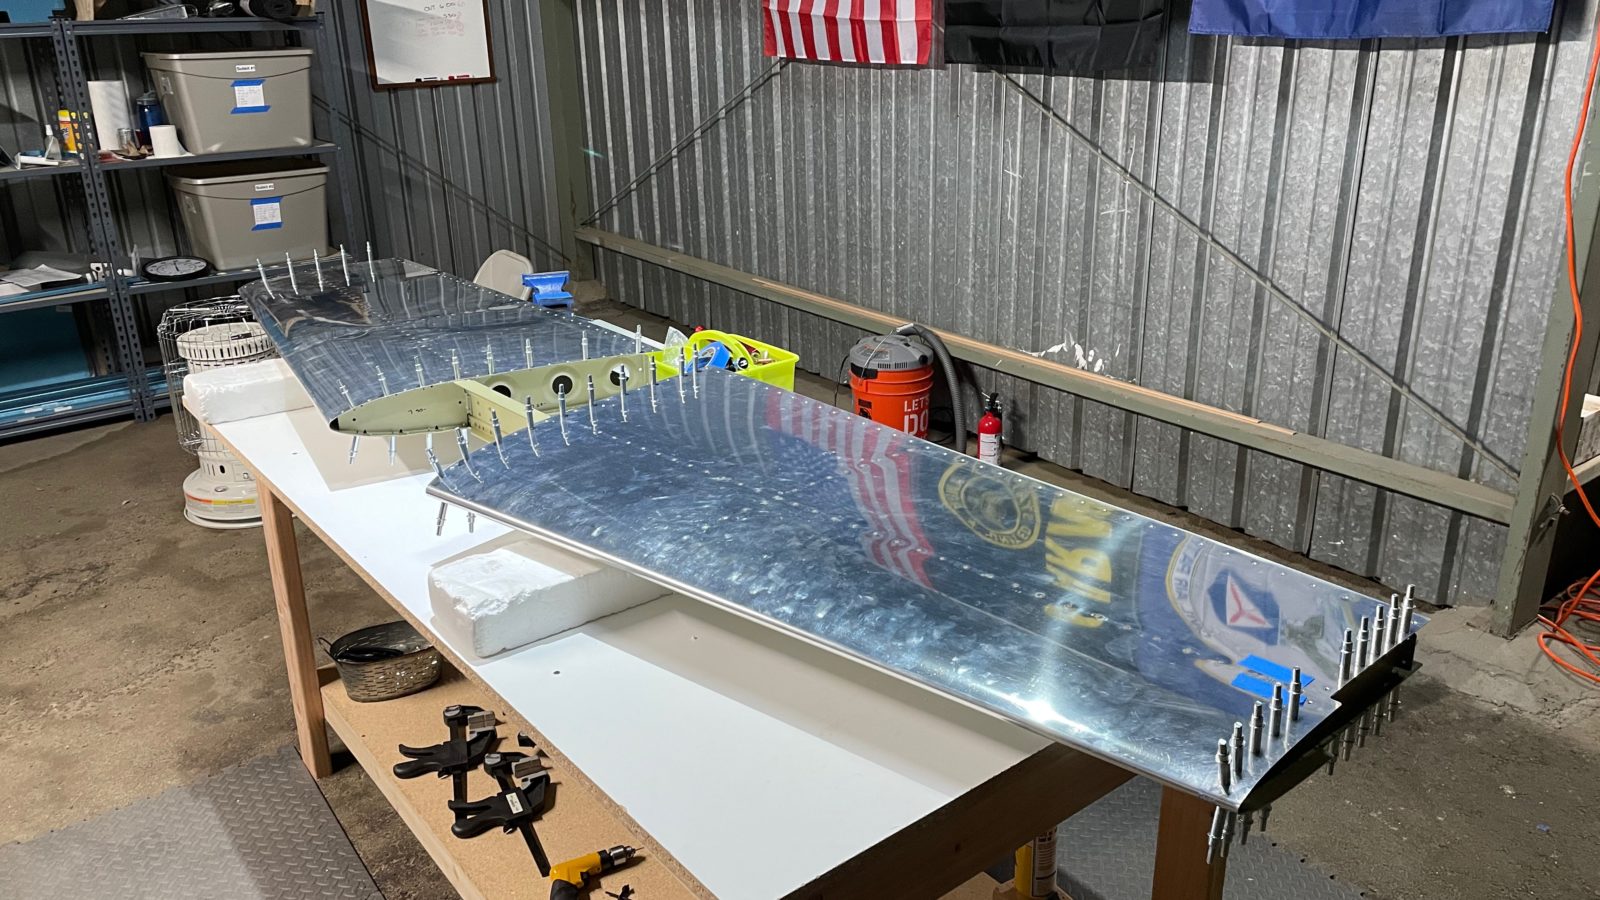
The second conundrum involved the final skin-to-spar riveting. Somehow the holes in the skin would not align with the spar holes. They were off by about 1mm, leaving any rivets I tried to place sit at an angle.
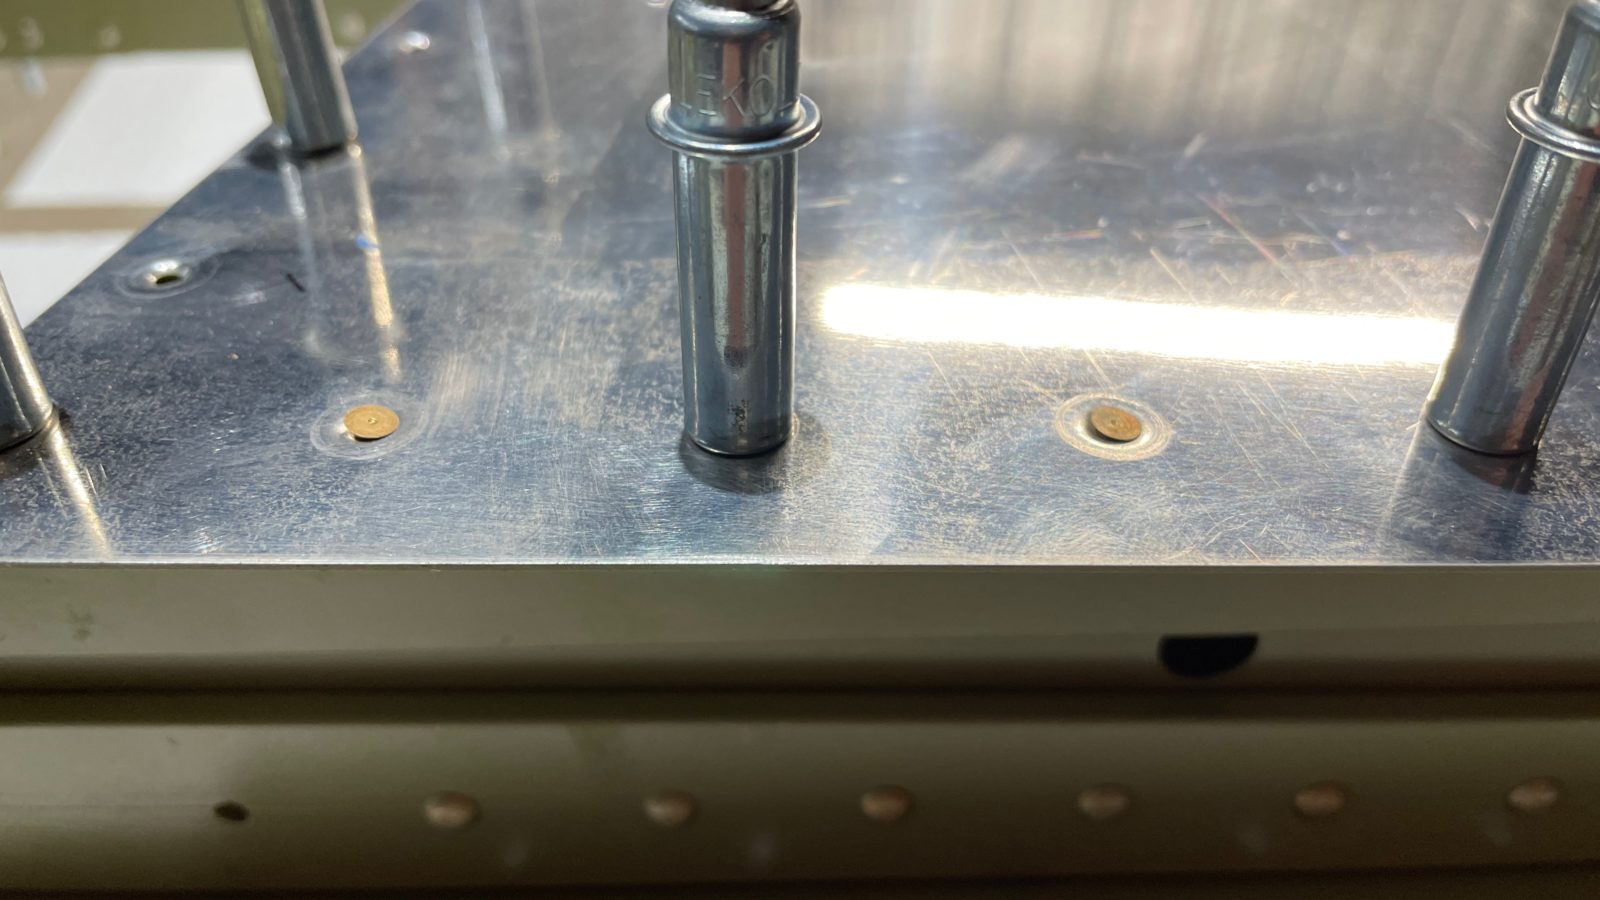
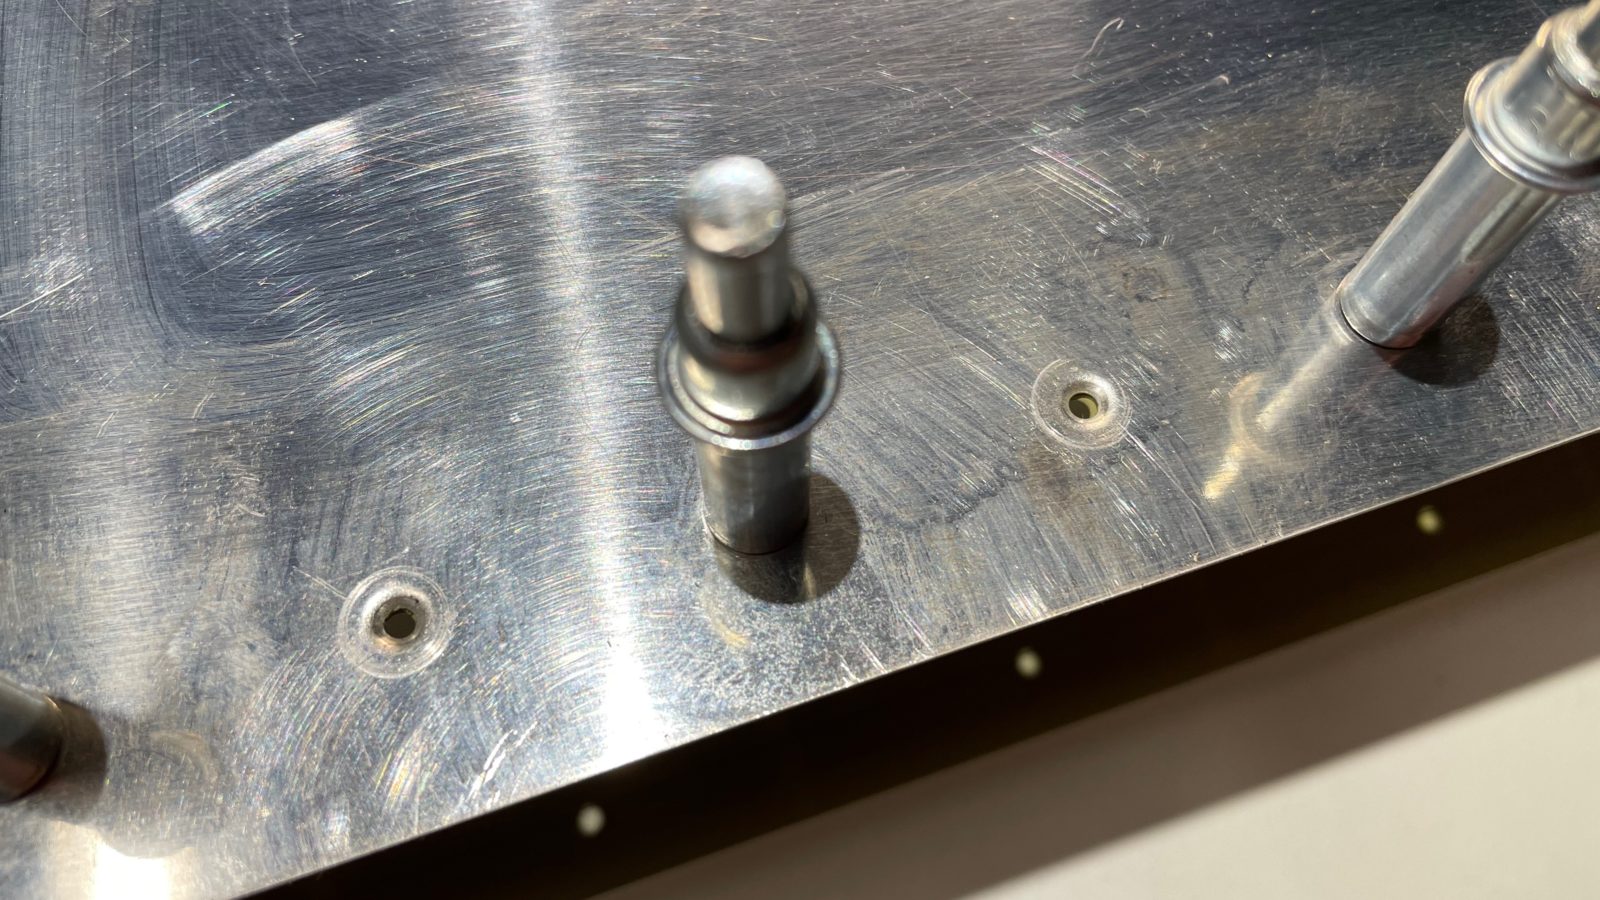
Van’s recommended using what looks like a marlinspike to “persuade” the two surfaces to align. I had a 3/32″ drive pin punch available, which did the same thing. Placing the pin into a hole, I tilted it over until the dimples for both holes “caught” and stayed aligned. Doing this about every 10 holes and the whole skin jumped into alignment. I could then place rivets into the holes and set them with the pneumatic press.
“Build on!”