Next up is the vertical stabilizer. Together with the horizontal stabilizer, this makes the empennage, or tail, of the airplane. We’re working on the stationary parts of the tail. There are also control surfaces that need to be made and attached, which include the rudder, which attaches to the back of the vertical stabilizer, and the elevators, which attach to the end of the horizontal stabilizer. These move the plane in along the yaw and pitch planes (left-right and up-down).
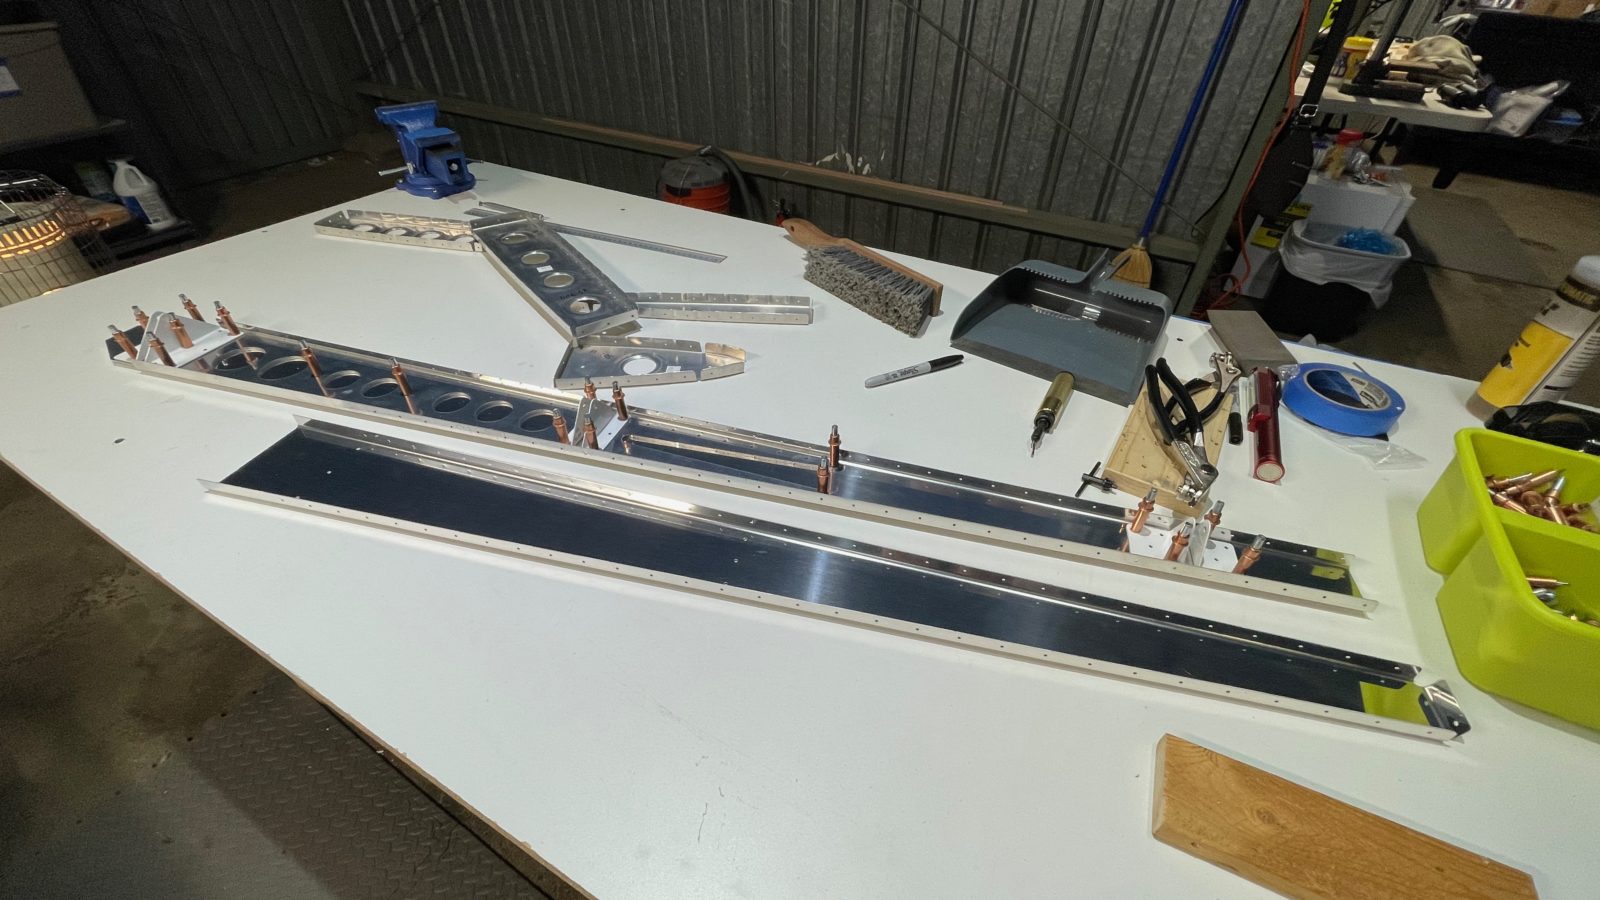
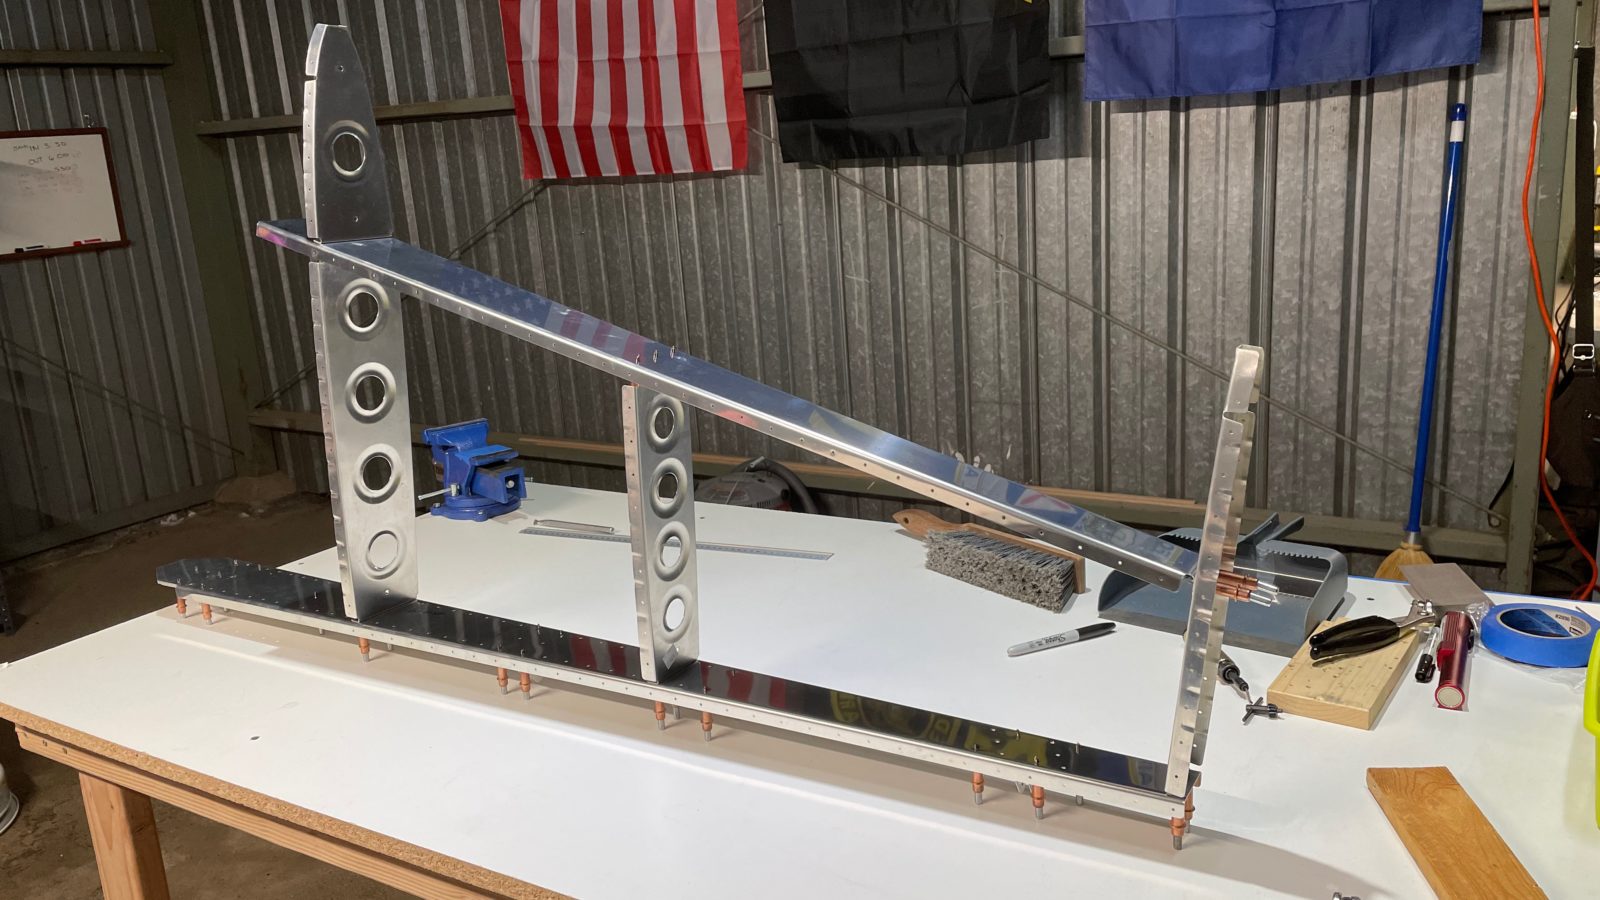
The first steps were, as usual, to cleco everything (except the skins) together, then match drilling all the holes to finish size.
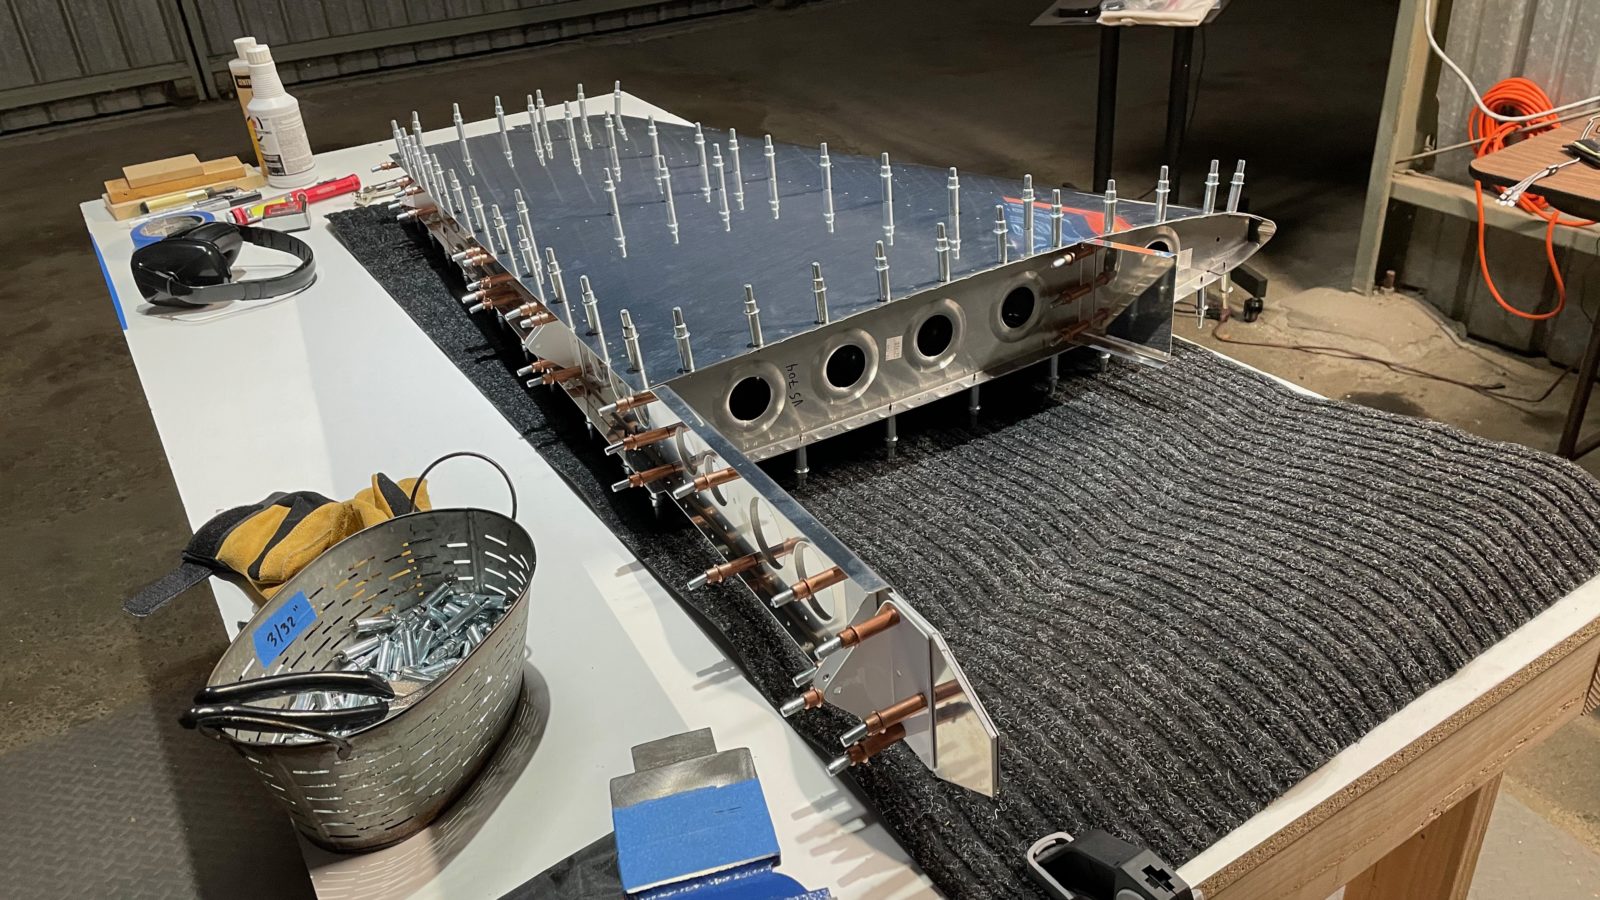
Once all the holes are drilled up to #30 size, next is to bring over the skin and cleco it on to the skeleton. This was a bit tough. The skin fits tightly to to the spars and ribs by design, so it took a bit of wrangling to get it “stretched” over the frame and cleco’ed in..
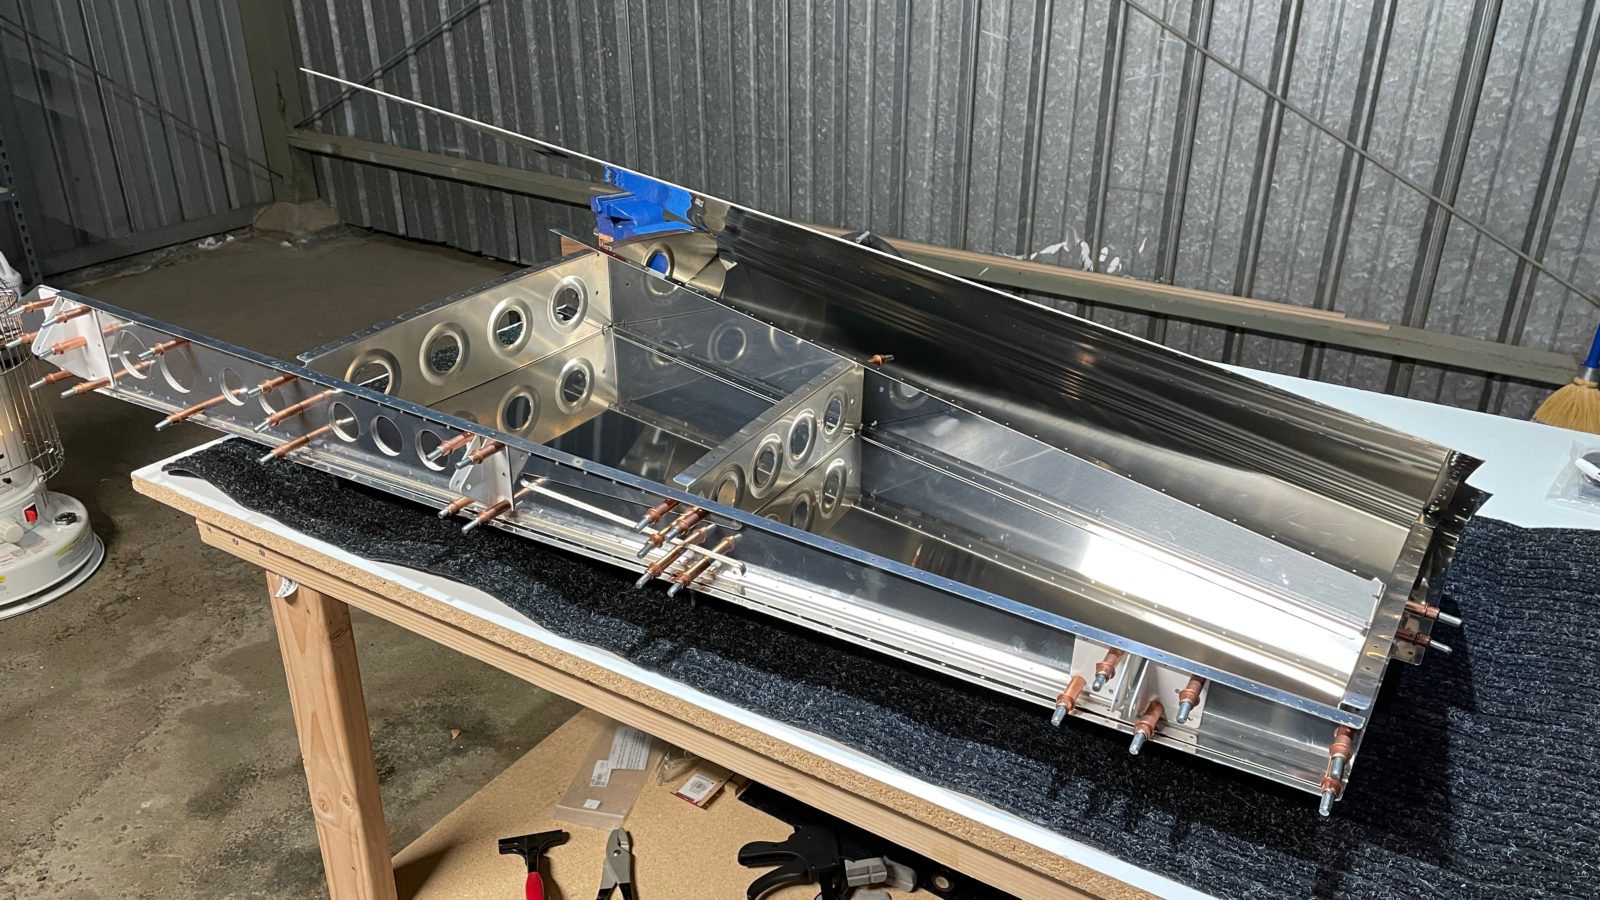
But with a good amount of elbow grease, the skin was attached and match drilled to #40-sized holes (the size required for 3/32″ rivets). After all the holes were drilled, it was time to take it all apart and deburr and dimple the skin-to-spars-and-ribs holes.
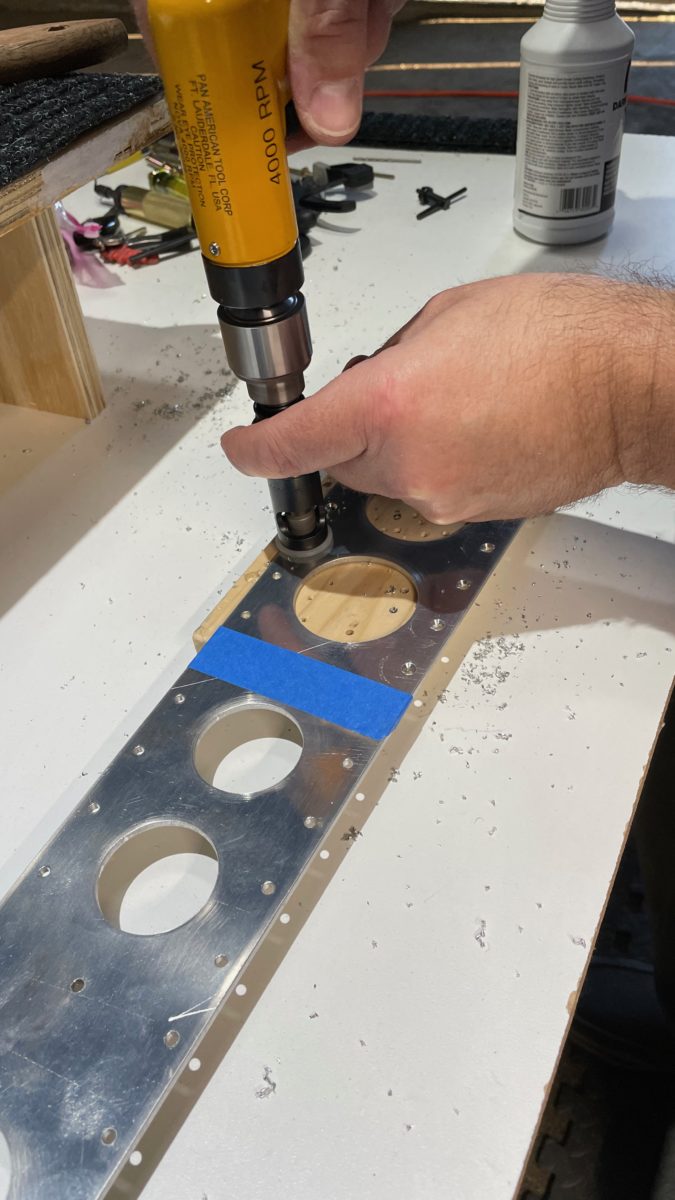
Part of the vertical stab needs to lie flush against part of the fuselage, so we have to use flush-head rivets like we do in the skins. Since one of the parts in the spar is a think doubler, we can’t use the dimpler…the metal is too thick. For this we countersink the dimples.
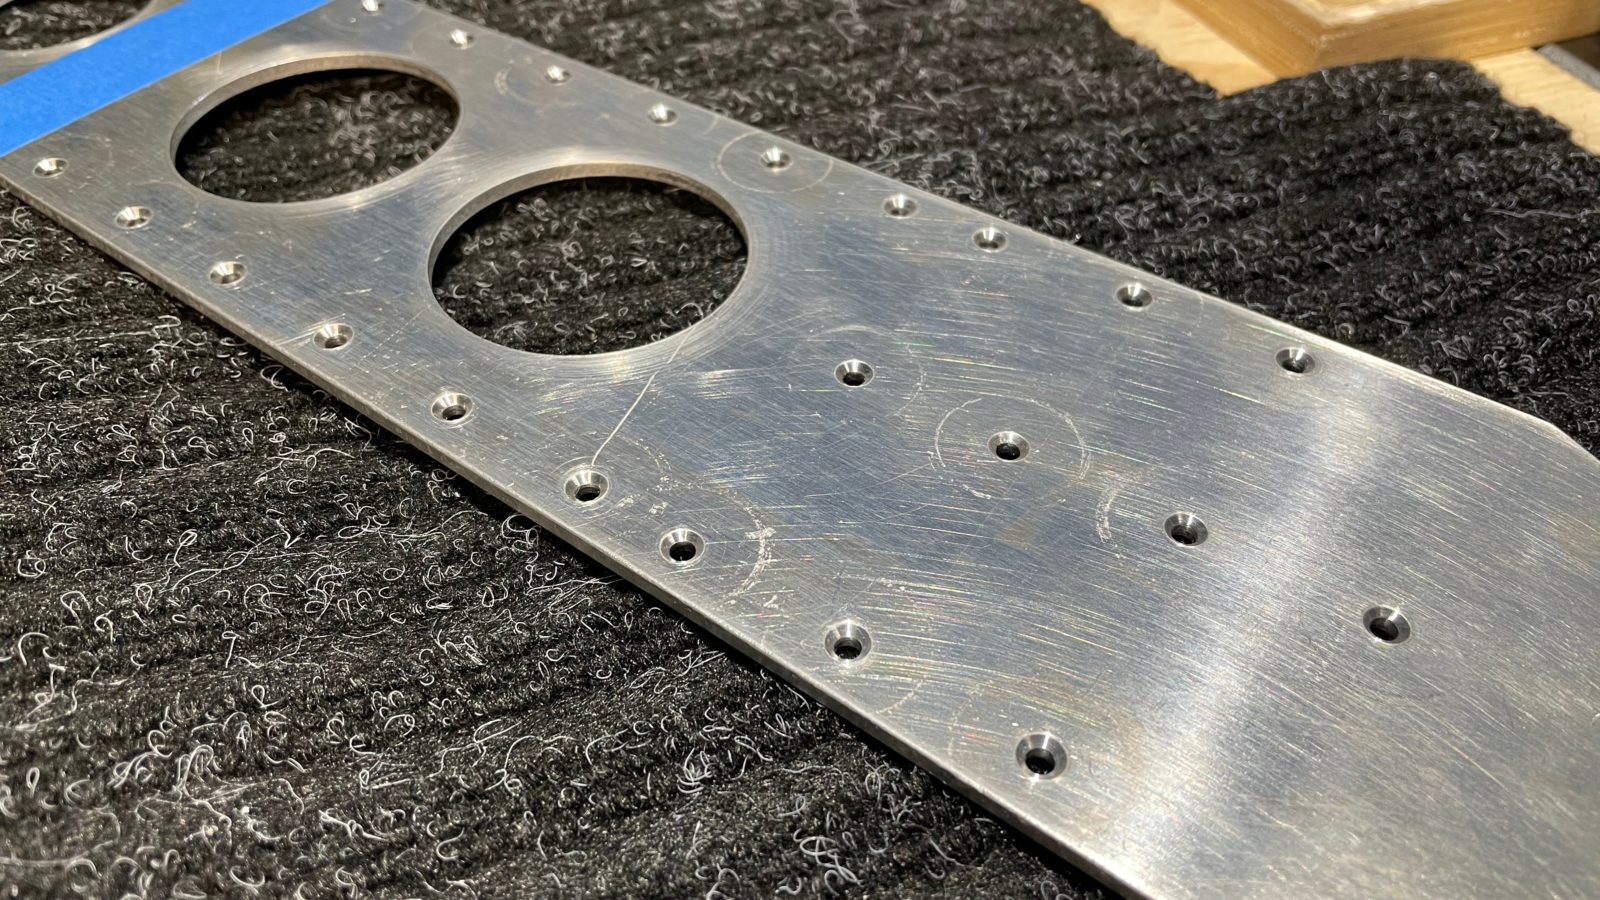
Last was deburring, which removes all the microscopic rough edges that the manufacturing process imparted by punching the parts. We also introduce burrs when we match drill. Now that we have a variety of deburring tools, this went quickly. With all the parts smooth and deburred, they were packed into the car for the trip back to the house, where I’ll prime them in the backyard.