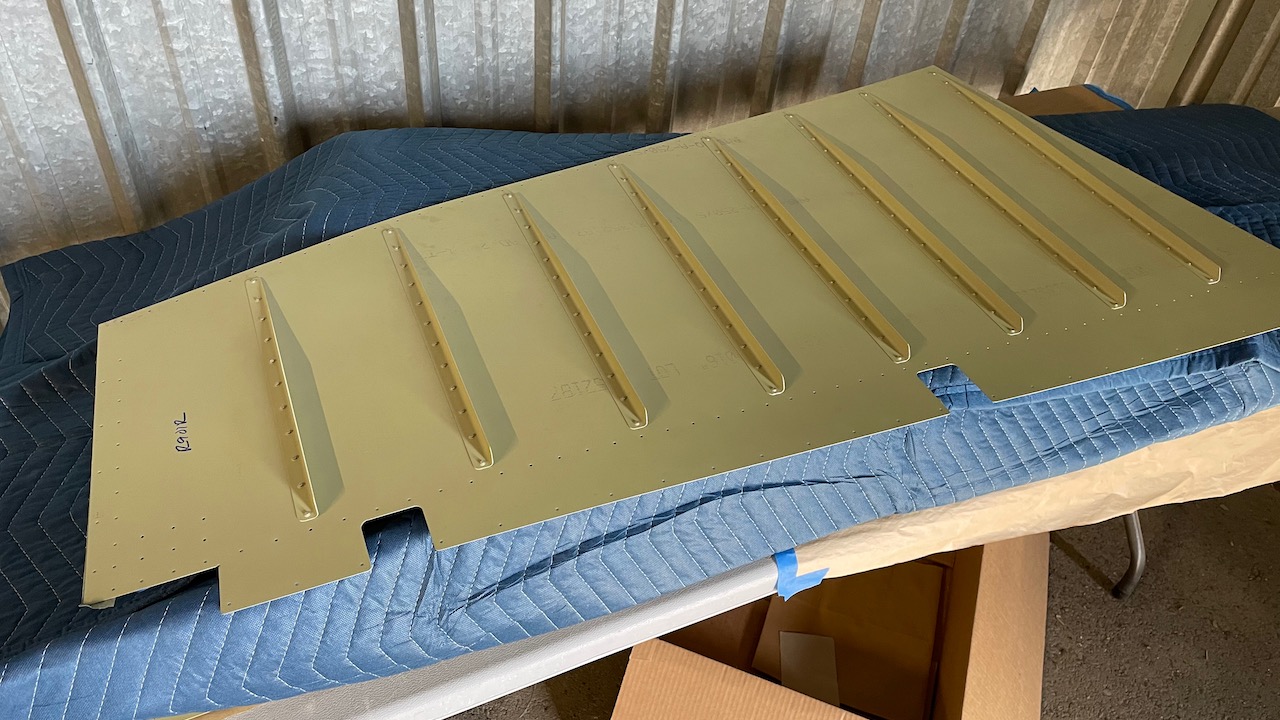

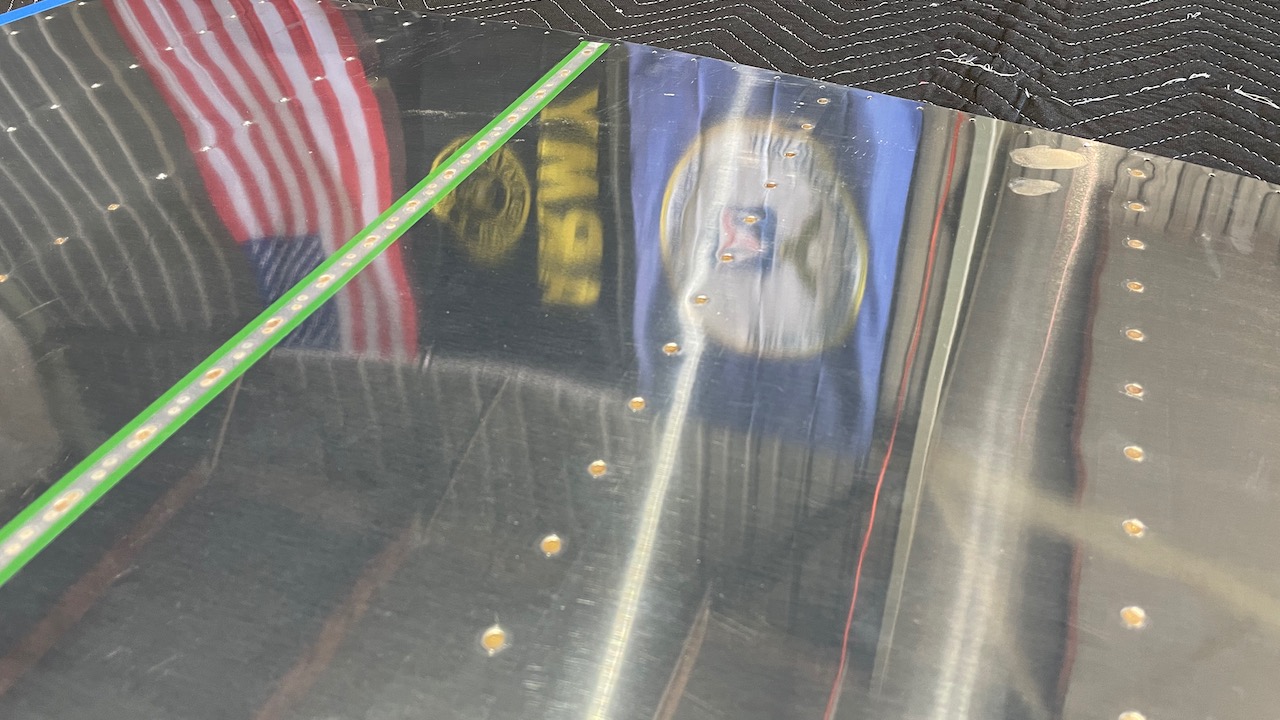
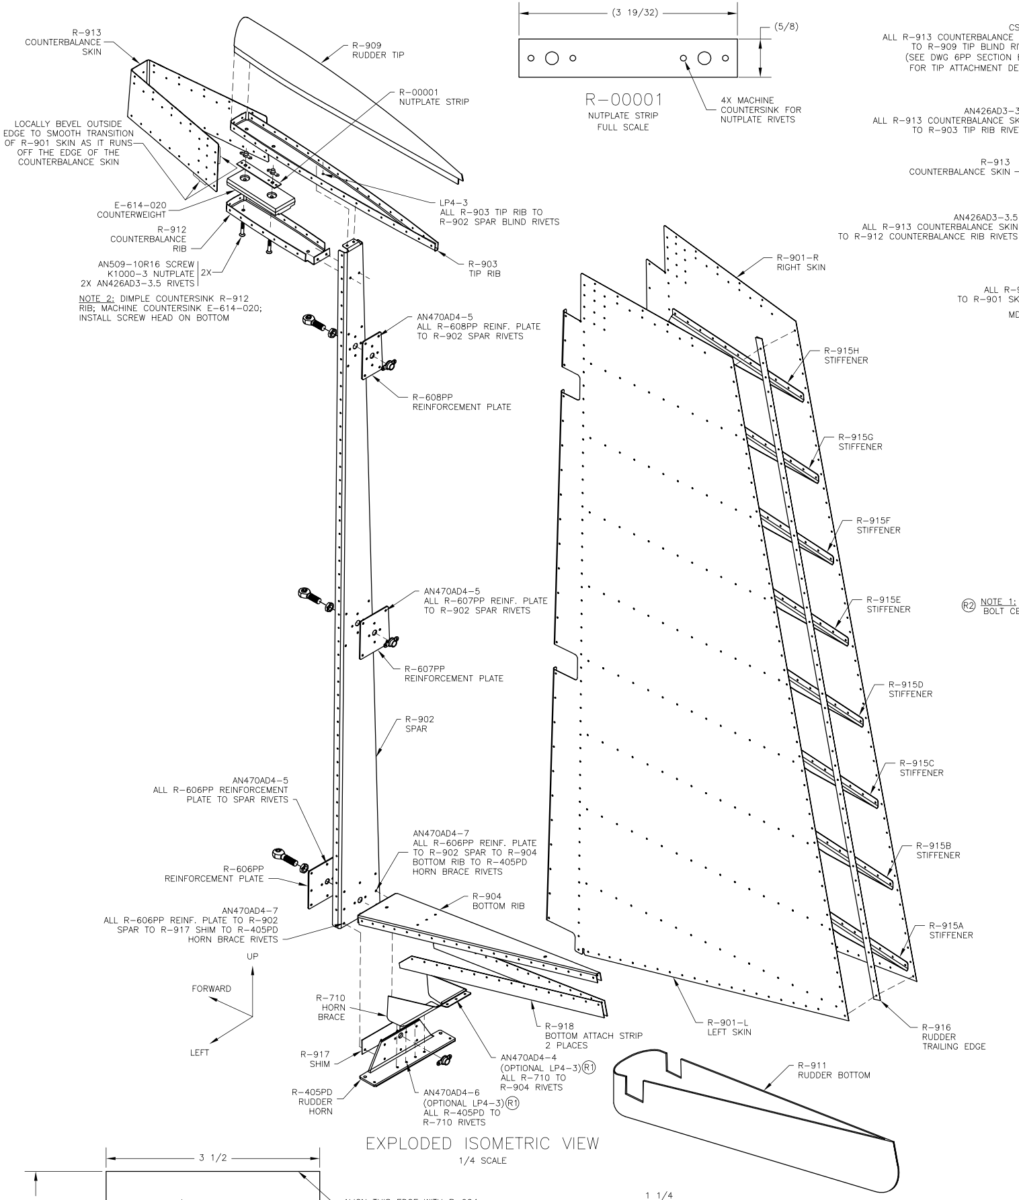
Today we planned to rivet in the stiffeners on the rudder skins, then start the assembly of the rudder skeleton. We used the back-rivet set to attach them. This involves placing a line of rivets and holding them in place with a special tape, which is sticky only on the outer edges. Then a heavy metal plate is placed under the skin, and a special back rivet set is attached to the rivet gun. You then set the rivets from the back side of the work piece. The metal plate is your bucking bar. Generally, the results are very smooth and neat. Generally….
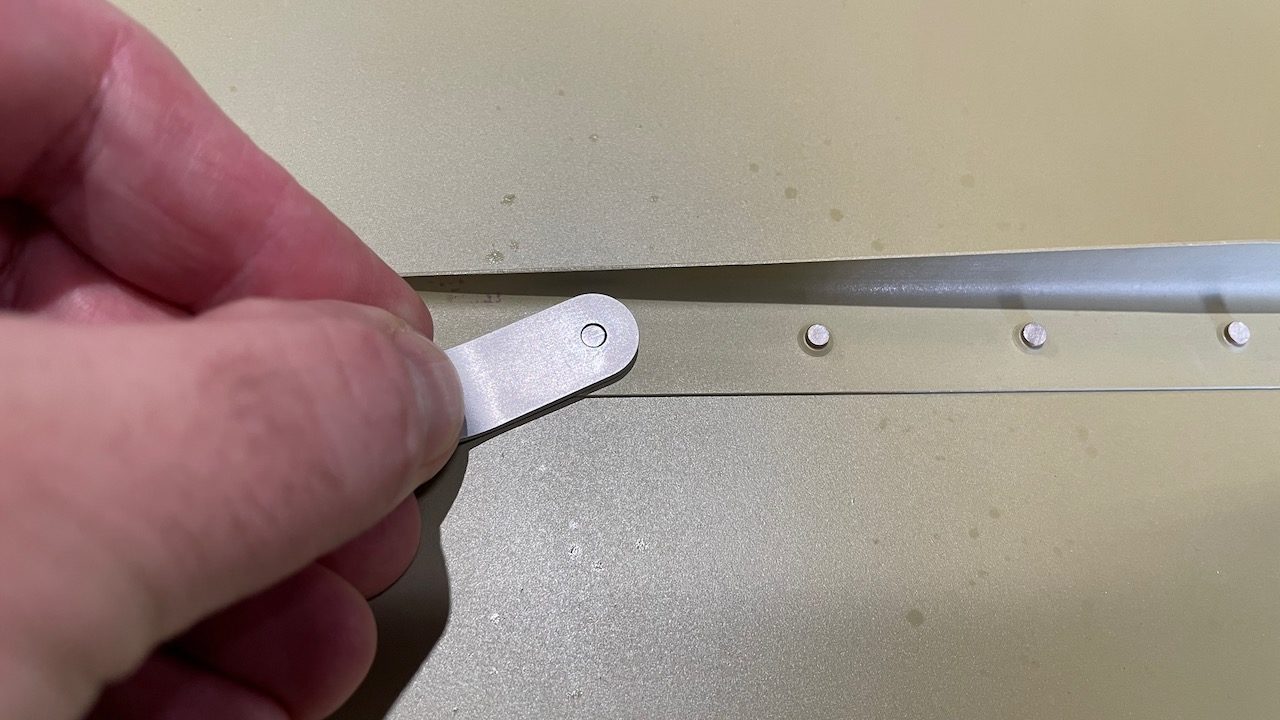
In my case, I messed up what would have otherwise been a perfect skin. We gauge each rivet after a row is set to make sure they got set correctly, e.g. within tolerance according to the gauge. If one is under-driven, a couple more taps with the rivet gun brings it in fine.
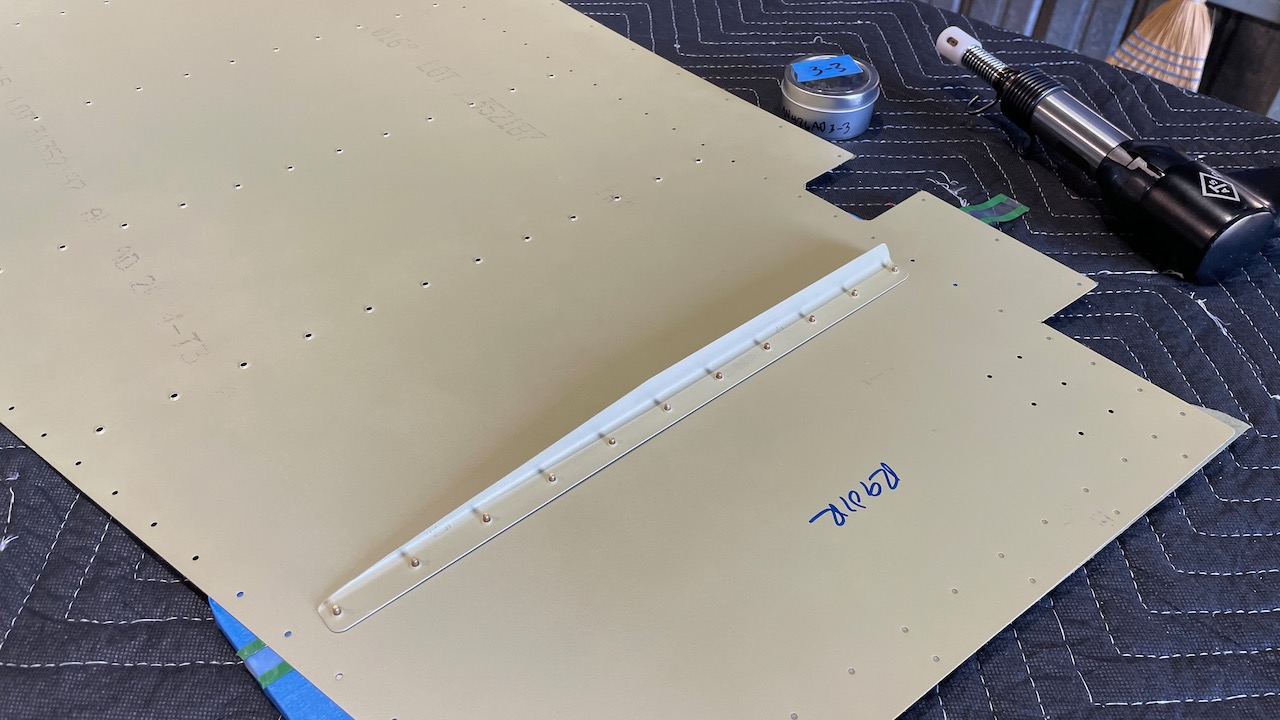
The ONE THING you have to be careful about while back riveting is that you MAKE ABSOLUTELY CERTAIN that the back rivet plate is under the rivet you’re about to bash. Our back rivet plate is not long enough to cover all the rivets, especially on the longer stiffeners. I managed to get through the first skin perfectly before I bozoed a rivet on the second skin. 🙁
As we were checking the rivets on one line, one was a little under-set. This time, however, I did NOT check that the rivet plate was under this one and banged away. Result? Nothing below the rivet to buck it, and so the skin collapsed under the pressure of the rivet gun:
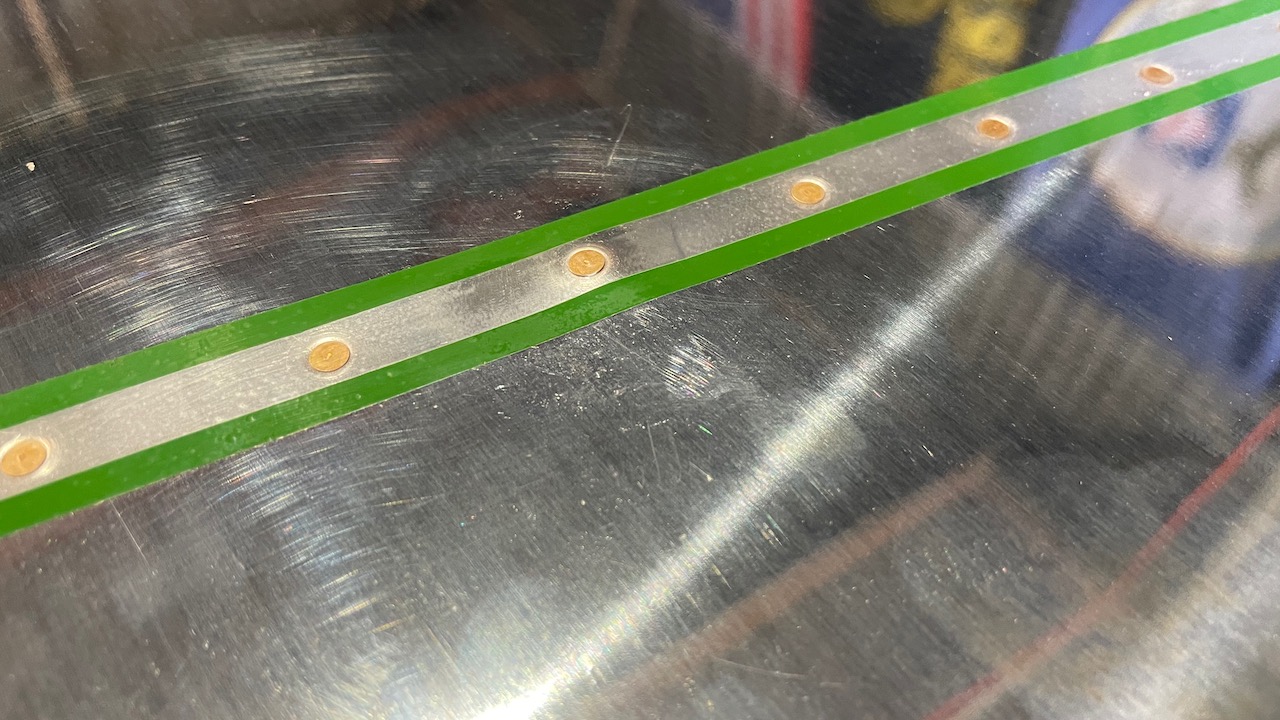
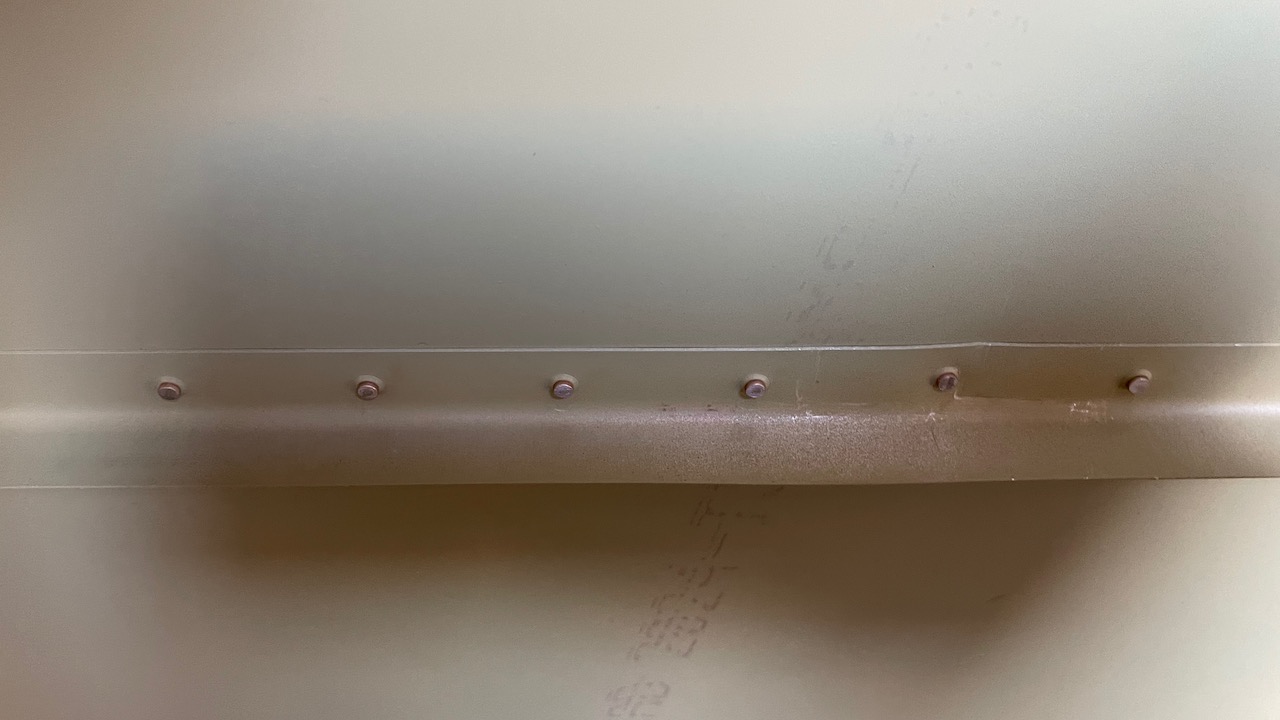
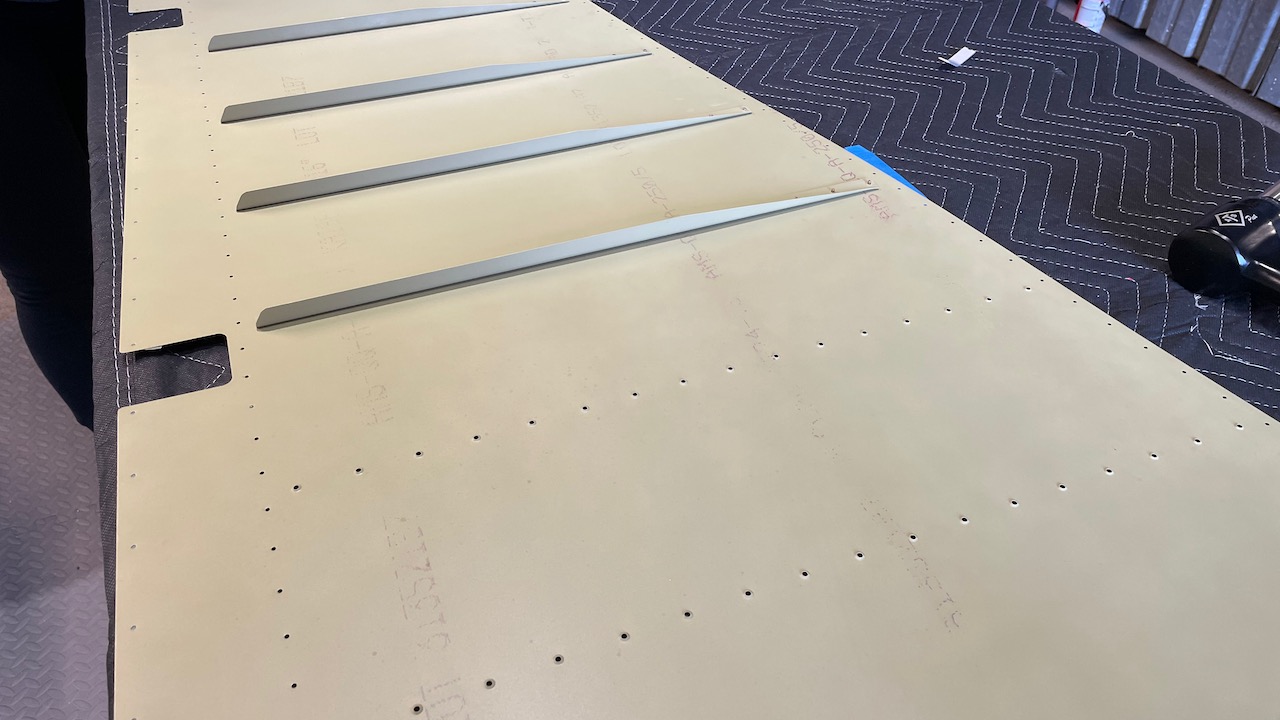
Overall it’s not a deal-breaker for the skin, but it really hurts when I look at it. It’s definitely going to be visible on the rudder. Paint will hide it somewhat, but I’LL know it’s there. :/
Oh well. Shit happens. Aggravating, tho.
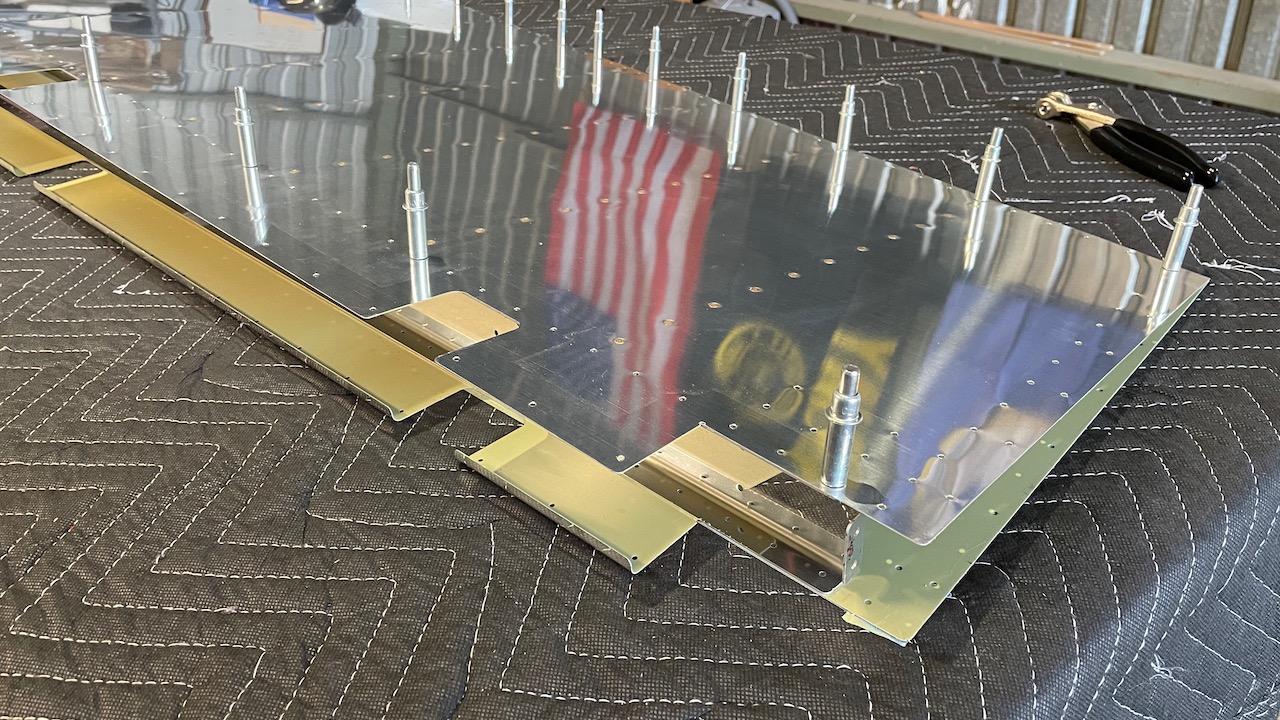
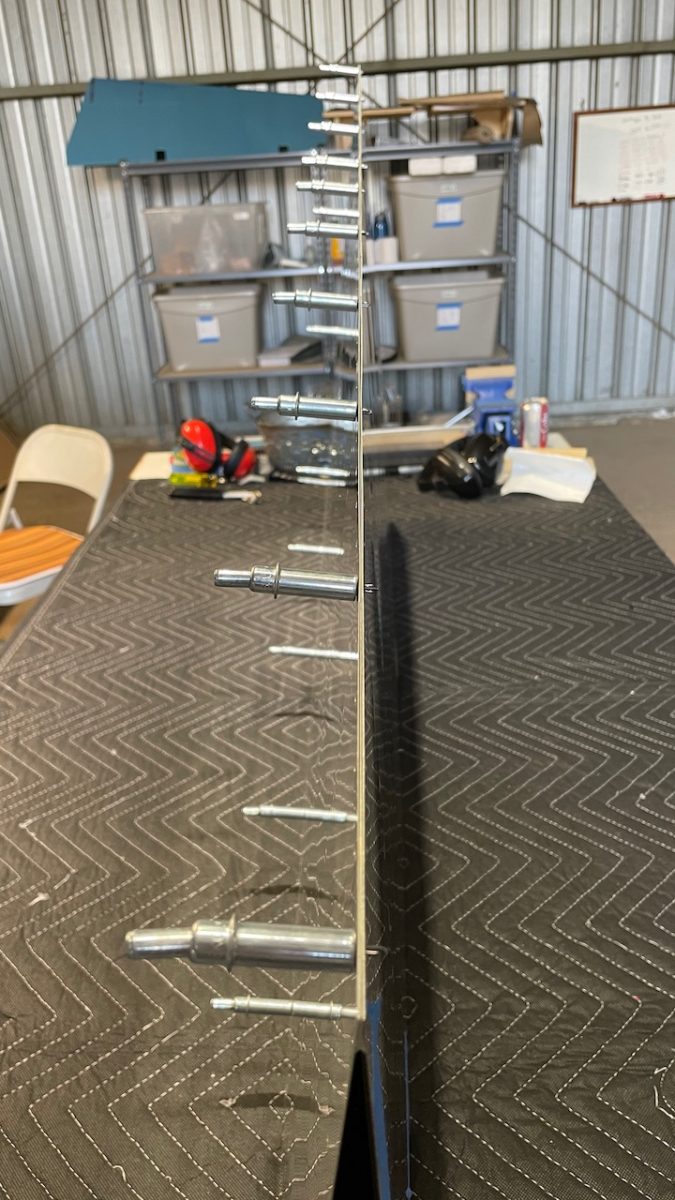
Moving along, I did a test fit of the skins so that I could verify that we cut the stiffeners properly so that they didn’t interfere with the trailing edge coming together in a straight line. We cleco’ed the skins and the trailing edge to make sure there were no bumps or alignment issues. As it turns out, it looked great!
We were going to continue on with the assembly of the skeleton, but I needed to go get a 3/8″ drill bit to enlarge a hole, so we called it a day. Total time: 2 hours.