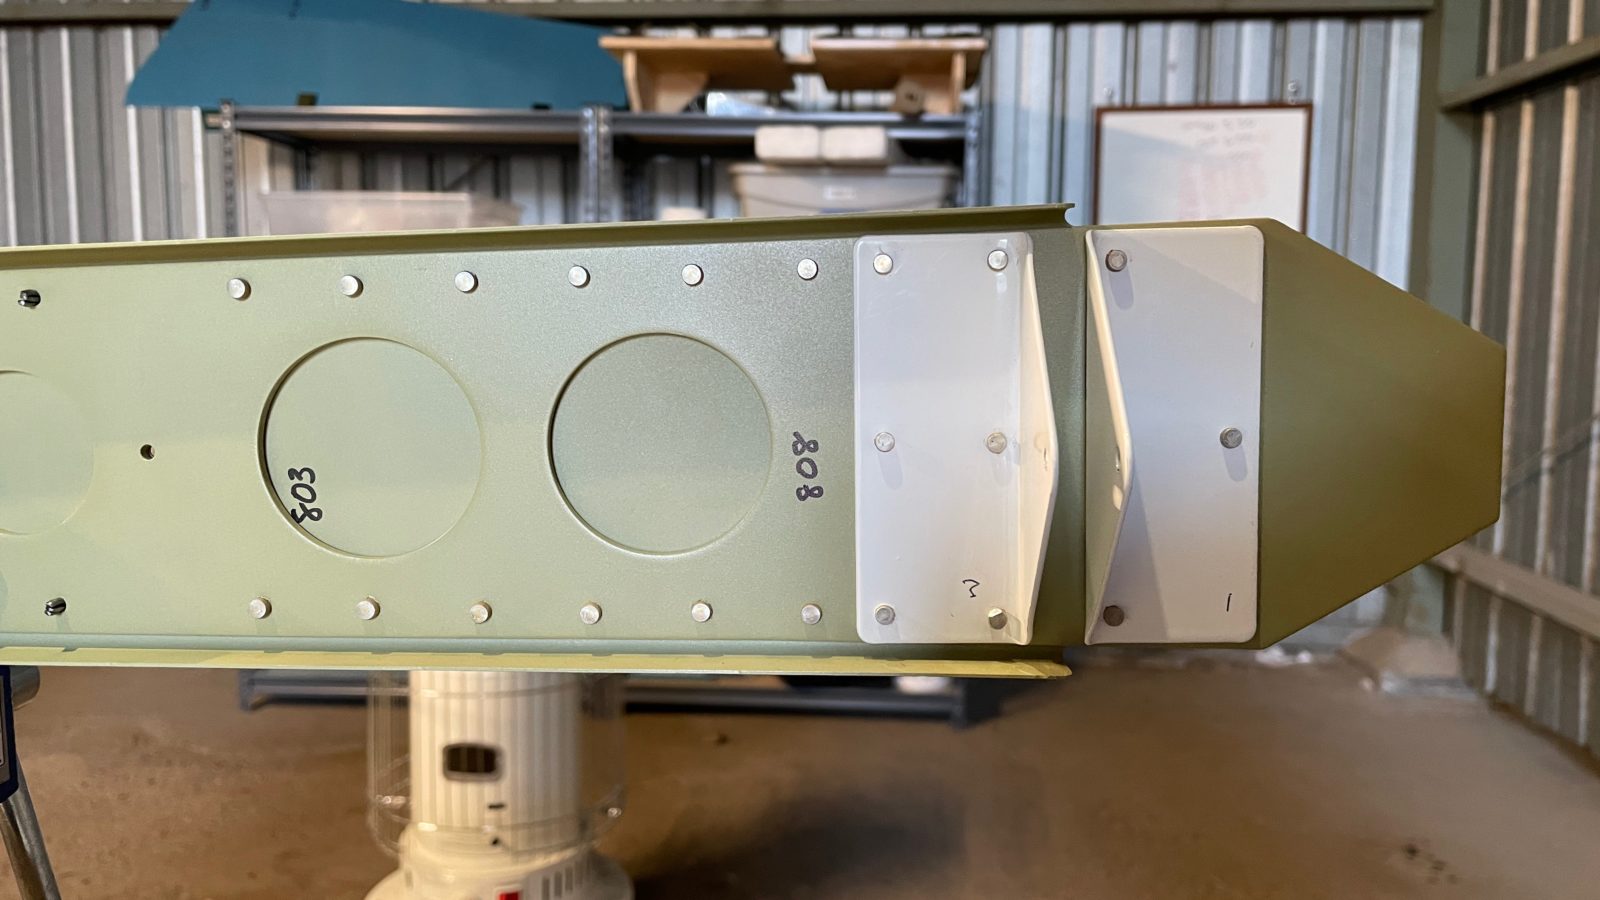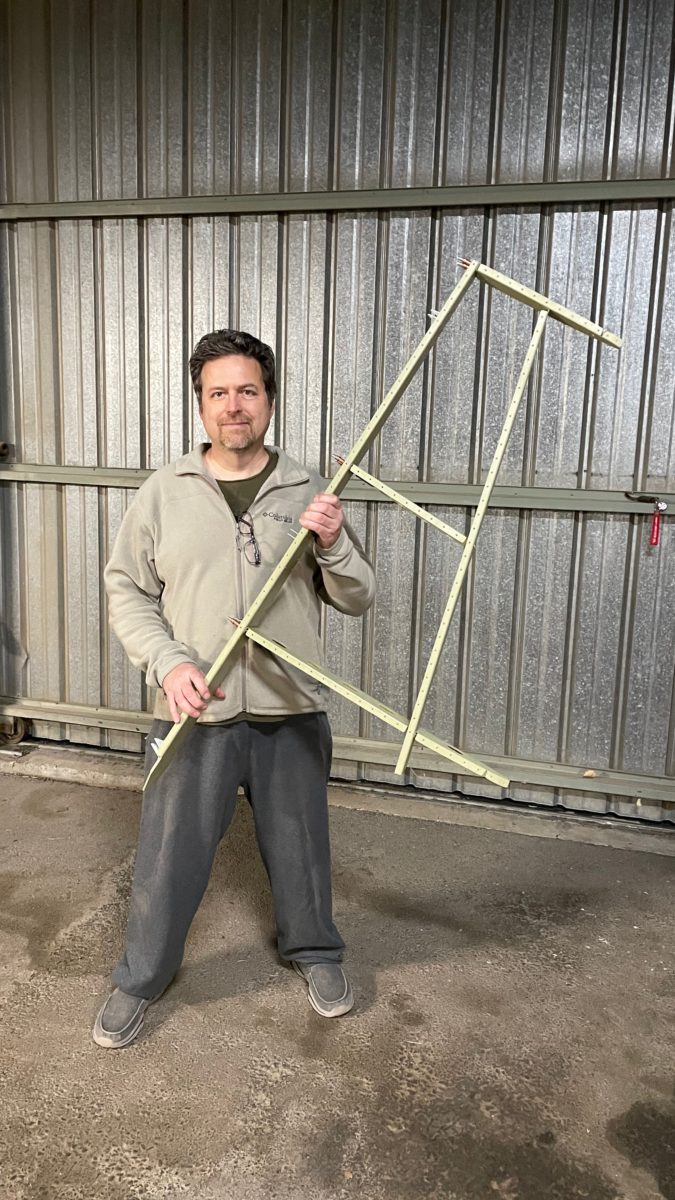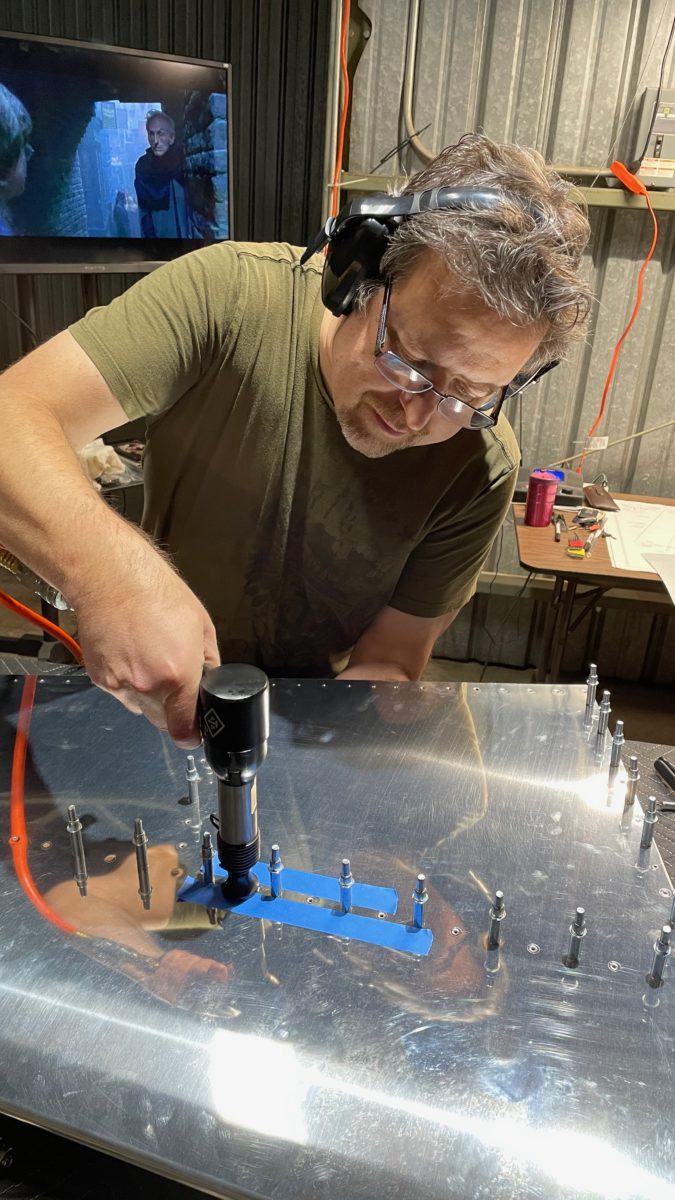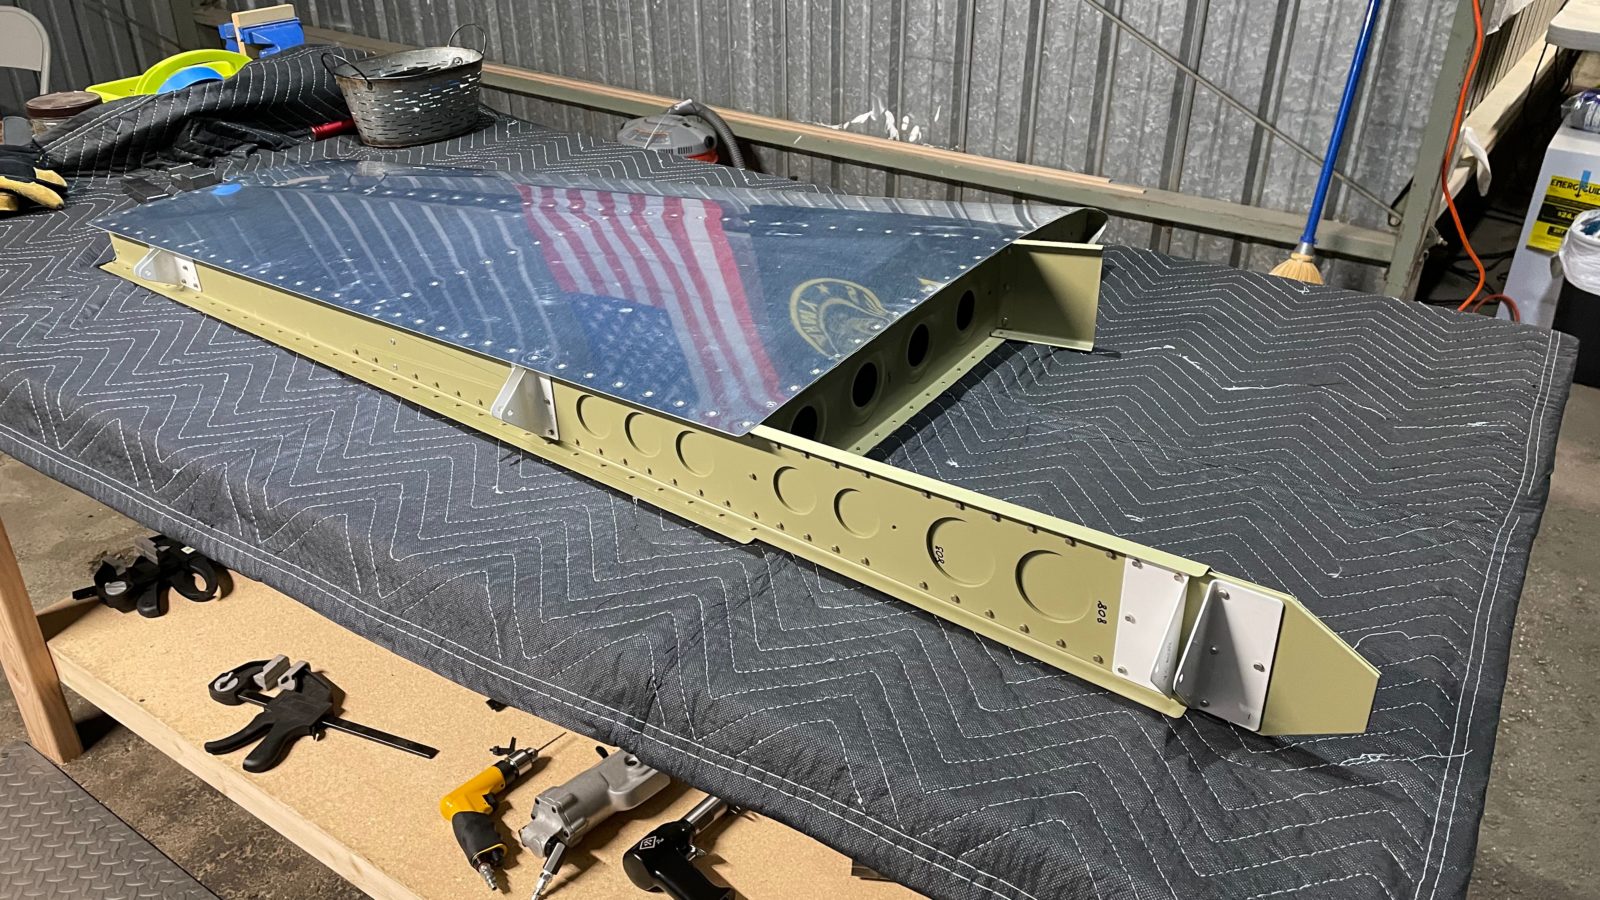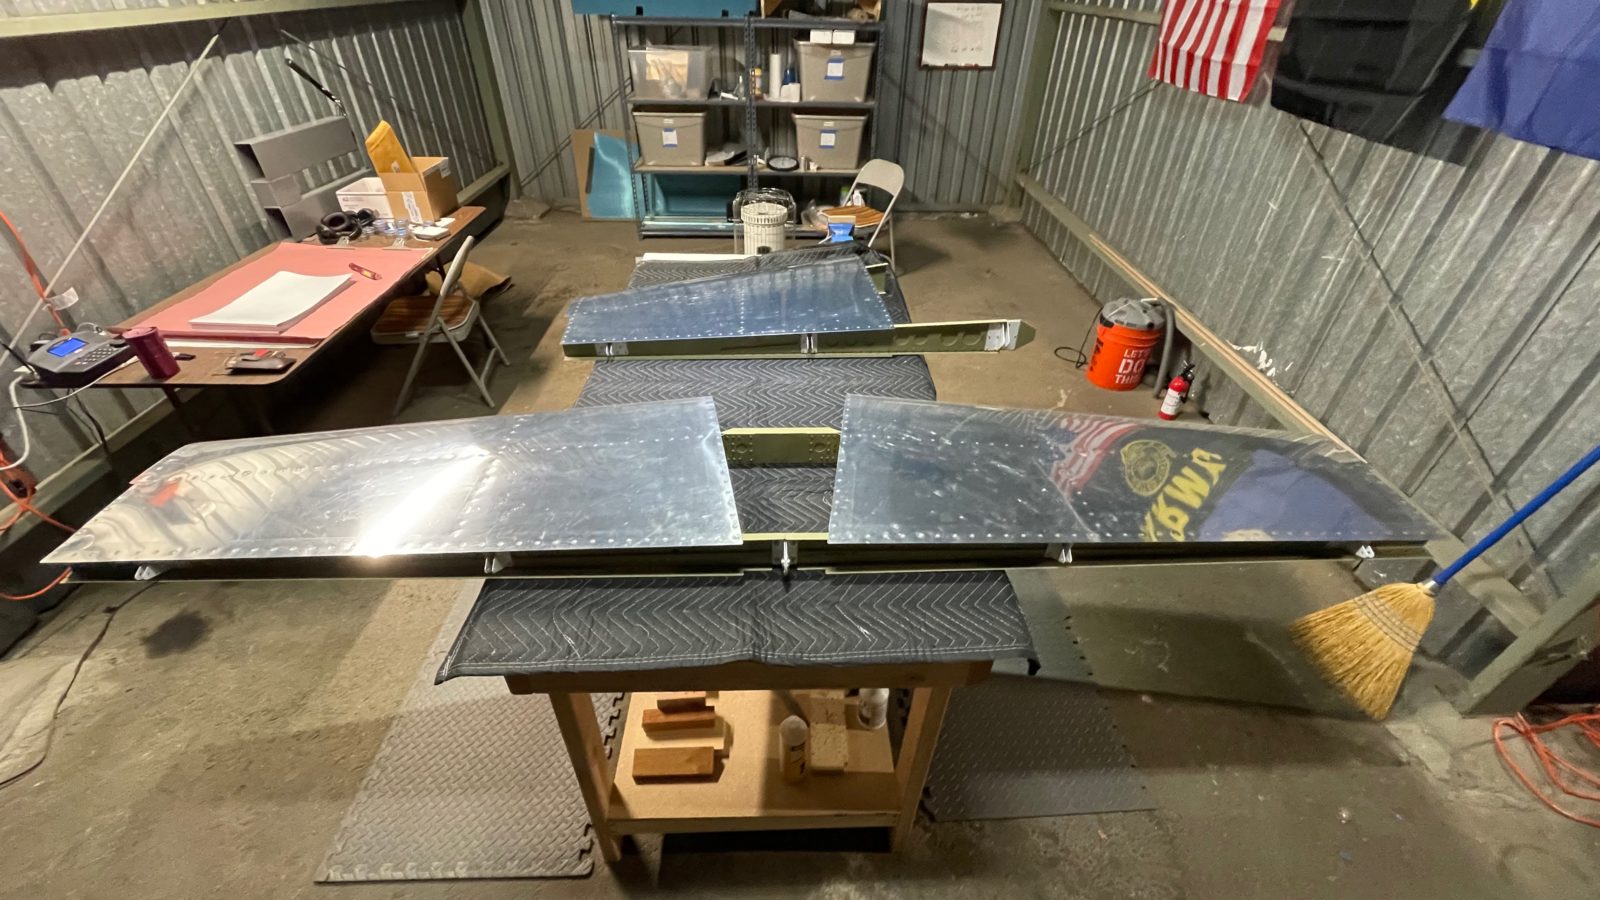
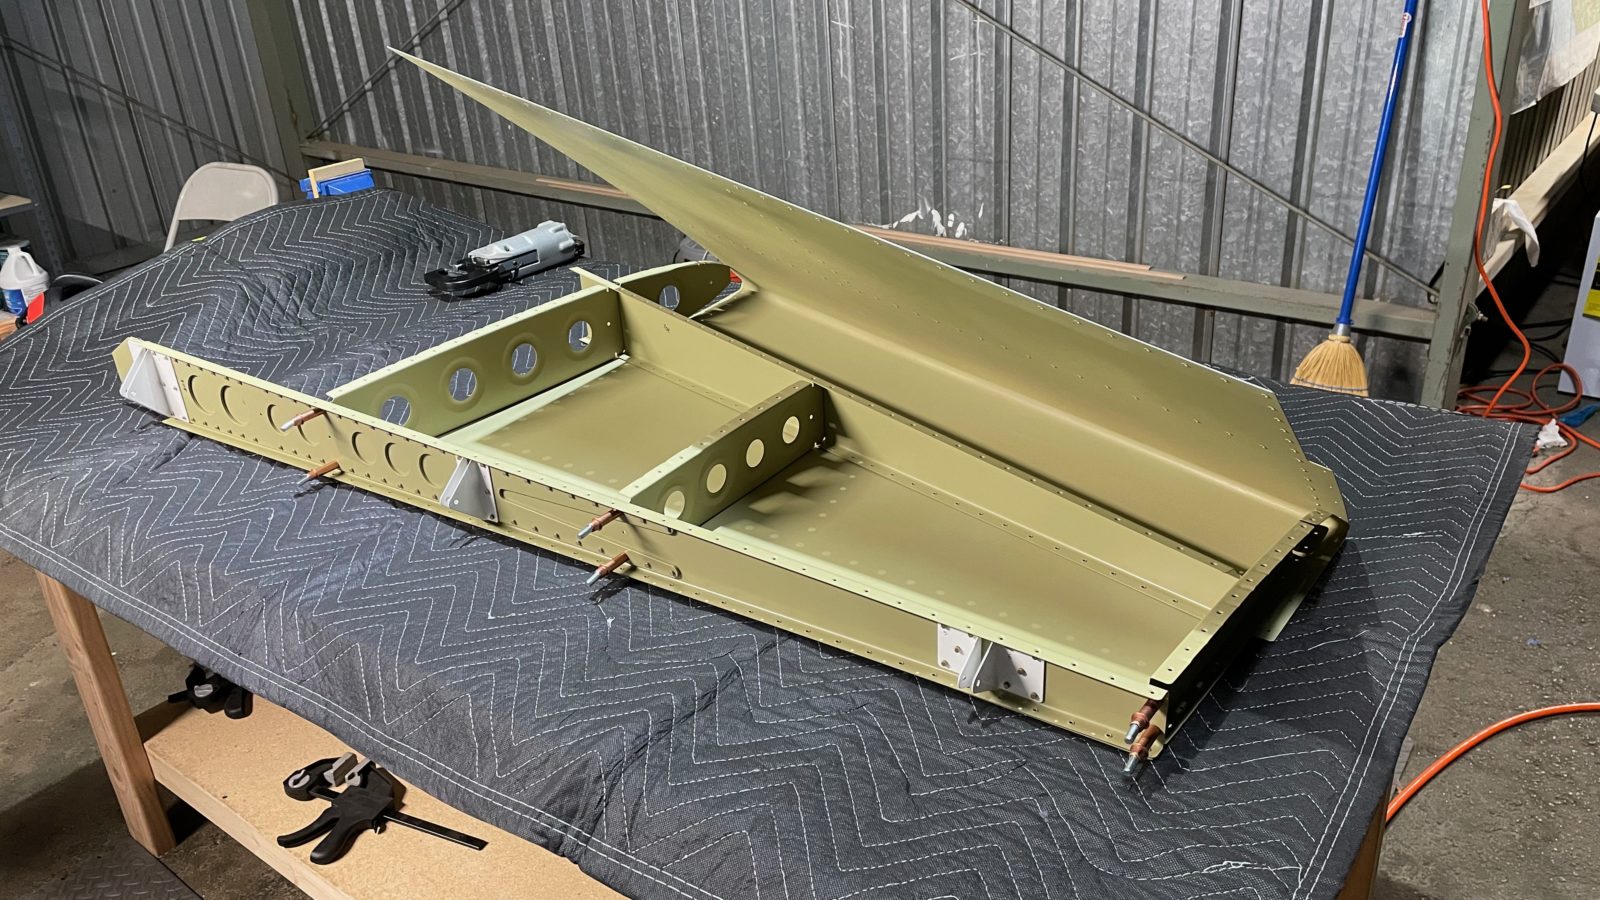
This weekend we had a marathon session (5.5 hours) to finish the vertical stabilizer! The work was quick now that we’re getting used to the workflow: fit, match drill, disassemble, deburr, dimple, prime, assemble. It also helped that this is a smaller component than the horizontal stabilizer.
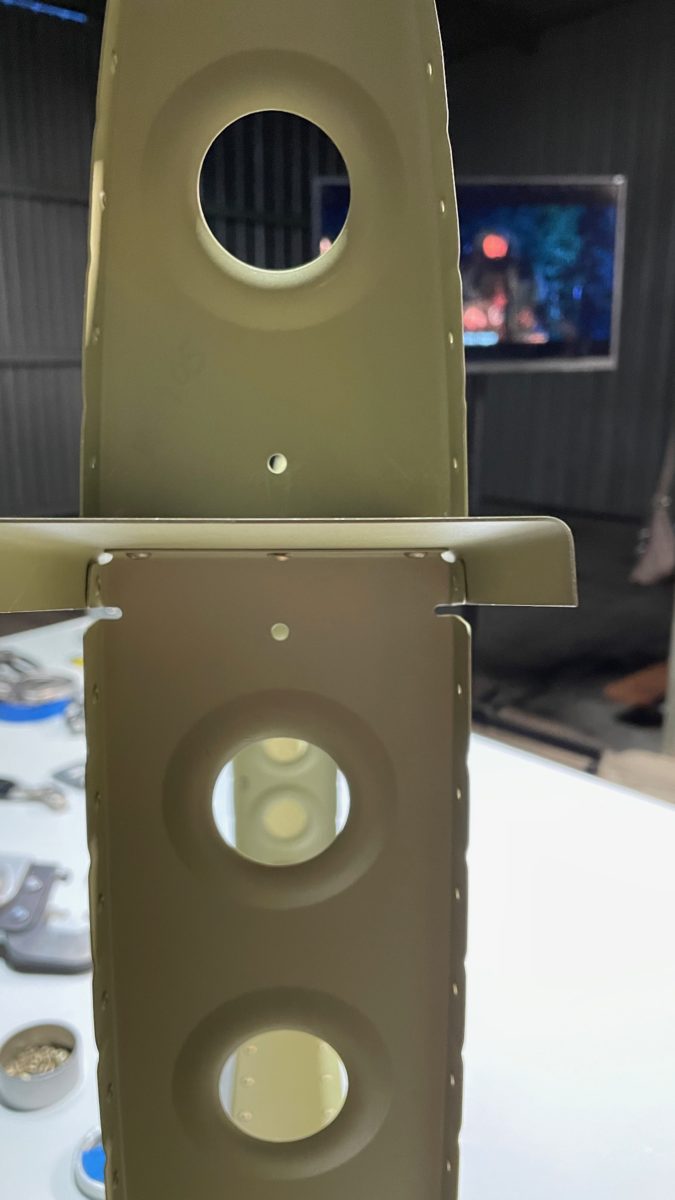
There weren’t many surprises this time around, however, a recurring issue with the tight quarters at the leading edge made for challenges with riveting again. After trying several different angle and positions, I found I was able to use the pneumatic squeezer to get one of the leading edge rib rivets in. Although once in, the rivet itself blocked using the squeezer to put in the one for the other side.
I ended up using an adjustable wrench as a bucking bar and the normal impact riveter to set this final rivet.
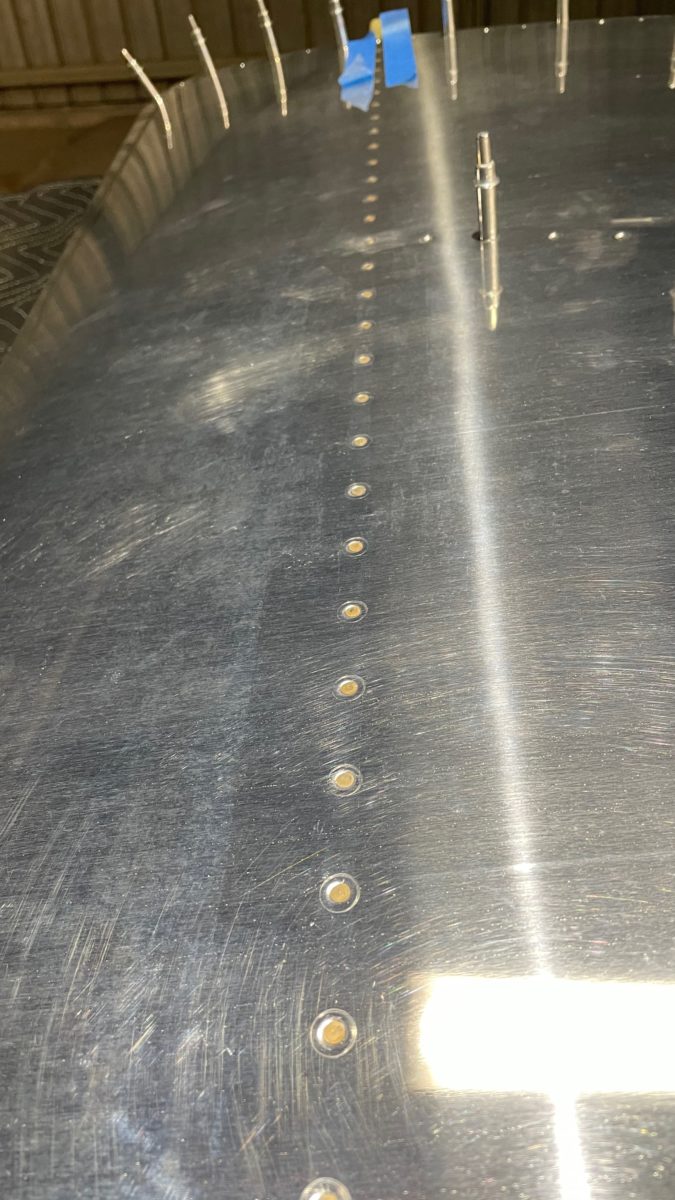
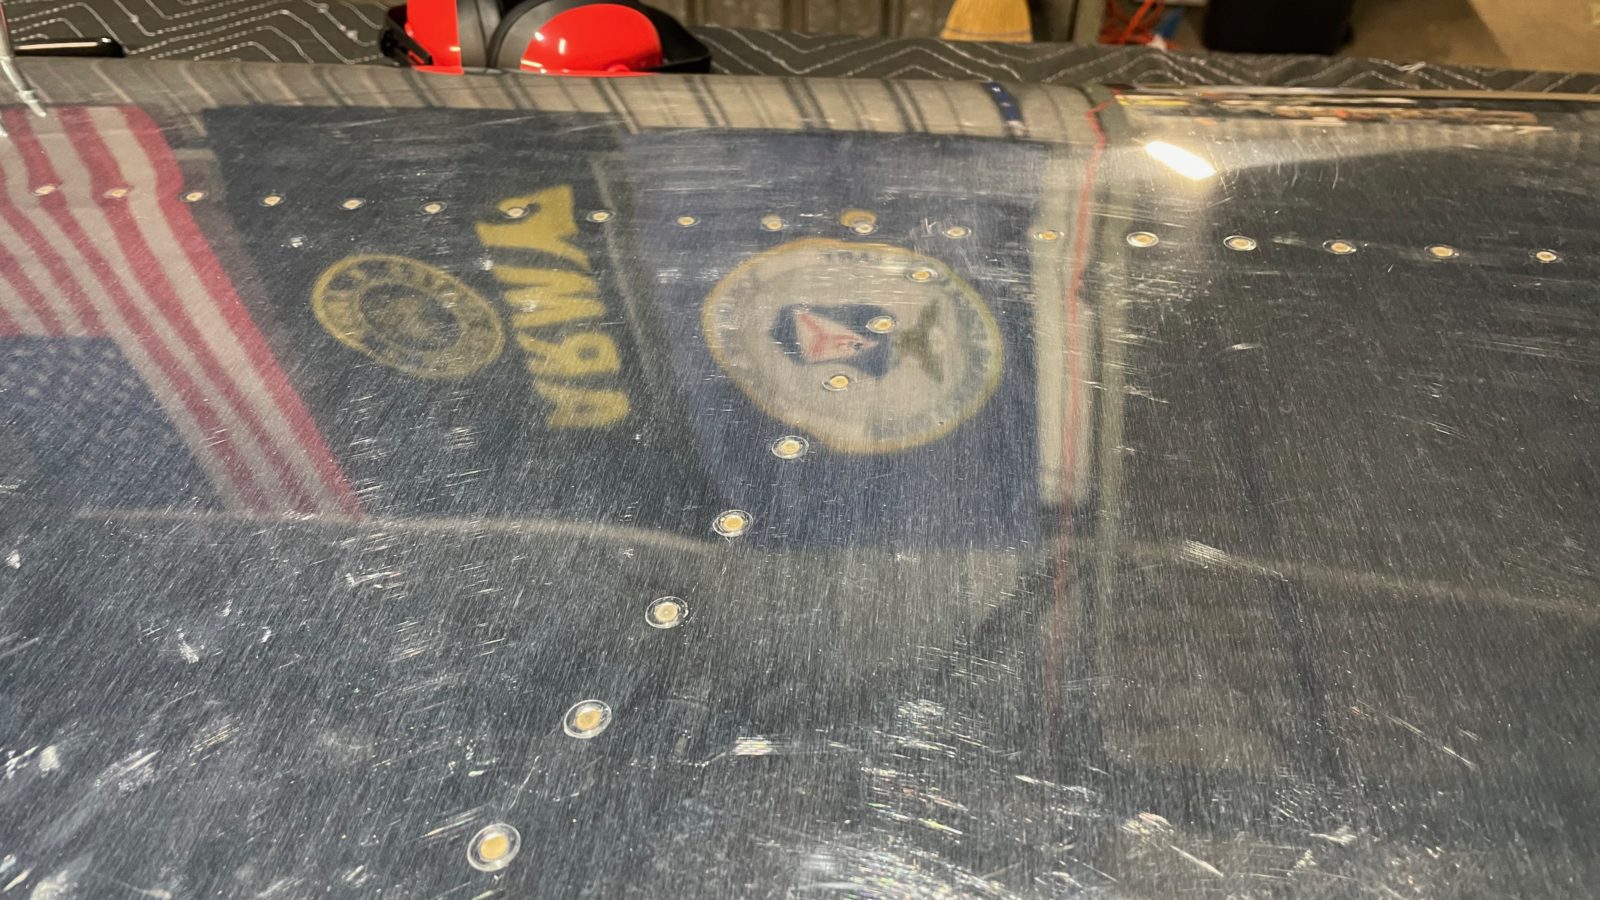
Speaking about riveting, I’ve had trouble setting what I felt were quality rivets. On the horizontal stab, I have a couple that are raised just a hair, so that you can feel the edge when you run your finger over them. Although it doesn’t present any sort of issue as far as build safety or part strength, it really grates on my O/C tendencies! Grrr!
This time I started with what what has been my typical setup: ATS rivet gun with a flat mushroom set that has a rubber grommet around the outside edge, which is supposed to prevent making “smiles”, or indentations, on the side of the rivet. These are caused when you inadvertently lean the tool a little which riveting (doesn’t really work).
This time I decided to use another flat set that I bought. This one has a slightly larger diameter, and no grommet, so it fits completely flat against the rivet head. To keep from maring the surface, we usually lay down a strip of blue painter’s tape on either side of the rivet. The fact that the set is on a pivot keeps it from making the “smiles”.
As it turned out, this works MUCH better for me! All of the rivet lines this time were perfectly flush. You can see it in the photos below. This is the new setup going forward. The only issue is that since the set is flat, it tends to wander around a bit while banging away on the rivet, so you have to be really careful to be perpendicular to the work.
Anyhow, we’re on to building the rudder and then the elevators next. For me, the challenge I see is bending the front edges into a rounded edge. This was one of the tasks during the training project that I felt I did terrible with. You basically use a forming tool (Van’s recommends a broomstick) taped to the edge in order to roll in a curve to the top side and bottom side of the airfoil, then rivet them together in the middle. I’ll be watching plenty of build videos to try to glean tips to make this successful!