It’s getting close to priming! We’re about done with the first part of the horizontal stabilizer, and the instructions are calling for priming. Exciting! Well, in a gut-wrenching, nervous kinda way.
So, I’ve never spray painted anything before, unless you consider using rattle cans (which I don’t consider real spray painting). The prospect of priming the plane the right way means getting the right gear. In the case of priming airplanes, that equates to a spray gun..and paint. Fortunately, we’ll be painting stuff that nobody will see, so that makes it a bit easier to deal with.
But before we start, we have to select what kind of paint we want to use. There are a lot of options for brand, type and color. Some are toxic, while others are super eco friendly. They all are astronomically expensive (at least I think so).
Reading through the Vans Air Force web site only makes my head spin. There are as many different recommendations as there are people making them. So, I decided I’ll come up with specs I think are the best and go from there.
The top choices I ended up with are AKZO and Stewart’s. Stewarts is a water-based paint, which is great for the environment. It can be a little finicky, but can produce an easy, nice finish. Just don’t ever spill any kind of solvent on it.
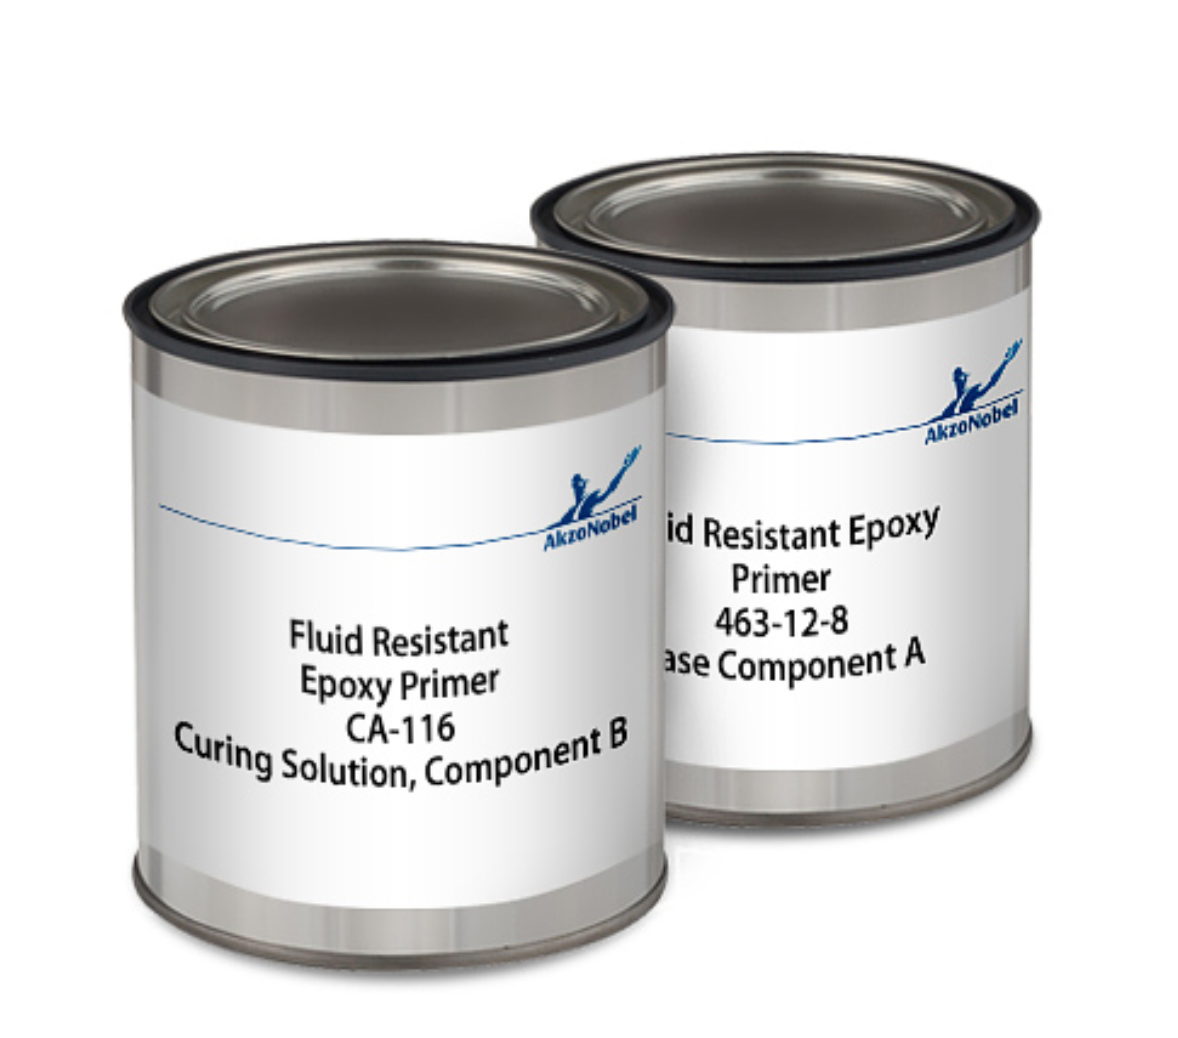
AKZO is the Cadillac of aircraft paint. It’s a lacquer paint, super hard and resists pretty much any kind of solvent (fuel, alcohol, MEK, etc). Application is easy…mix 1-to-1 with it’s activator and spray it. The downside is it’s pretty toxic.
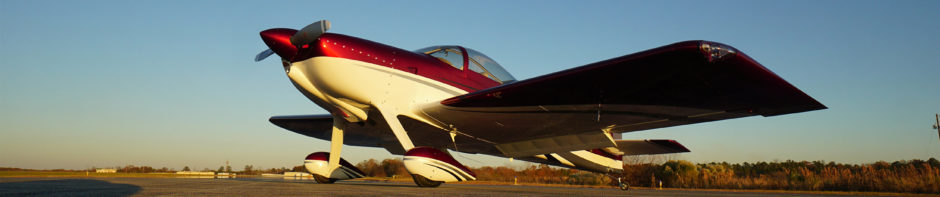
Denny has used this on his RV-8 (pictured above), and man…that finish is absolutely gorgeous! However, to spray it safely I need to set up a ventilated paint booth. That’s a no-go at the airport, so I’m going to have to construct something at home that I can put together and take apart as needed, and that has plenty of ventilation for overspray and vapor protection. I’ve watched a number of videos on this, and have a good idea of what I want to do.
The booth will have a solid frame back side with a ventilation box covered with a couple diffusion panels, with filters behind them. To that I need to attach a fan that’ll be strong enough to draw out the vapors, and a way to get them away from the booth and outside.
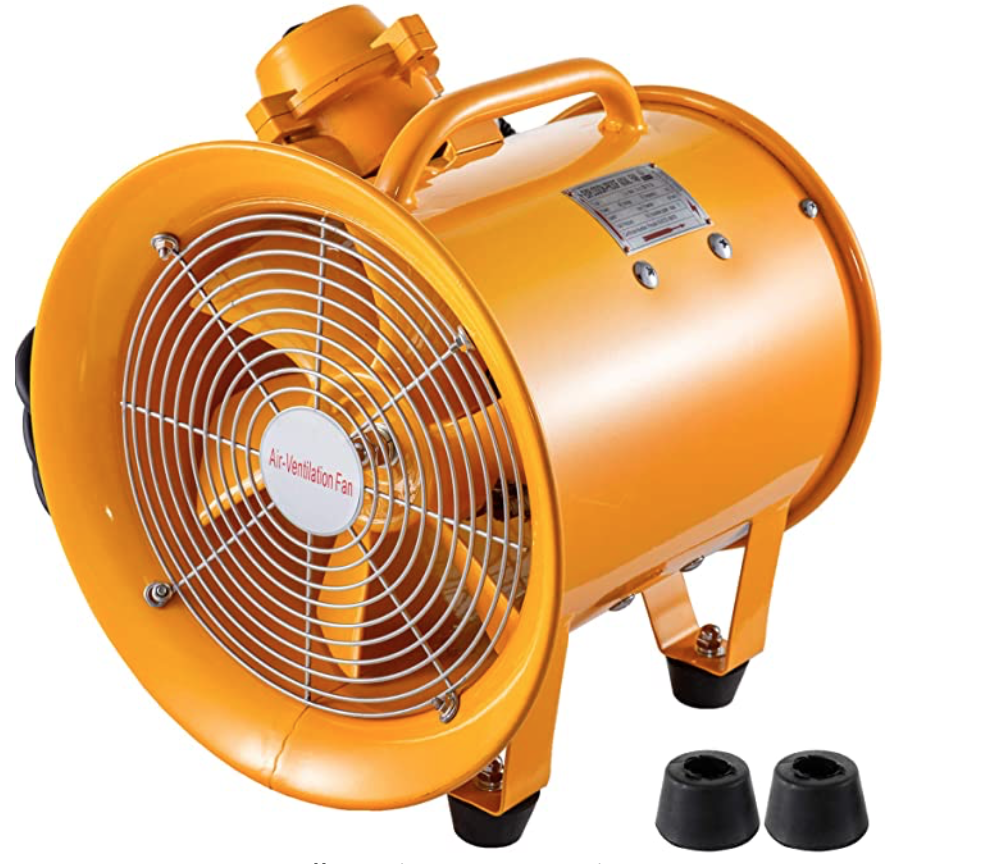
I found a great little 10″ explosion-proof utility blower and a 25-foot flexible PVC hosing duct on Amazon. I’ll use it to pull air through the ventilation panels and out under the garage door.
The rest of the booth will be made of sched 40 PVC pipe and covered with clear plastic paint dropcloth. I’ll hang the parts on a rod across the front of the diffuser panels and spray them that way. The diffuser will catch most of the overspray, and the blower will vent the vapors outside. Of course, I’ll still need to be wearing a vapor mask while I’m working inside the booth. I think this arrangement should work okay.
I ordered the paint today, and it’ll be here in 2 weeks. So now I have to hustle to build at least a temporary spray booth so that I can get these first parts done and we can get on to riveting!