
Now that we’ve disassembled the horizontal stab parts, it’s time to prep them for riveting! WOOHOO! Unfortunately, this is one of the most tedious and time consuming parts of the project…and one that will be repeated a LOT… 1) deburr, 2) dimple, 3) clean edges, 4) prime.
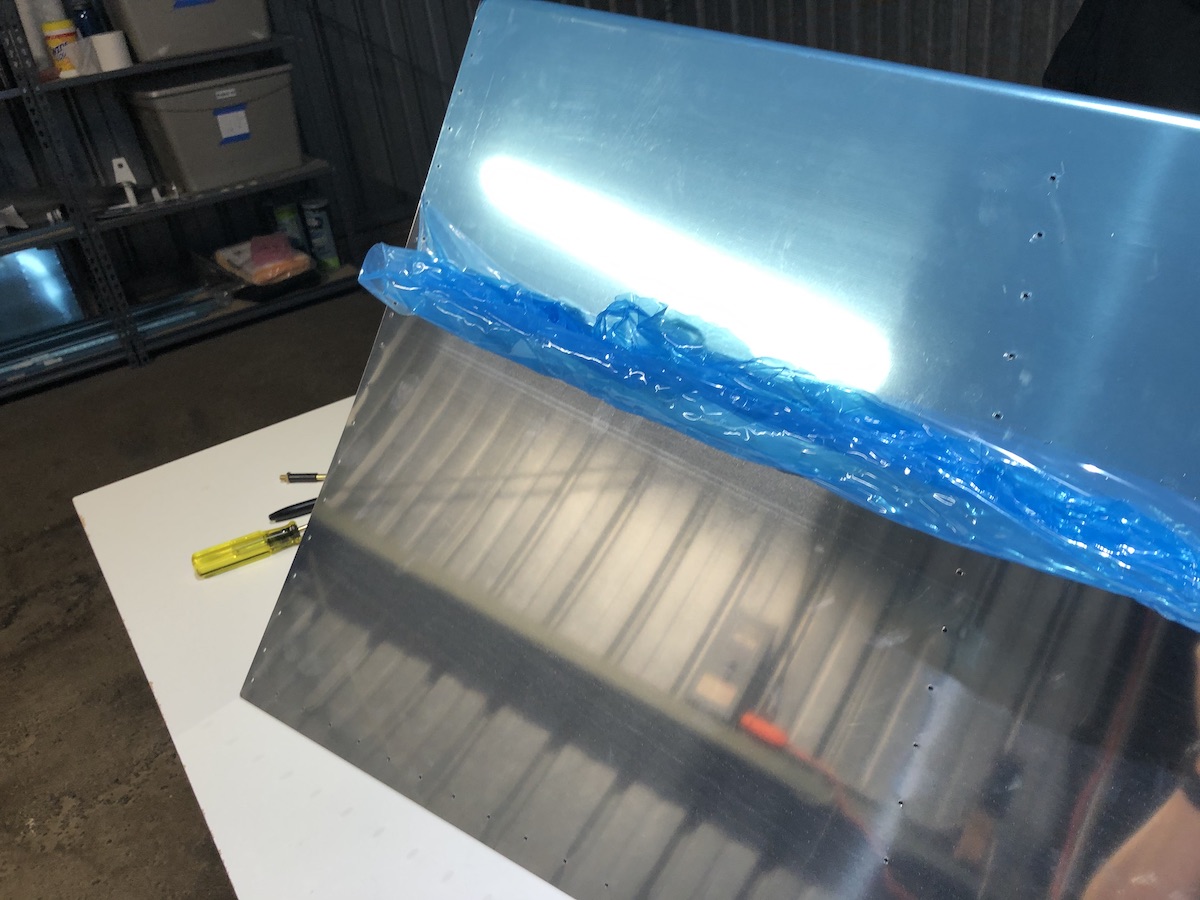
Today we started the first part…deburring the myriad holes we match-drilled last time. For the most part, the small parts were pretty easy. The larger the part, the more work. At the top was the skin itself. We tackled that using teamwork! Just like in our gazebo project, the parts are all covered by a thin blue vinyl covering, for scratch protection. It’s stuck pretty firmly to the parts, and especially on the skins it’s a lot of work to remove. We had to do the same for the large aluminum panels that made up the gazebo roof. I thought we were done with that forever. 🙂
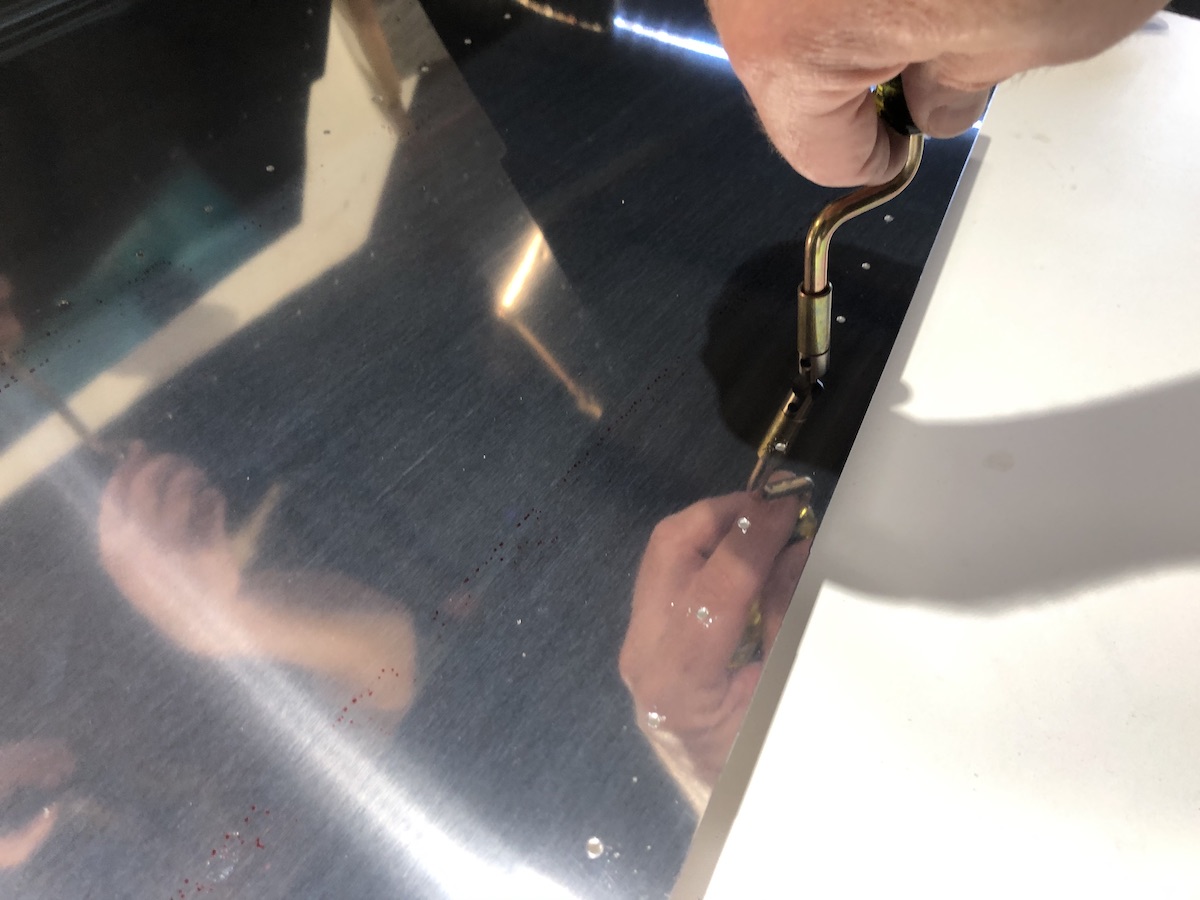
Once we got that removed (from both sides), we started working on deburring. I bought a second deburring tool so that we could work concurrently. The operation is simple. You take the point of the tool, which is basically a countersink bit attached to a metal shaft with 2 bends in it, and a handle. You can swivel the tool around, turning the bit and digging out a little bit of metal at the top of the hole. this introduces a very slight countersink to it, removing any burrs and making it smooth.
We had to do this on all the holes in the parts…on both sides (although theoretically the holes on the side where the manufacturing tool punches the holes through are pretty much deburred already). This took a couple of hours to complete, but we had Coraline playing on the TV and that helped the time pass.
After we finished the hole deburring came dimpling, but it was getting late in the afternoon and I had a CAP meeting to prepare for. So, we grabbed all the parts (save the skins) and brought them back home, along with the hand squeezer and a set of 3/32″ dimpling dies. I figured we can dimple as we sit comfortably in the living room watching TV. 🙂
As far as dimpling goes, what you’re basically doing is, well, making a dimple in the skin that will accomodate a flush rivet so that it sits flush against the skin. Not only does the skin need dimpling, but the structure underneath the skin, so that all pieces have dimples that nestle into each other.
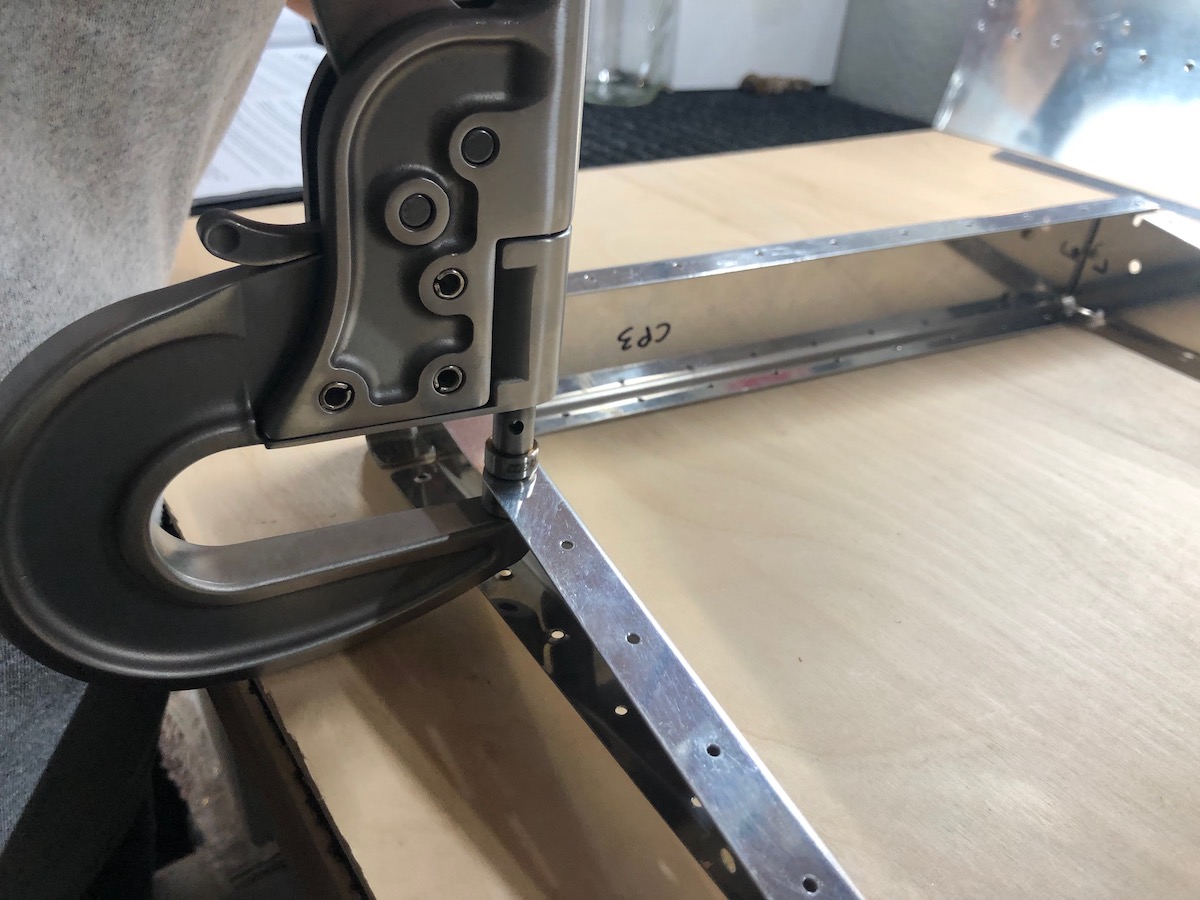
Dimpling can be done with a number of different tools. Mainly we’ll use our hand squeezer for all the holes along edges and inward about 3″ (because that’s the depth of the frame).
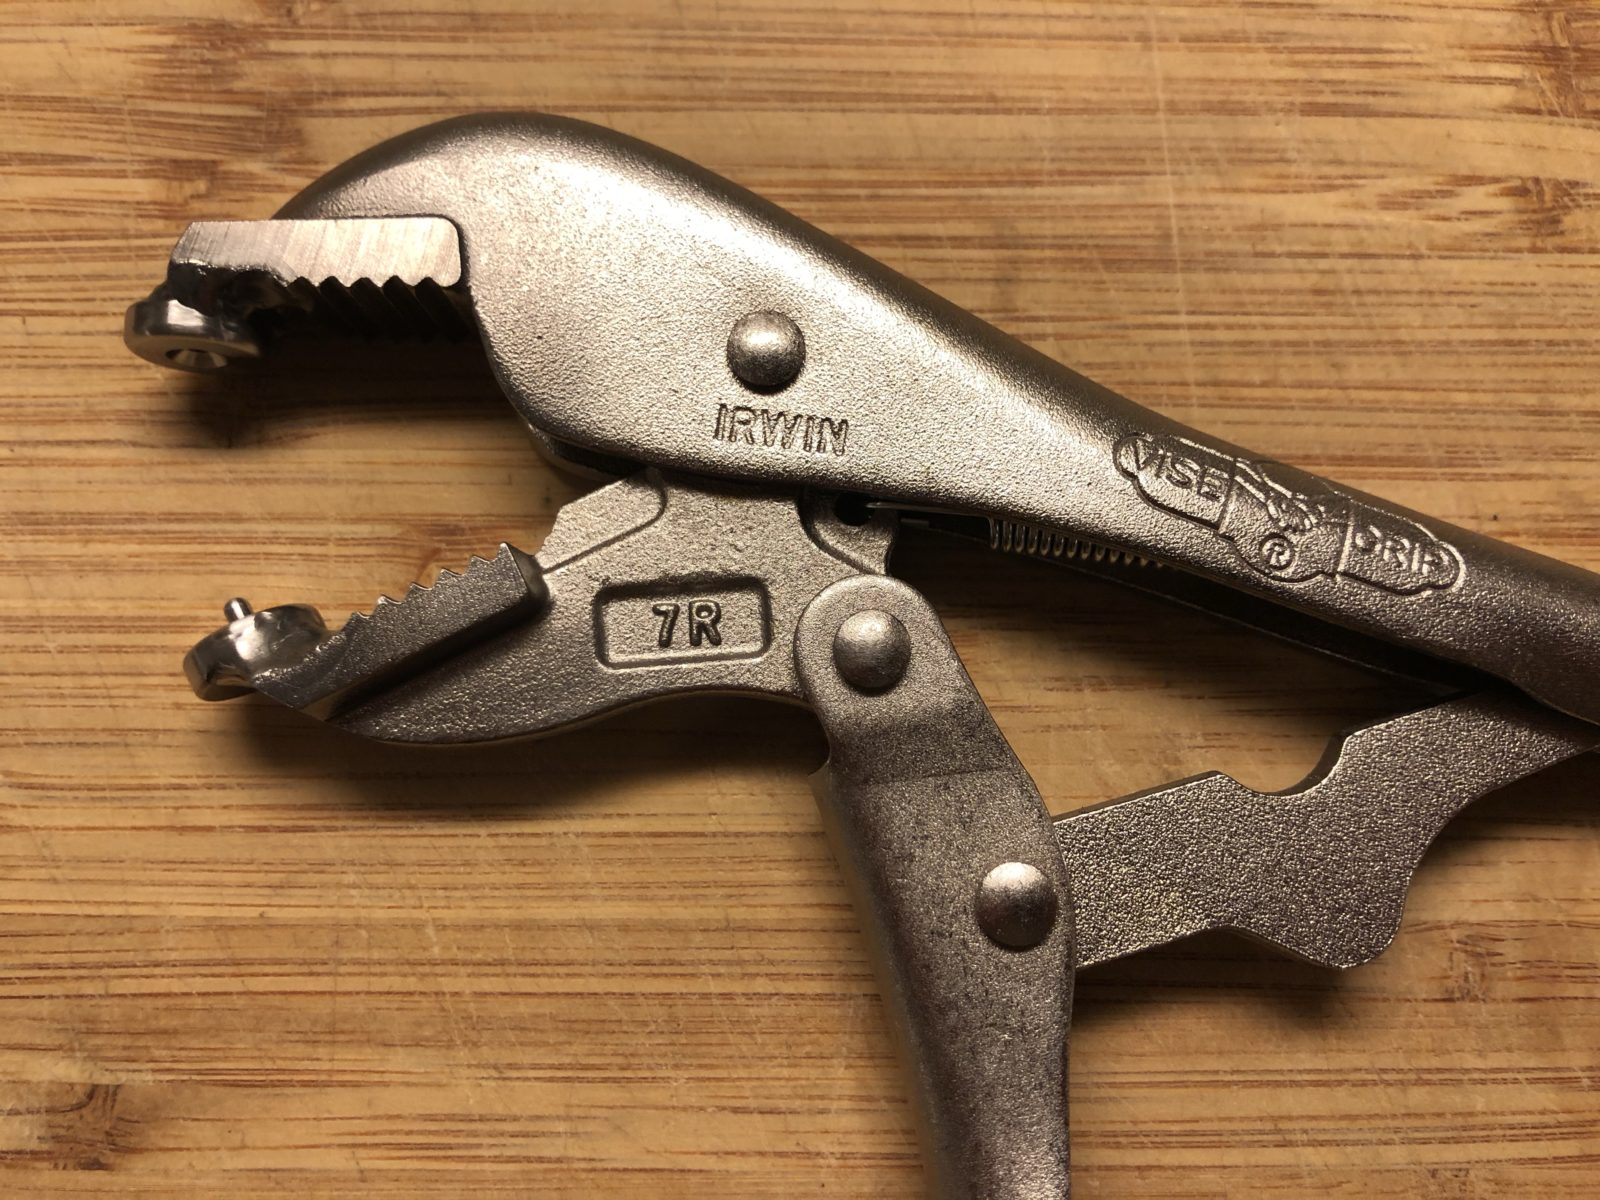
If the part that needs dimpling is too narrow for the squeezer, we have a super handy pair of vice grips that have dimple dies soldered on.
And, if THAT doesn’t work, there is even a super-slender set of dies you use with a pop rivet gun! For the skins, and any area that is out of reach of the aforementioned tools, there is the c-frame dimpler, which has a 30″ reach. That’s what we’ll use for the skins.
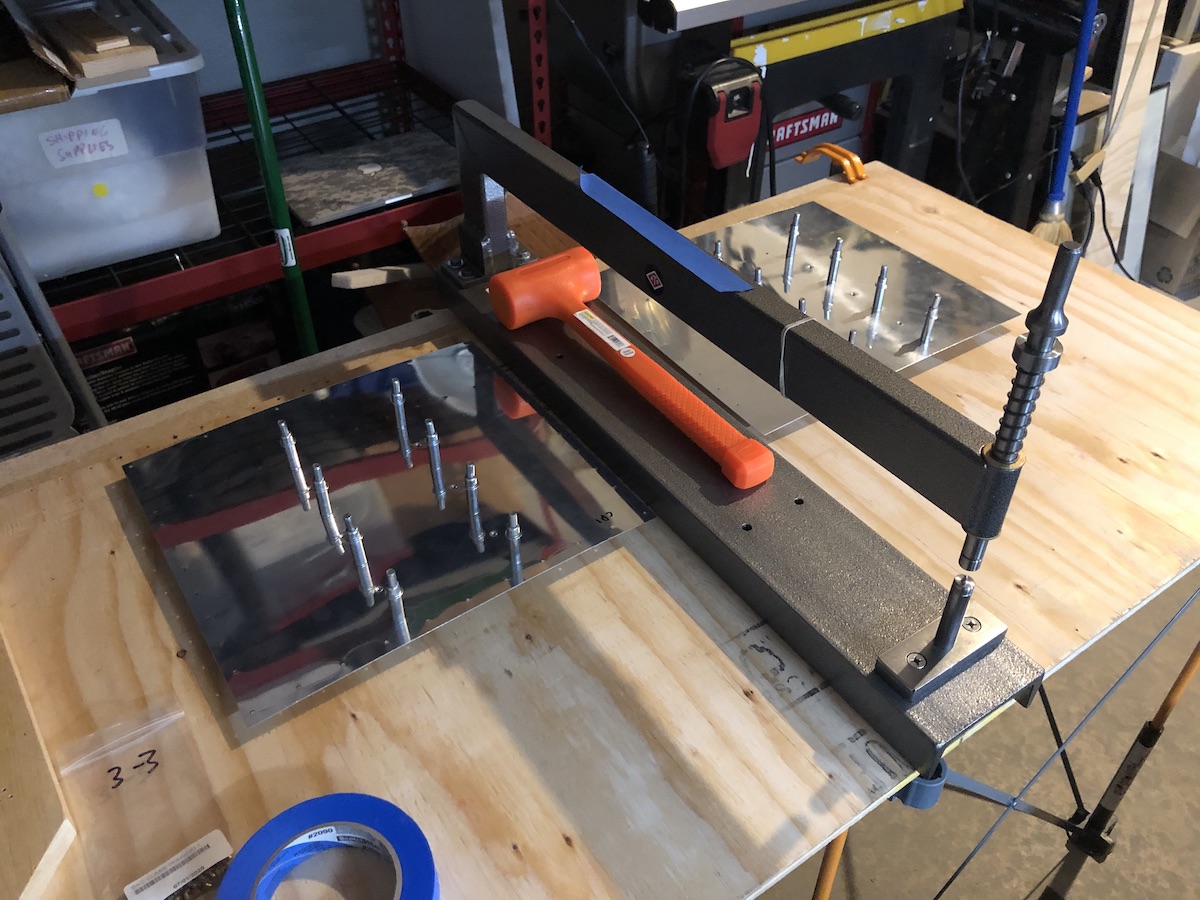
I call it the “Whack-a-mole.” 🙂
So, next up… finish dimpling the non-skin parts here at home, go dimple the skins at the hangar, then move on to the next step, which is deburring all the edges, crevices and other sharp bits on the parts!