Tools, Part Four

It’s still only 2 weeks into our decision to build the Vans RV-7, and I’m busy making purchases of the tools we’ll need to do it. This is the fourth order I made through Aircraft Tool Supply…and the most expensive.

Part #DescriptionQtyPriceTotal
4263D-2RDimple Die, 3/32″ reduced diameter1$11.95$11.95
204RVDimpling/Rivet tool, 22″ RV1$215.95$215.95
CP7AM3M Cut & Polish Wheel (6″)1$100.95$100.95
AE1042Edge Rolling Tool1$24.95$24.95
Sub$353.80
Tax/Ship$0.00
Total$353.80
ATS order #4

So now let’s talk about dimpling!

Dimple Press

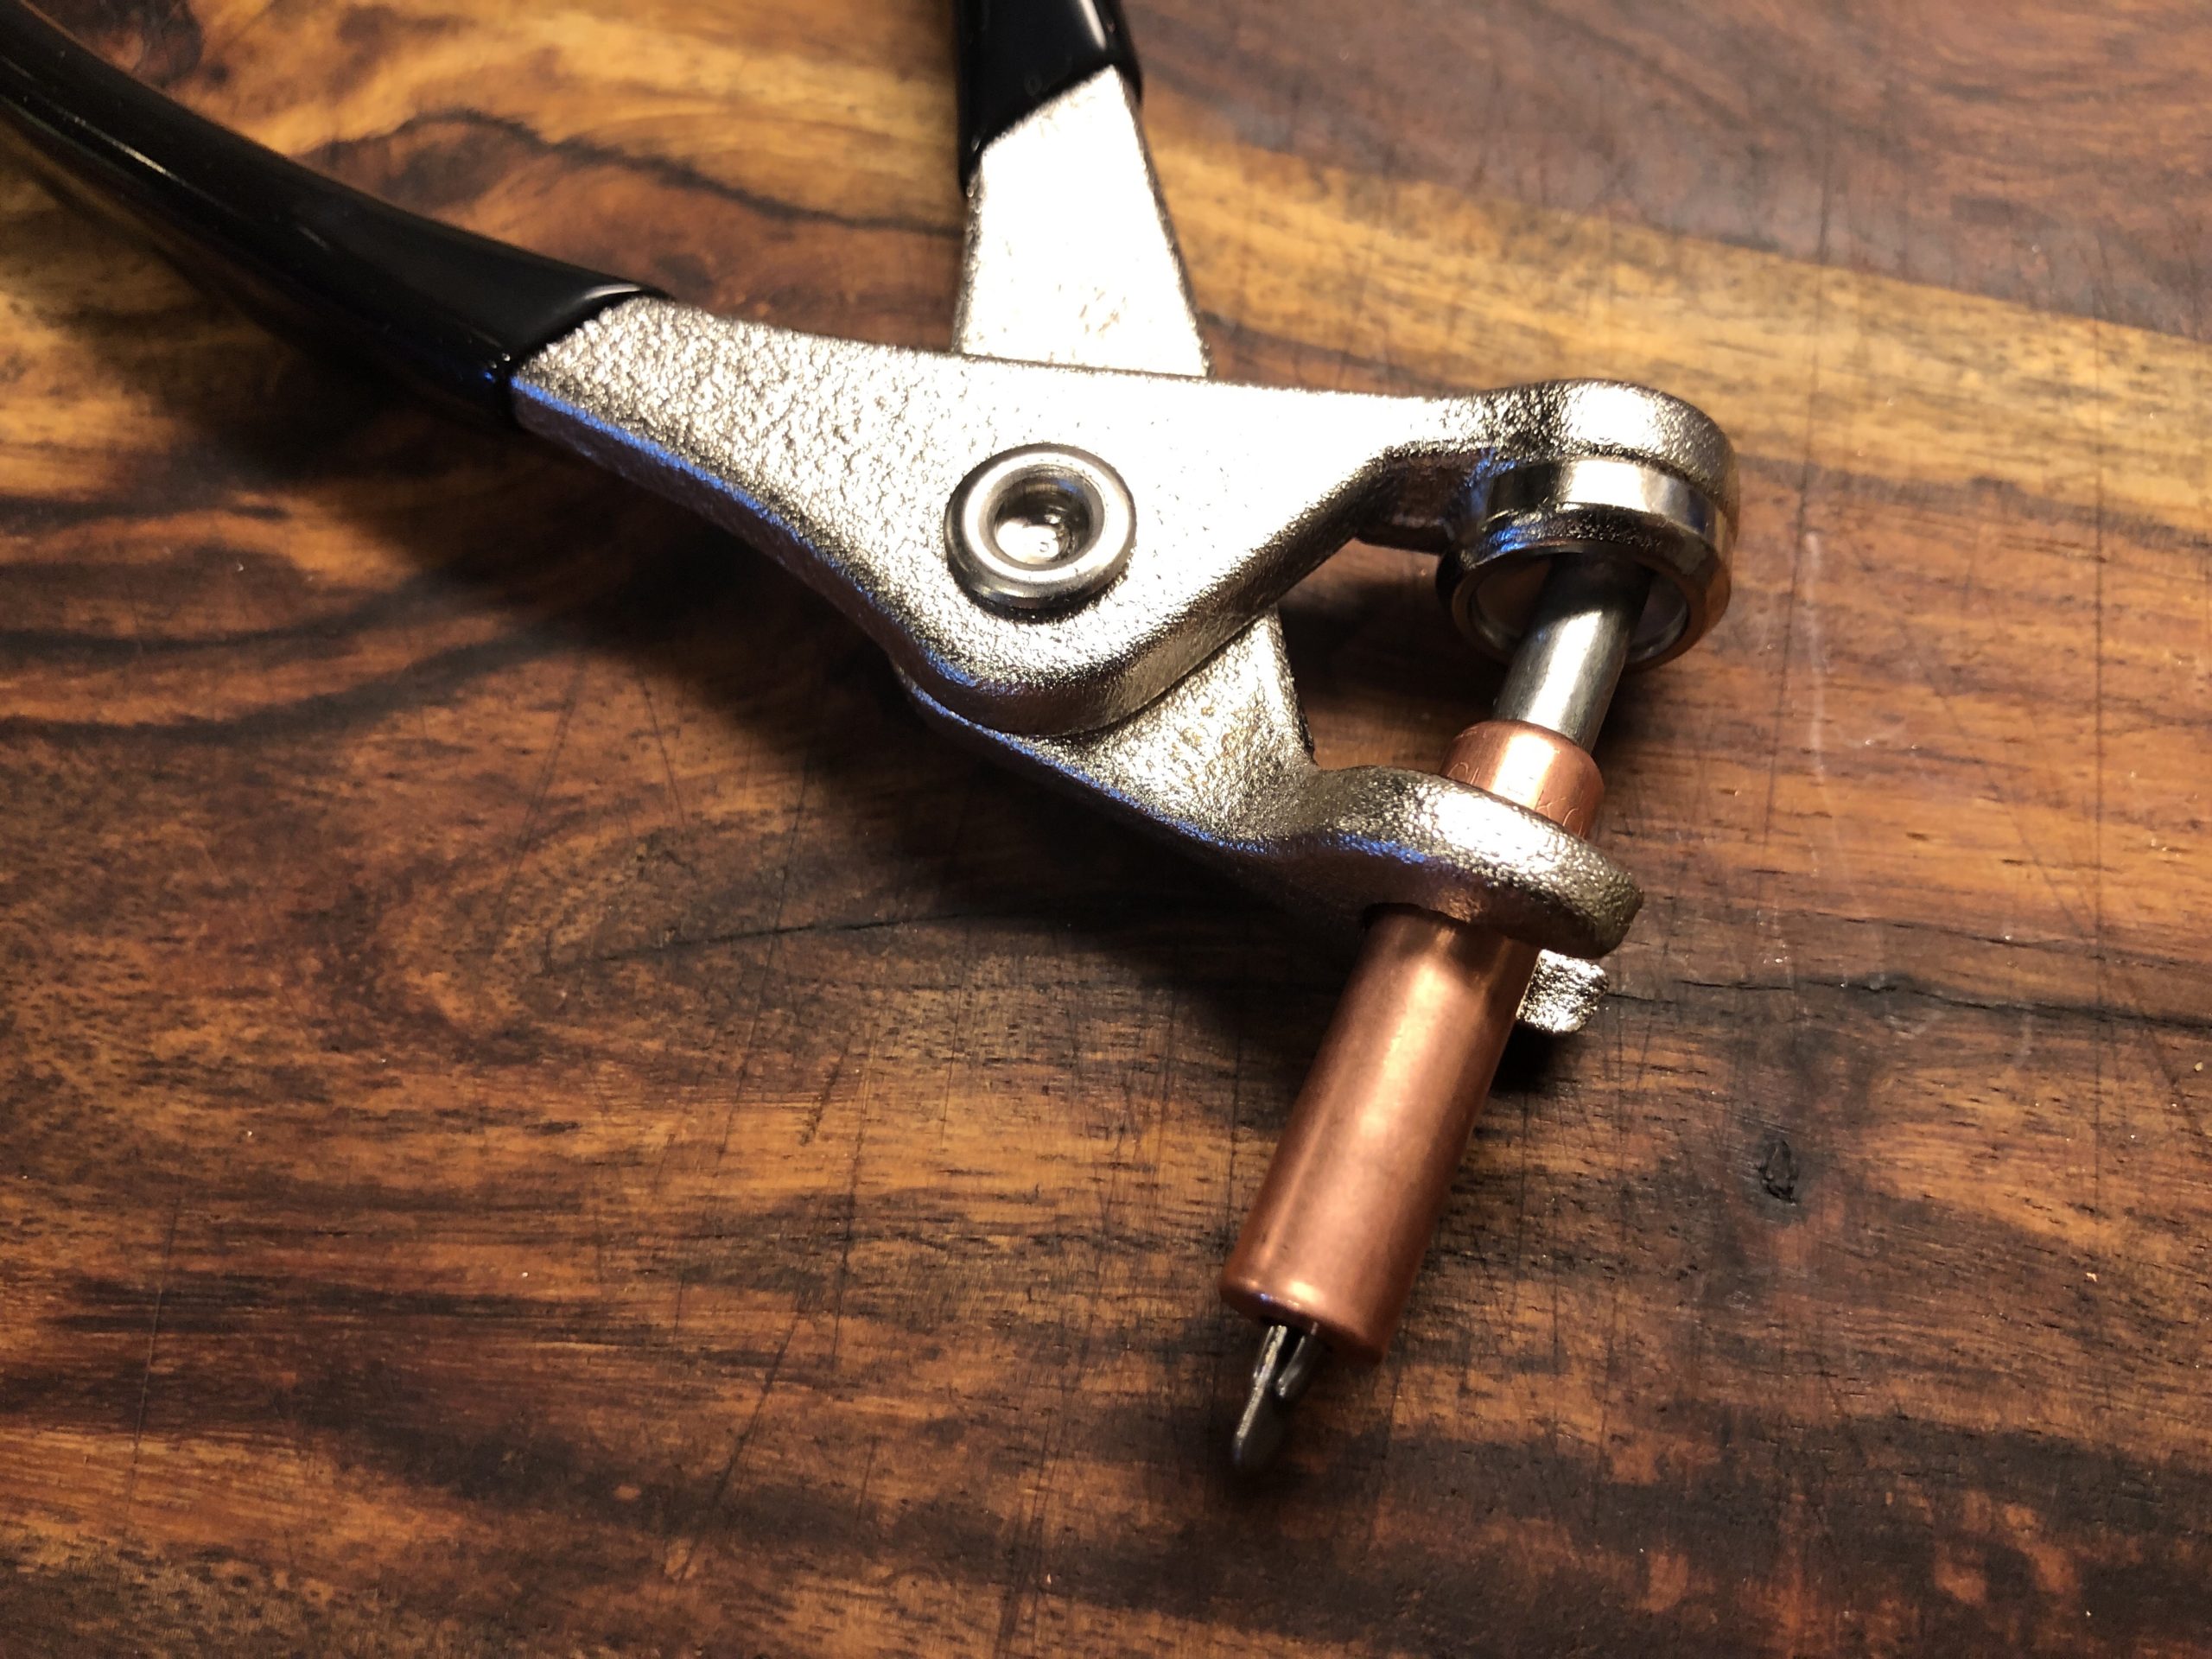
As I mentioned before, the process of dimpling creates indentations in the aircraft skin so that when you place your rivets, they’ll be flush with the surface, which makes for a nice, laminar air flow over the surface. As I also mentioned, there are several different tools and techniques for doing so. The easiest is to buy a set of dimpling dies and use some special pliers to squeeze the dies against the airfoil skin. However, like riveting, you will end up making LOTS of dimples. So, it behooves us to invest in a device that’ll make the process a but easier.

Initially I looked at the different tools you can use. The most popular by far is the DRDT-2, which is a huge metal frame that has a deep “throat”, so that you can reach holes that are, say, in the middle of a large skin.

From Bruce Swayze’s RV-7A build website

There are also, on the opposite end of the scale, pliers that accept dimple dies and allow you to squeeze dimples in. They only have limited reach, unfortunately. But as is the case wih the rivet gun, there will be occasions where there is limited room, and so multiple tools are often required.

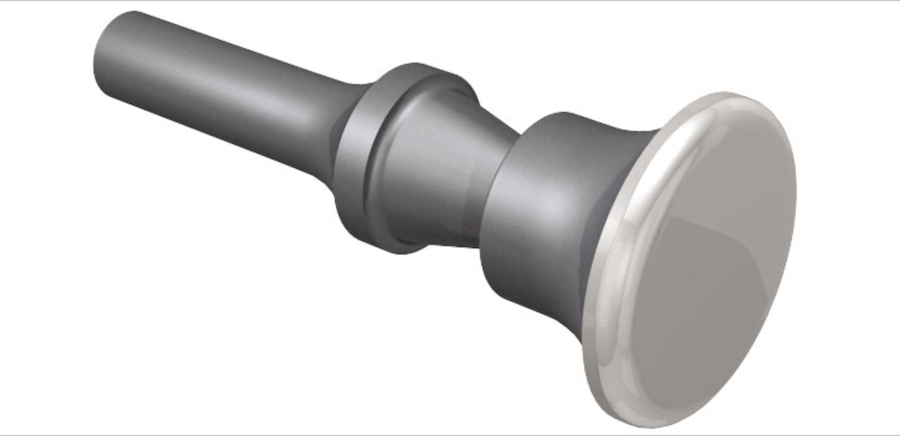
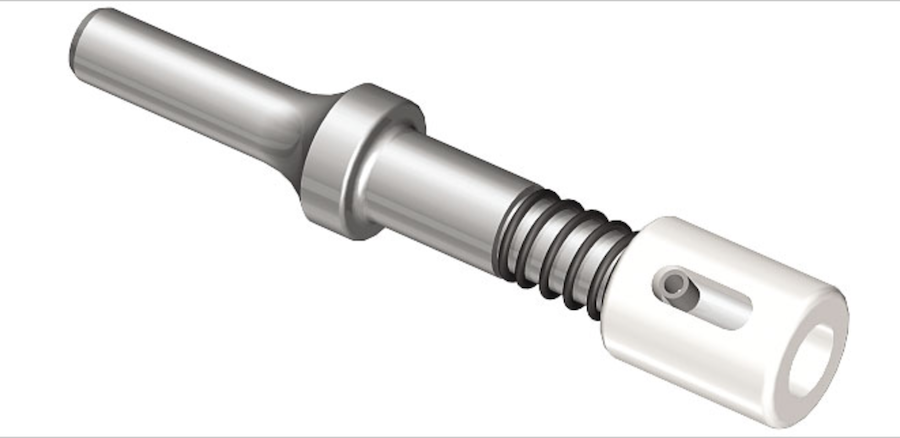
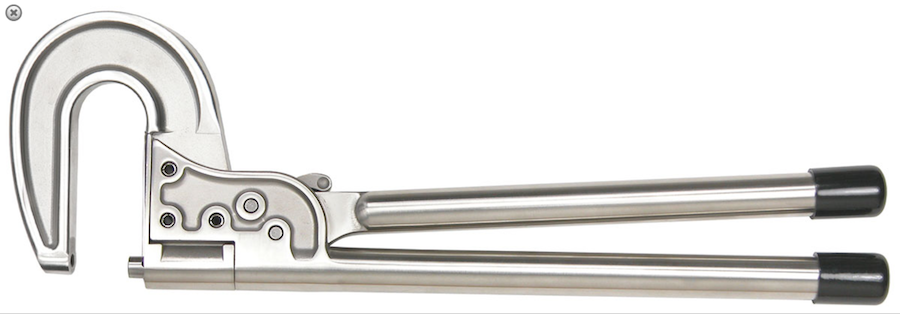
I settled for a dimple press similar to the DRDT-2, but not with the almost $500 price tag. It’s one from ATS, and has a similar 22″ “throat”. It’s a lot smaller and lighter.
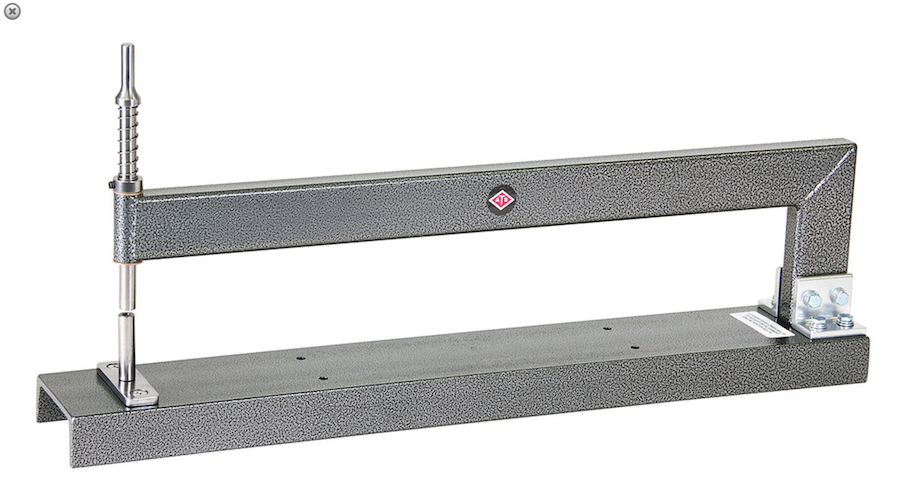
The ATS Dimpler/Riveter

One of the bonuses of the ATS dimple tool is that you can also use it to set rivets! The DRDT-2 is a “squeezer”, and althought it can generate 3000 pounds of pressure, it does is slowly. Setting rivets is best done with a BANG! or a rat-a-tat-tat of a pneumatic gun. WIth the ATS dimpler, you use a hammer to smack the dies into the work piece.

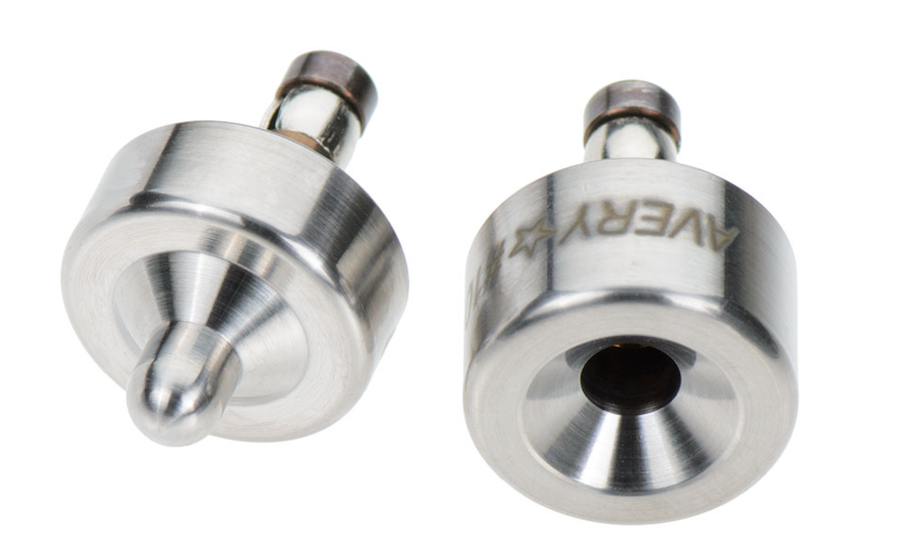
Dimple Die, reduced diameter

Another dimple die set, 3/32″, but skinnier. I read someone’s blog where they ended up bending a stiffener out of true because the regular dimple die they were using was too wide, and smooshed the side wall of the piece. I decided this was worth the money to avoid that mistake!

Cut and Polish wheel
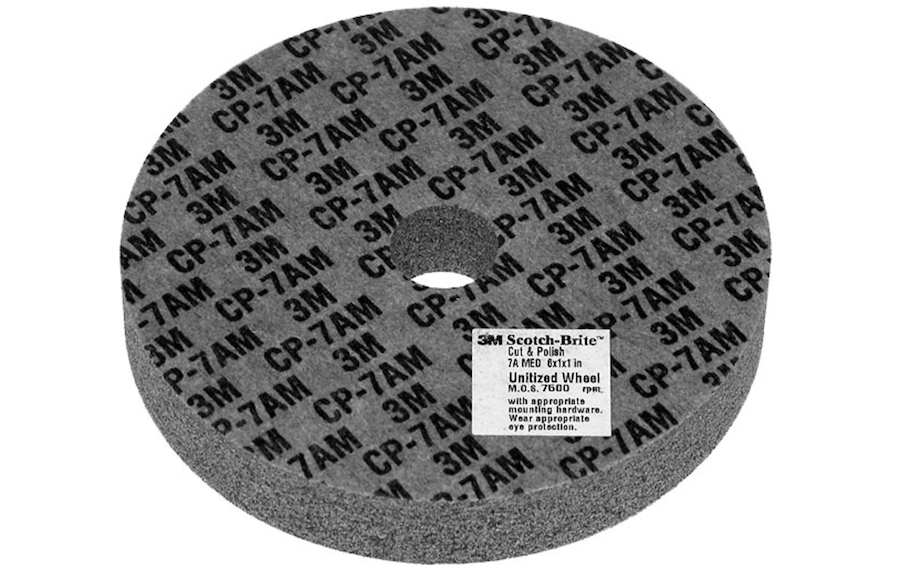
That’s one expensive Scoth Brite pad!

This is a polishing and deburring device that is used to smooth out the rough edges from a work piece’s initial forming. It’s important that all the metal edges in the plane are SMOOTH, mostly to avoid cutting into adjacent metal during operation. This one is a popular one, but I can’t for the life of me figure out how a round Scotch-Brite pad can cost $100!

Edge rolling tool

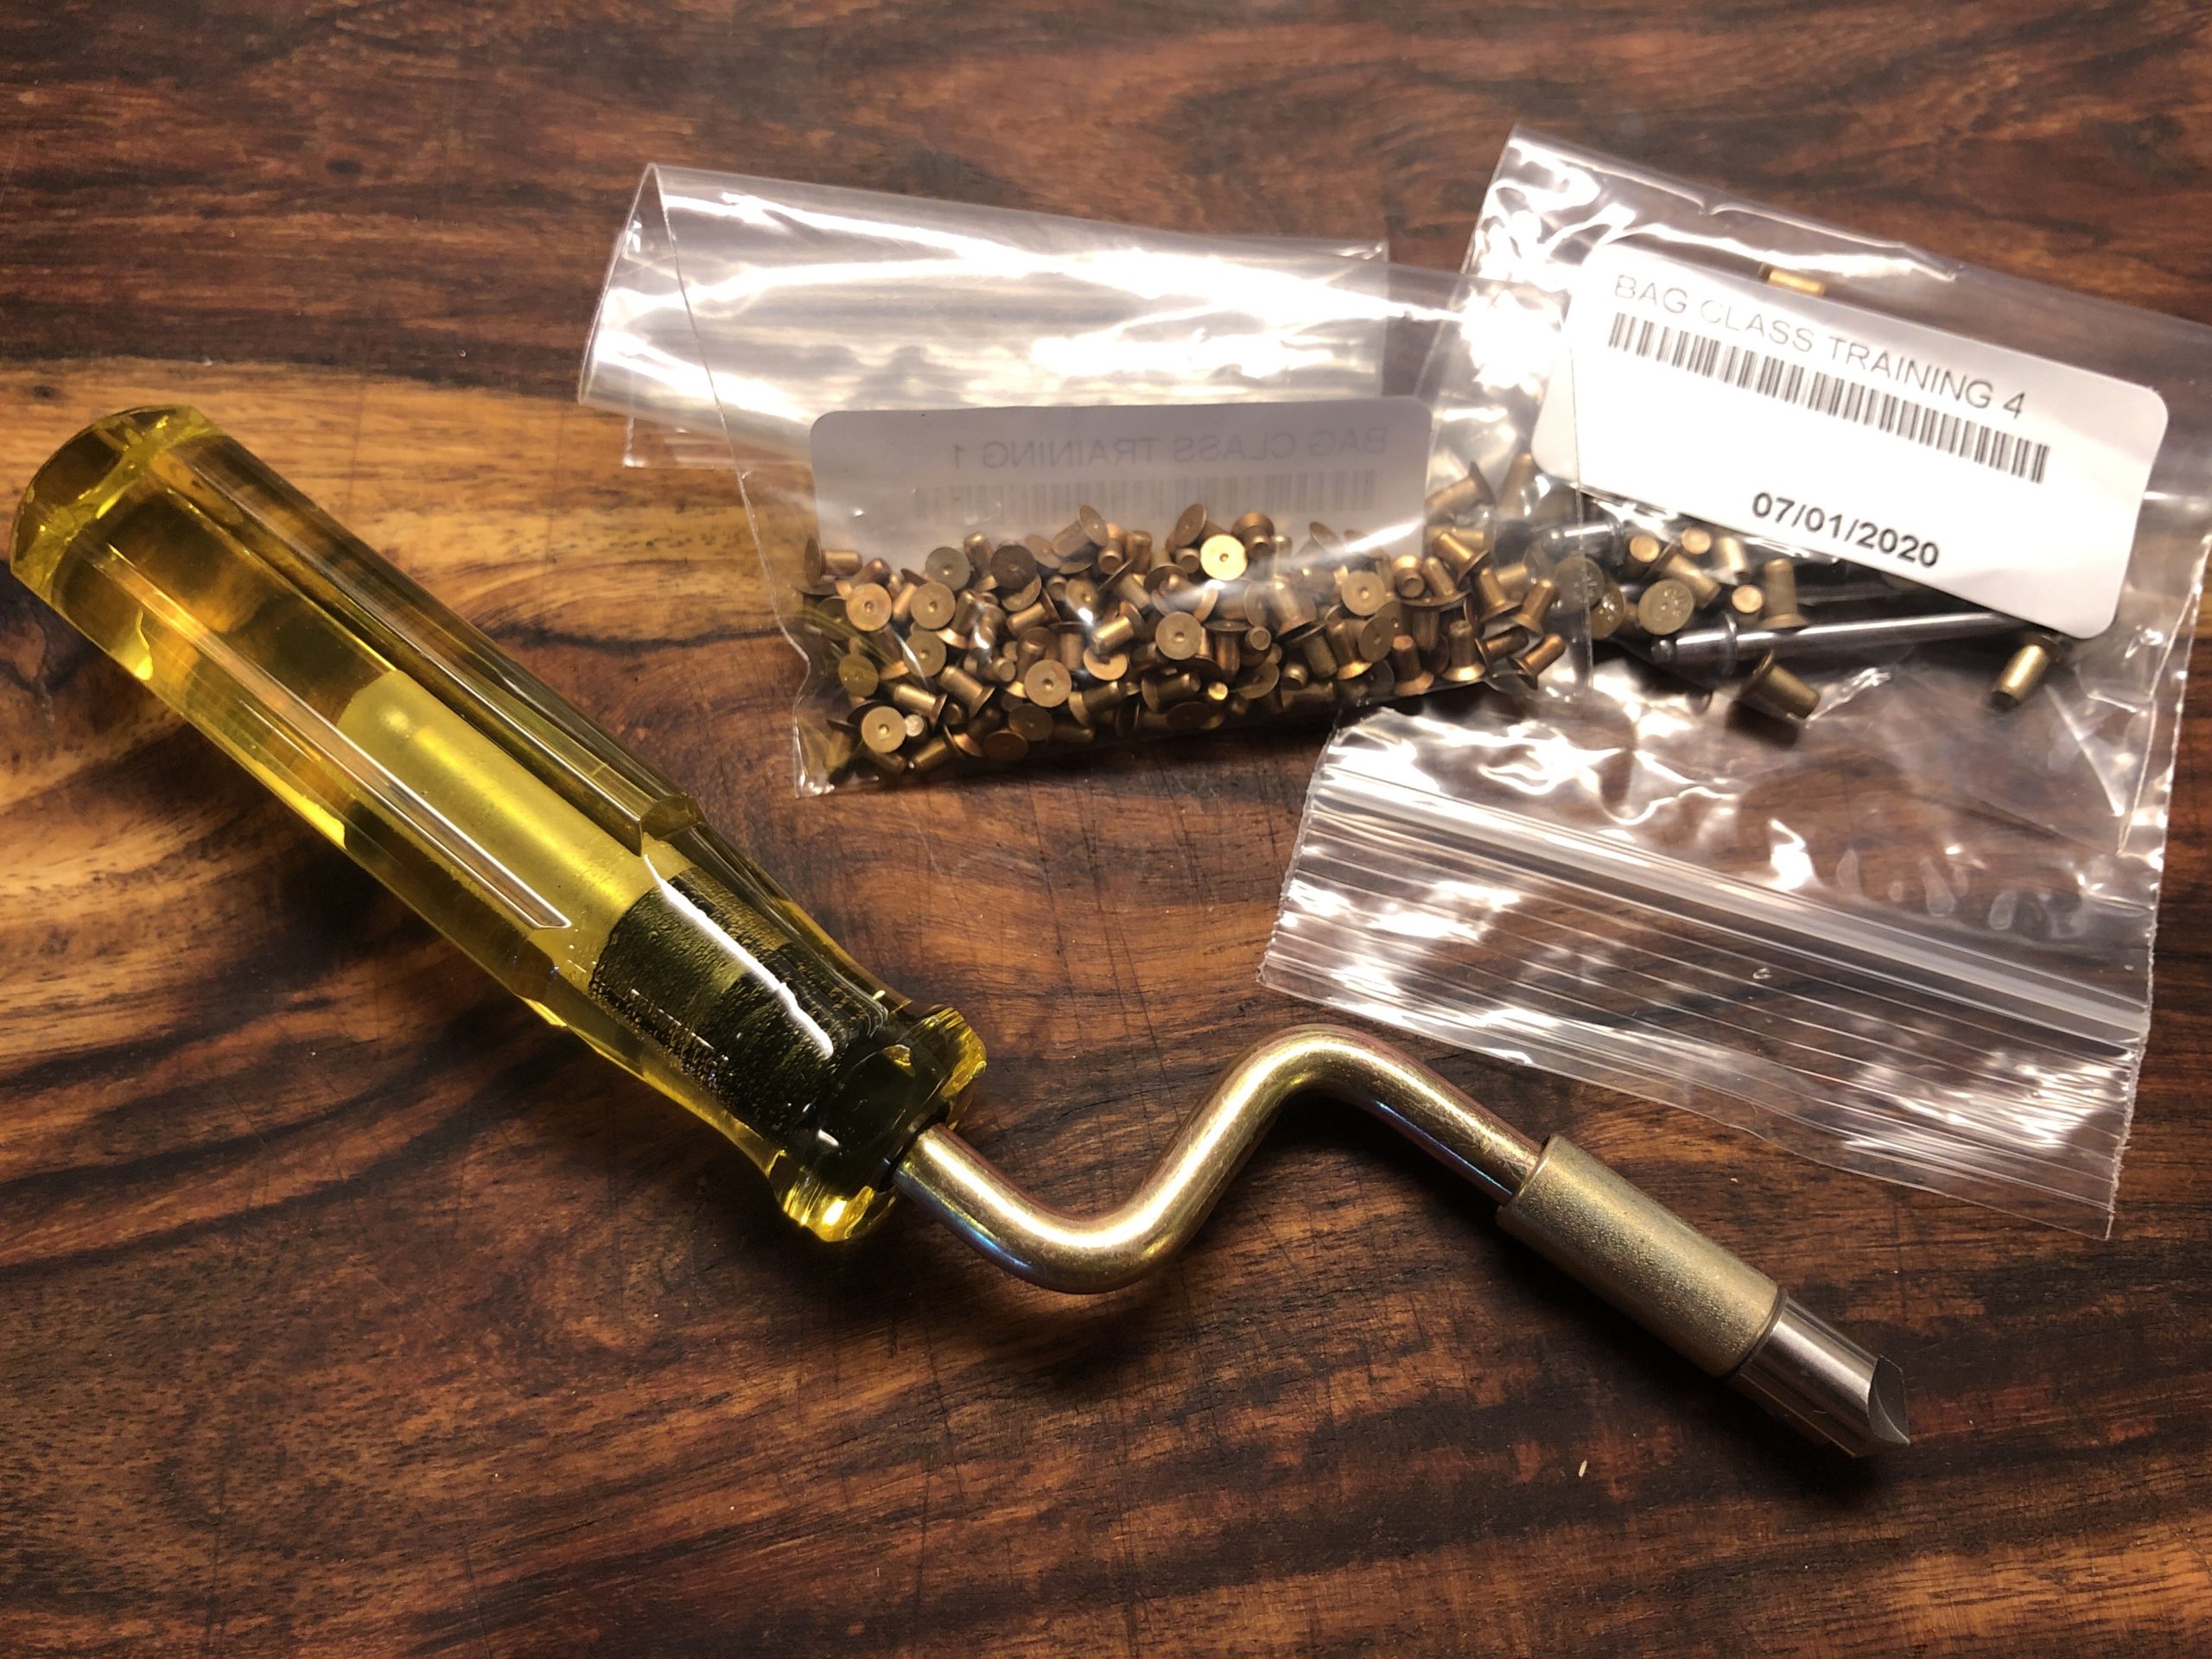
This is another tool I found a great video on. One of the more challenging-looking steps is forming 2 pieces of straight metal into a rounded leading edge. In the learning project, you have to use a broom stick (or similar) to roll over 2 edges so you can rivet them together into a leading edge. The video shows how the edge he made without the edge tool was wavy, with gaps between the rivets. He then shows how the edge rolling tool imparts a slight downward bend so that you end up with both pieces mating perfectly.

The one I bought is different…but the concept is the same.

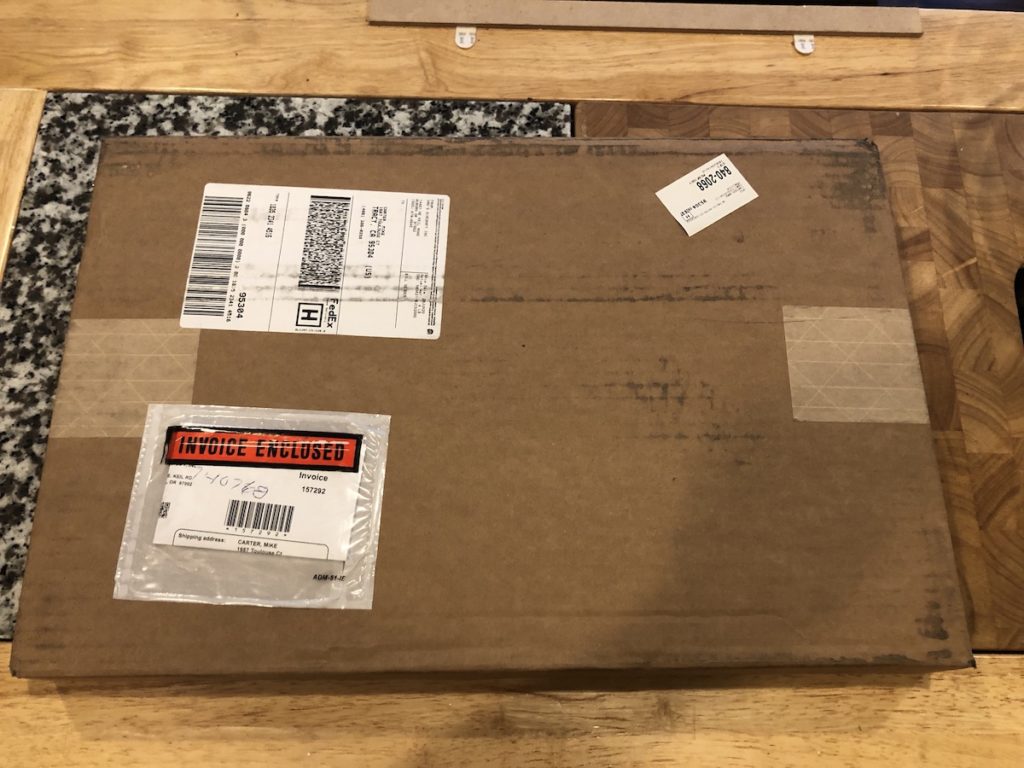
This order also has not yet arrived.

Posted in Tools | Tagged | Leave a comment

Tools, Part Three

Next up on the shopping spree is another tool order from ATS! This order continues on the short list for the learning project. Here is the detail…

Part #DescriptionQtyPriceTotal
181Swivel Flush Rivet Set1$15.95$15.95
2470Back Rivet Set1$19.95$19.95
AEDDS-3Spring Back Dimple Die Set 3/32″1$40.95$40.95
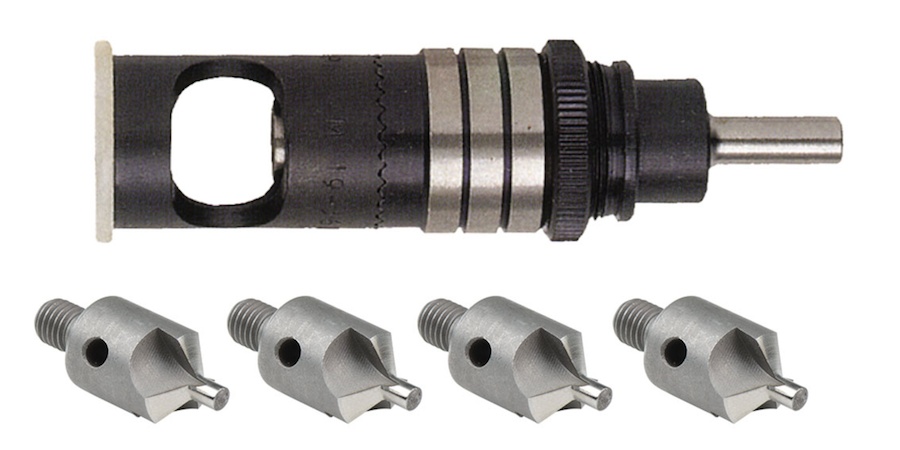
133KITCountersink Kit w/Pilot Cutter1$46.95$46.95
470-3-1/81/8″ Rivet Set 3″ Long1$6.95$6.95
MKRWiss MetalMaster Aviation Snips (set of 3)1$49.95$49.95
ATSRS-3SDATS Pro Super Duty Rivet Squeezer (3″)1$122.95$122.95
Sub$303.65
Tax/Ship0
Total$303.65
ATS Order #3

A bit more this time! Also, the price is going up…I suppose that’s to be expected! Building an airplane is not cheap…although it’s cheaper than buying an airplane somebody else has put together!

Here’s the breakdown of the tools and what they do…

Swivel Flush Rivet Set

So, the rivet set is an attachment that goes into the rivet gun. It’s the business end that pushes down on the front of the rivet. The swivel flush rivet set is nice because there will be times when you can’t line up your rivet gun exactly in line with the rivet. When that happens, somethimes the side of the rivet set touches the aircraft skin and makes a depression (a “smile). The swivel features allows you to drive the rivet at an off-angle and not make smiles.

Back Rivet Set

The Back Rivet Set does baseically what it’s namesake suggests…it rivets from the “back” side. Sometimes it’s easier to drive rivets by bucking the front of the rivet and using the gun on the back side. “Bucking” is part of the process of riveting where you place a solid, heavy piece of metal against the side of the rivet you’re not driving. This provides push back against the rivet gun and smooshes the rivet properly. Back riveting can be faster too, by lying a part with lots of rivets down on a flat piece of steel…which becomes your bucking bar! This allows “on-handed” riveting. Usually either you’d have to hold the bucking bar on the back of the rivet yourself, or have a helper do so.

Spring Back Dimple Die set

One of the things we have to do before we rivet is dimple the holes in the skin. Dimpling makes the hole countersunk so that when we rivet, the tops of the rivets are flush with the skin. This makes the skin smooth and allows laminar flow across it. It the rivets had tops which protruded into the airflow, it would cause a slight disruption in the airflow over the surface, which would reduce lift and speed. This is one thing that makes the Vans kits very fast! Our RV-7 has a max speed of 210 knots, or 240 mph!

The dies need to press their dimple into the skin. For that there are a couple differnet tools we can use. more on that soon.

Countersink with pilot cutter

This is a drill attachment for making very nice countersunk holes. The kit from ATS has 4 cutters, of which 2 I need. Still, the cost for the kit was a deal, so I’ll gladly put aside the 2 pilot bits I don’t need. Who knows? Maybe I’ll need them down the road!

Aviation Snips

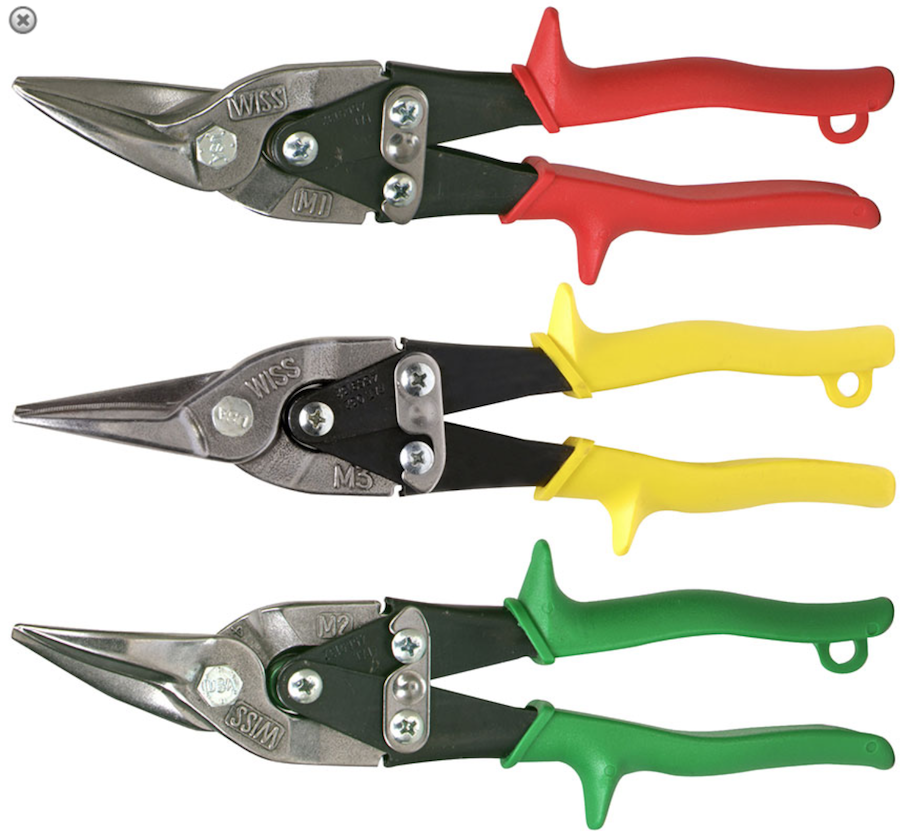
Heav-duty “tin snips” for cutting aircraft aluminum. There will be a lot of trimming of pieces. The kit comes with left-side, right-side and center snips. It’s a pretty good deal, I think. I discovered that ACE Hardware has these, although a bit more expensive, so I got to see what they look like. They’re pretty well built, and are a very common name in the aircraft building business.

Rivet Squeezer

Because of the different angles from which the metal parts have to mate, there will be some times where it’s just not possible to get a rivet gun and a bucking bar on a rivet. In these cases, there is a hand tool that can squeeze the rivet for us, thus installing it. This set is new at ATS, and looks pretty sharp..and the price wasn’t bad. This uses the same rivet sets that the pneumatic riveter uses, which is nice.

Some cool videos

Here are some cool videos of how these tools are used during the airplane-building process!

Posted in Tools | Tagged | Leave a comment

Tools, Part Two

For my second tools order, I returned to Aircraft Tool Supply for a more…esoteric…order. I’m not sure if I was just reading down the required tools list, or just bouncing around based on what I found first on ATS’ website, but here’s what I ordered:

Part #DescriptionQtyPriceTotal
FP21Deluxe Fluting Pliers1$14.95$14.95
ATS-3XPKATS Pro Riveting Kit (3X)1$245.95$245.95
HS144ATS Sheet Metal Hand Seamer1$18.05$18.95
012-6K-40Cobalt drill bit pack #40 (6 ea)1$5,95$5.95
012-6K-30Cobalt drill bit pack #30 (6 ea)1$5.95$5.95
Subtotal$292.75
Discount($14.64)
Tax/Ship0.00
Total$278.11
ATS order #3

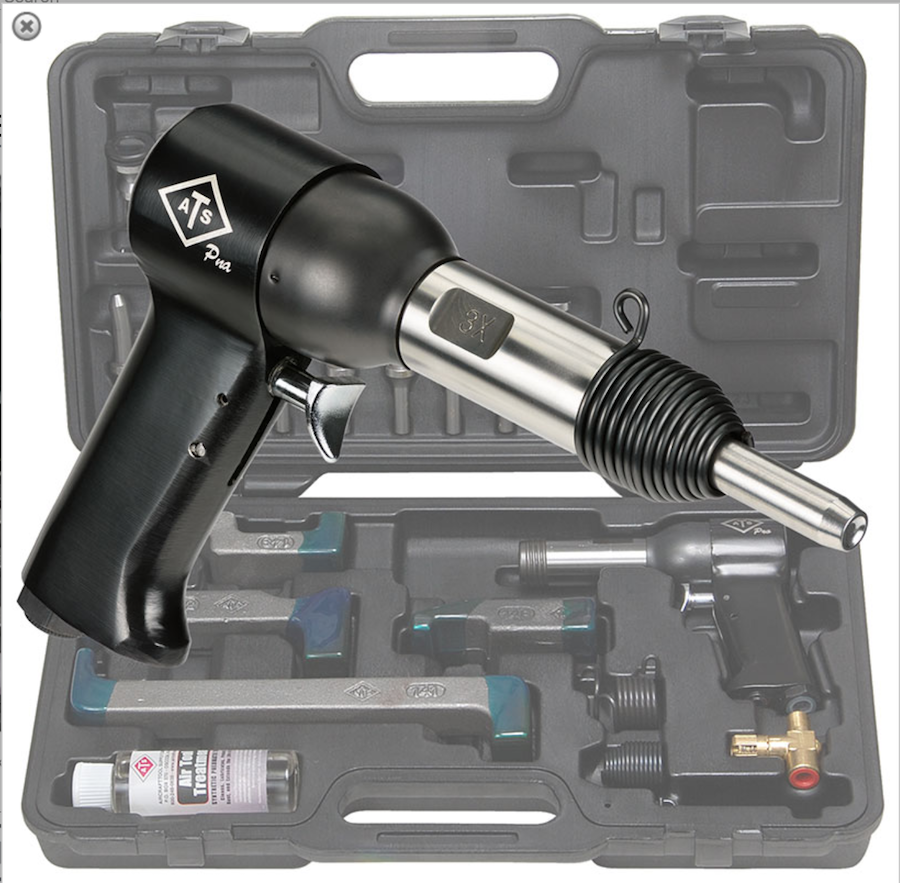
The big-ticket item on this order is the riveting kit, which I went over in the last post. It’s a 3X gun, which looks like the most popular…speed? Not sure about that, but there are 2X and 4X guns as well. The 3X was recommended by Vans and verified by other posts I read.

The ATS pro riveting kit, from ATS’ website

Other things on this order are the deluxe fluting pliers, which allow you to crimp the side of an aluminum part to help it lie flat. Evidently the manufacturing process, which involves bending the sides up on stiffeners and other elements, can introduce a small bow to the work piece. Using these pliers you put several crimps on the sides, which pulls the part to being flat again. Here’s what they look like in action:

Lastly, some cobalt drill bits for drilling out all the pilot holes that Vans put into the metal. They need to be enlarged to their final size for the rivets (and clecos).

The order has not arrived as of yet…supposed it’ll be here next weekend. Another post will follow!

Posted in Tools | Tagged | Leave a comment

Tools, Part One

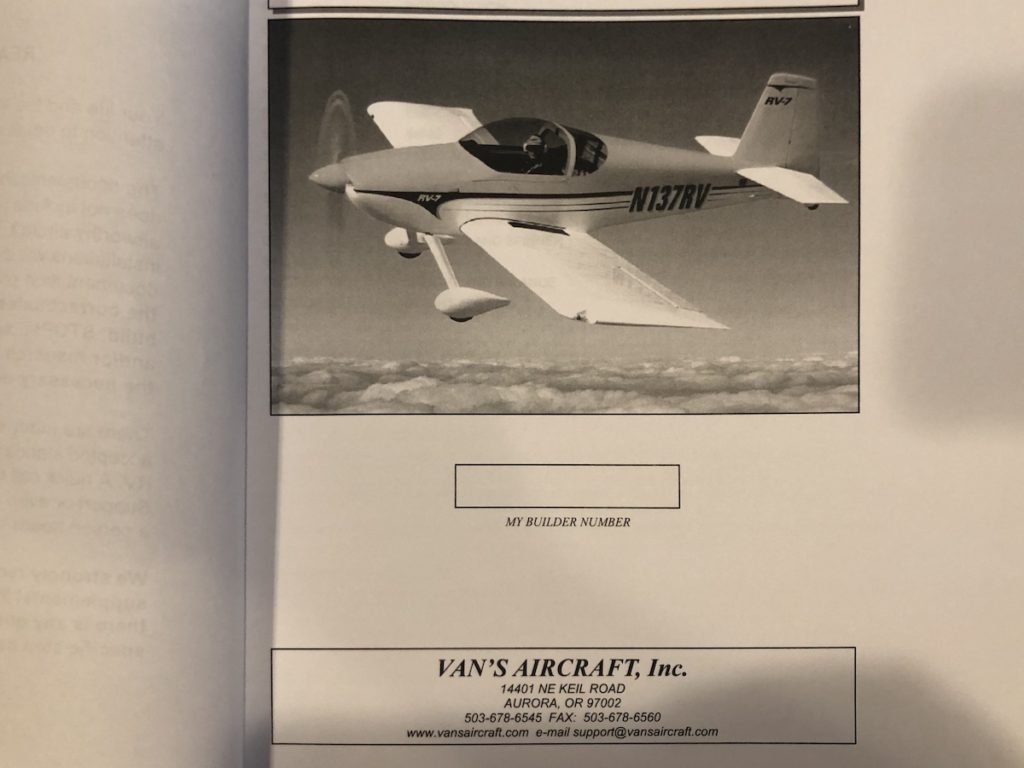
Alright… so, we’ve decided on a Vans RV-7 kit, and now it’s time to start picking up the tools we’ll need to start building it! The preview plans has a list of “recommended tools” for the builder. In that list, they highlight the tools required to put together the learning project, which seems like the perfect place to start!

Right off the bat, there are decisions to be made. Which tools do I need to buy? Where should I buy them from, and most importantly, which particular model/manufacturer of those tools should I put my trust (and money) in?

For example, There are literally THOUSANDS of rivets that I’ll need to install. They are mostly solid rivets, which means I’ll need some tool that can install a solid rivet. There are several types. The most common are pneumatic riveters. There are also manual squeeze riveters, pop riveters and probably some specialized versions of all the above.

Given the sheer amount of rivets to be installed, it’s probably a good idea to invest in something that’ll make that process fairly efficient and easy. I can’t imagine having to hand-squeeze what could easily be 8,000 rivets! So, pneumatic riveter it is!

But now that opens a whole other Pandora’s box! Which brands make good rivet guns? What specifications are required by Vans for the project? What kind of air source should I buy? For having absolutely no experience in this arena, I spent a lot of time reading online forums and guides, especially the Van’s Air Force forums and the Vans Aircraft website. I also talked to people who would be able to provide that knowledge. I’m lucky to have an FAA A&P (aircraft mechanic) in my Civil Air Patrol unit. I also know several people who have built.

I’d be lying if I said money is no object. It is, really. I think it’s important to strike a balance between cost and performance. I could easily spend $600-700 on equipment just to rivet. I could also probably spend $99. The trick is knowing where that perfect compromise point is.

For the rivet gun, I settled on the ATS Pro-X3 by Aircraft Tool Supply company. They sell both the standalone rivet gun and a kit. After looking over both, I selected the ATS Professional Riveting Kit (X3) for $245. It comes with a good number of accessories, only some which I really neede, including a good selection of steel bucking bars and a regulator. It also has a bunch of rivet sets, but I don’t think I’ll use most of those. Still, it was on sale and a good deal for all the things you get.

But, this post is about the FIRST order I made. I decided to dip the ‘ol toes in by ordering some build staples first, and especially those things I need to complete the learning project. This boiled down to clecos, cleco pliers and a deburring tool. Here’s the order:

Part NumberDescriptionQTYPriceTotal
25CL-3/32Cleco Pack, 25 pieces 3/32″2$11.95$23.90
25CL-1/8Cleco Pack, 25 pieces 1/8″1$11.95$11.95
131Cleco Pliers1$4.95$4.95
AE1046Speed Deburr & Countersink tool1$34.95$34.95
Sub Total$75.75
Tax/Ship0.00
Total$75.75
Tools order #1 – ATS

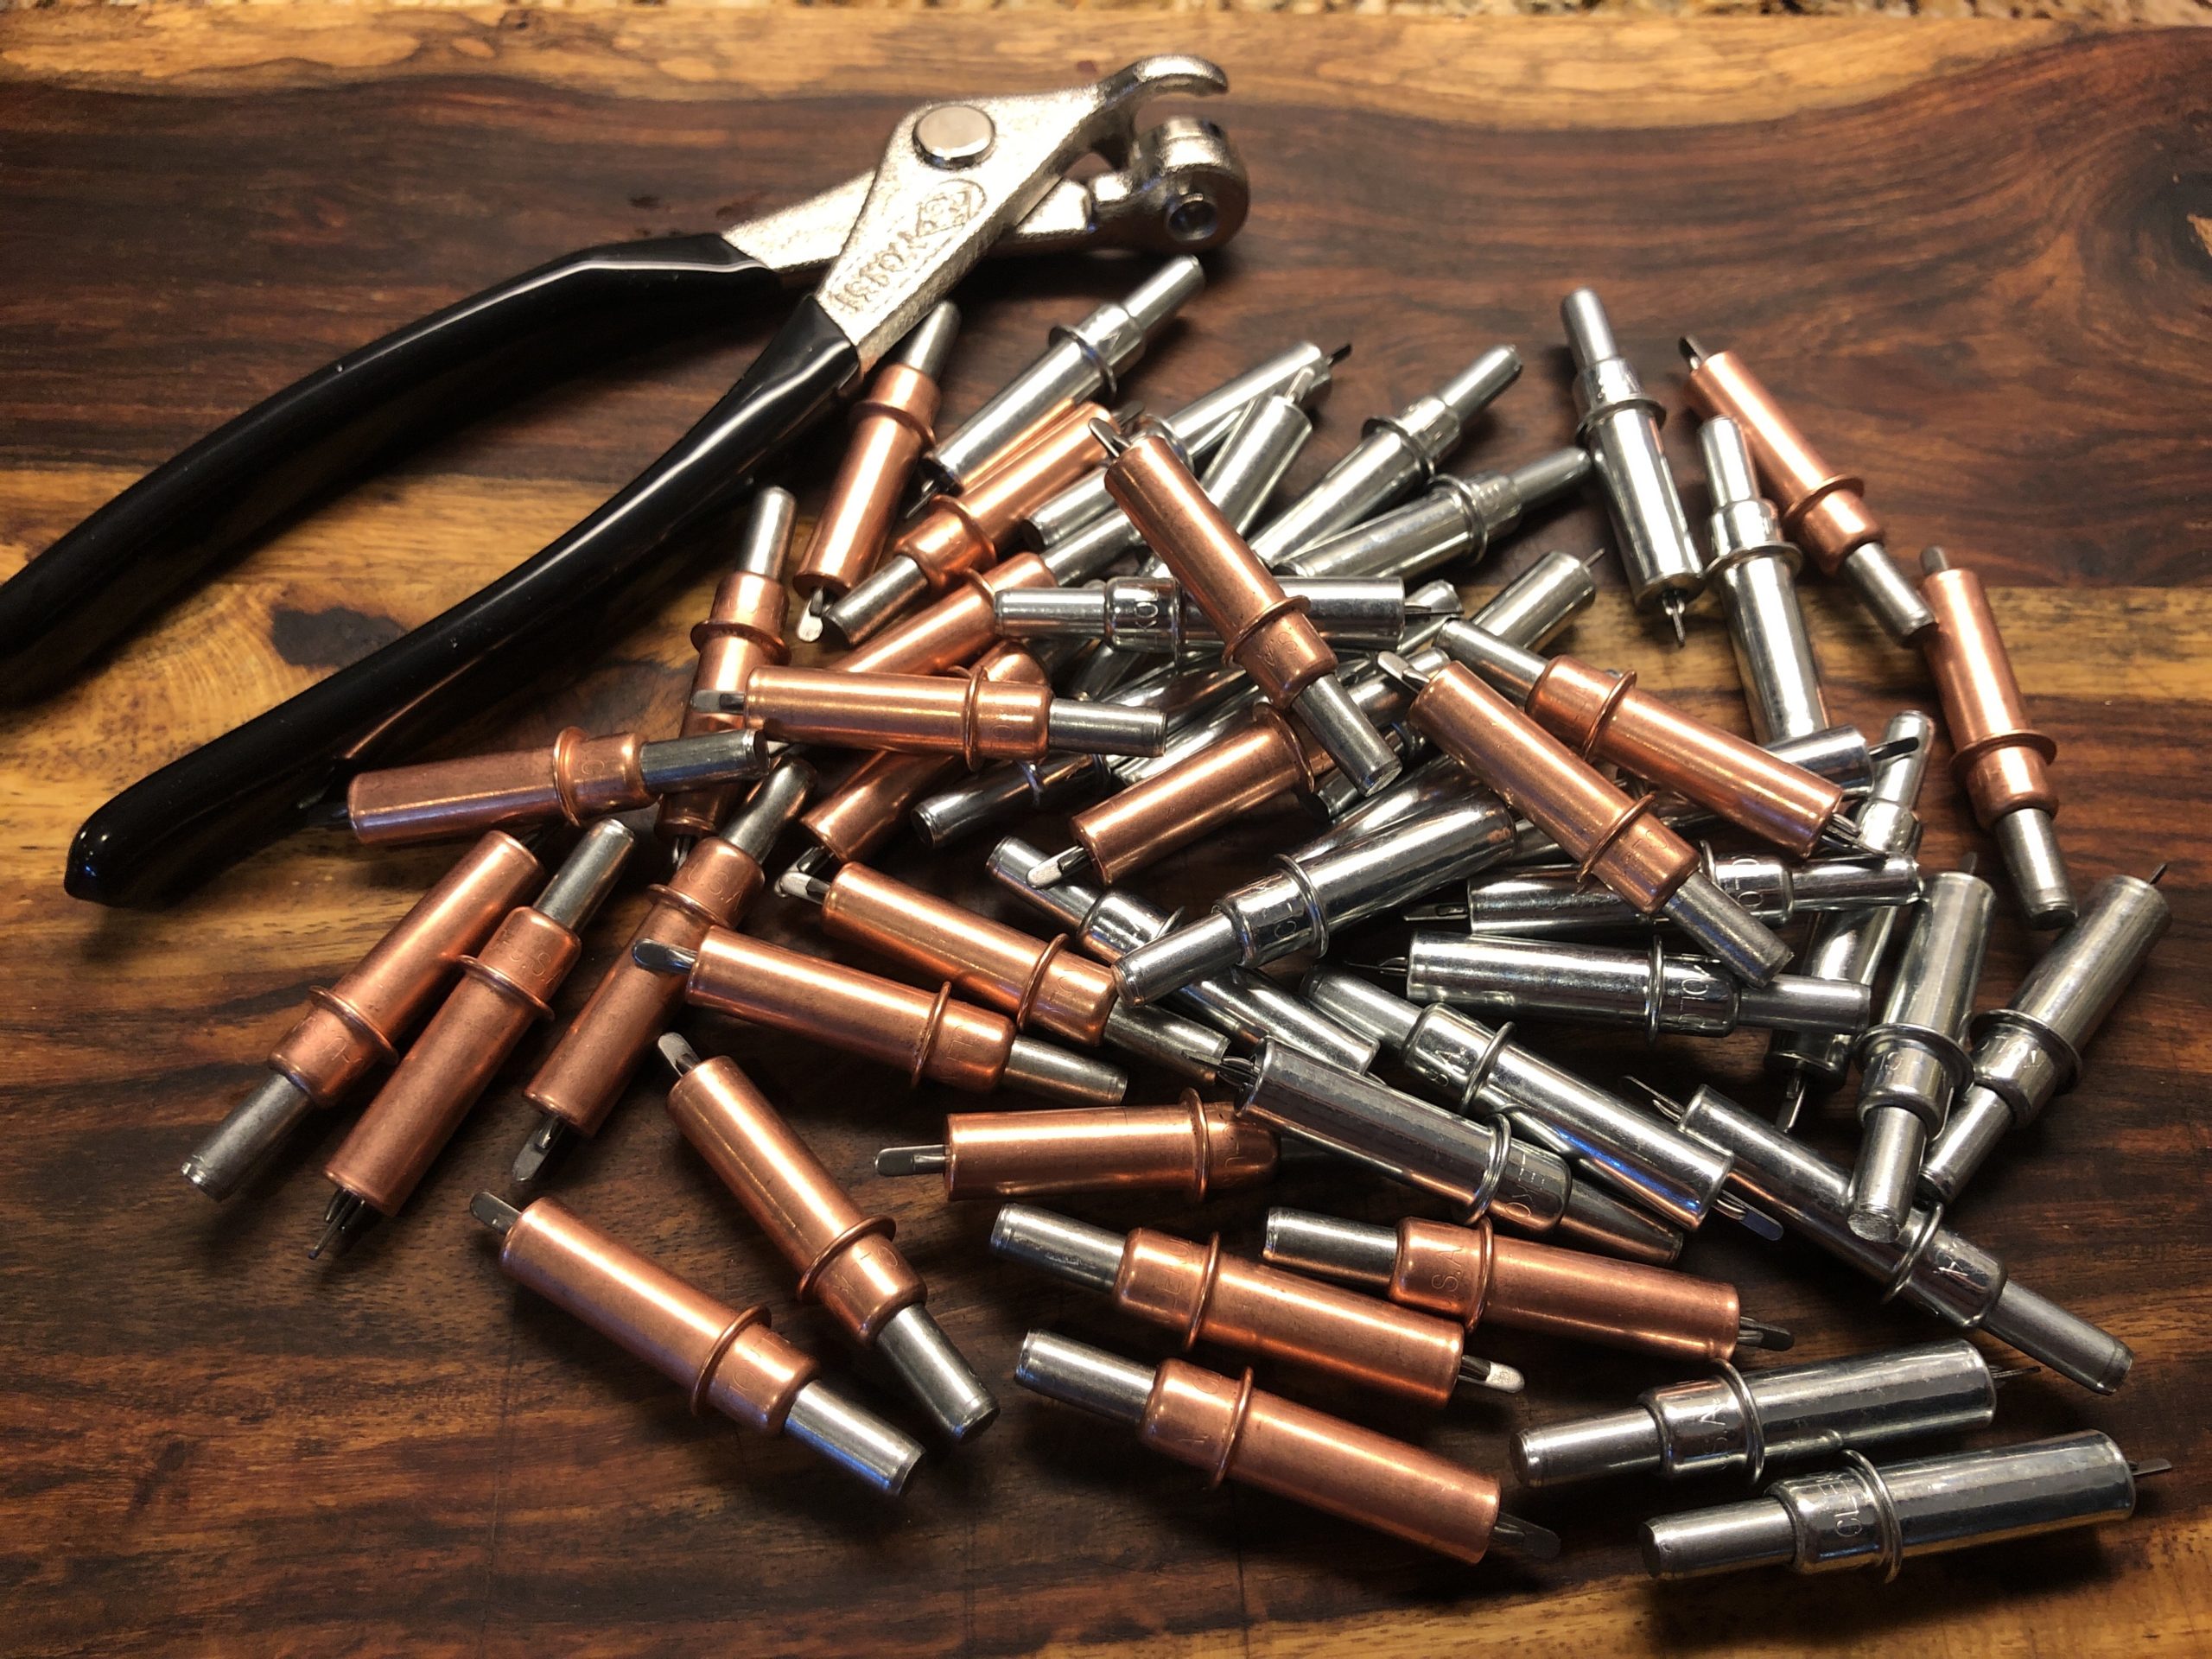
As you can see…not bad! Clecos are little spring-loaded gizmos used to temporarily join two work pieces through the hole you will rivet. So I guess they’re like temporary rivets! Here’s what they look like:

Various sizes of clecos and pliers
Cleco and pliers

The 75 I bought will be enough for the learning project. Then they’ll do duty on the actual project. The pliers are required because those springs are pretty strong! Lastly, the deburring tool is used to deburr (or smooth) the drill holes, since they have rough edges.

Deburring tool and rivets

Posted in Research, Tools | Leave a comment

The Learning Project

Woohoo! It arrived!

Well, it arrived a week ago…I’m just starting the blog today.

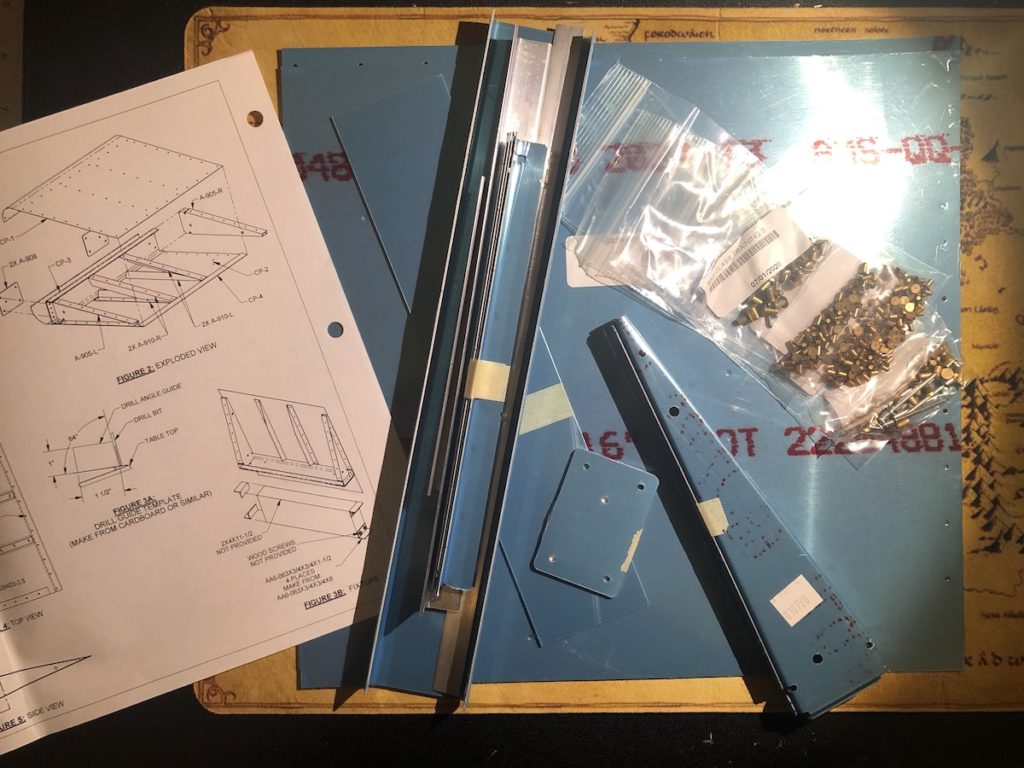
So here it is…our learning project. It’s an all-metal kit that mimics a section of an aircraft flap, or the device used to increase lift as you land. Flaps are lowered to usually 3 different positions while you are maneuvering for landing. When you extend your flaps (there are 1 on each wing), they change the camber of your wing and increase lift. This lets you land at a nice slow speed.

The parts are pre-drilled, just like the actual kit. This is a big deal. Pre-drilling ensures all the parts are mated perfectly when they arrive. This means one less thing I can mess up! The metal is Alclad aluminum, 0.16″ thick, and covered with a peelable blue plastic protective covering.

Also included in the project kit are all the rivets, fasteners and pieces you’ll need to complete the project. It incorporates most of the techniques you’ll use on the real thing, including solid riveting, which I’ve never done in my life! Finally, a nice 11×17″ manual is included, although the manual portion is only 2 pages. The rest are how-to’s for assembling the thing: how to rivet, straighten and otherwise manage the process. Overall, it’s pretty dang cool!

Now all I need are some tools…

Posted in Learning | Tagged | Leave a comment

Baby Steps

Okay. So, all projects have to have a first step…beyond the decision to start the project! Ours started on the Vans Aircraft website, poring over the different plans and options, looking at the requirements and FAQs. Where to start??

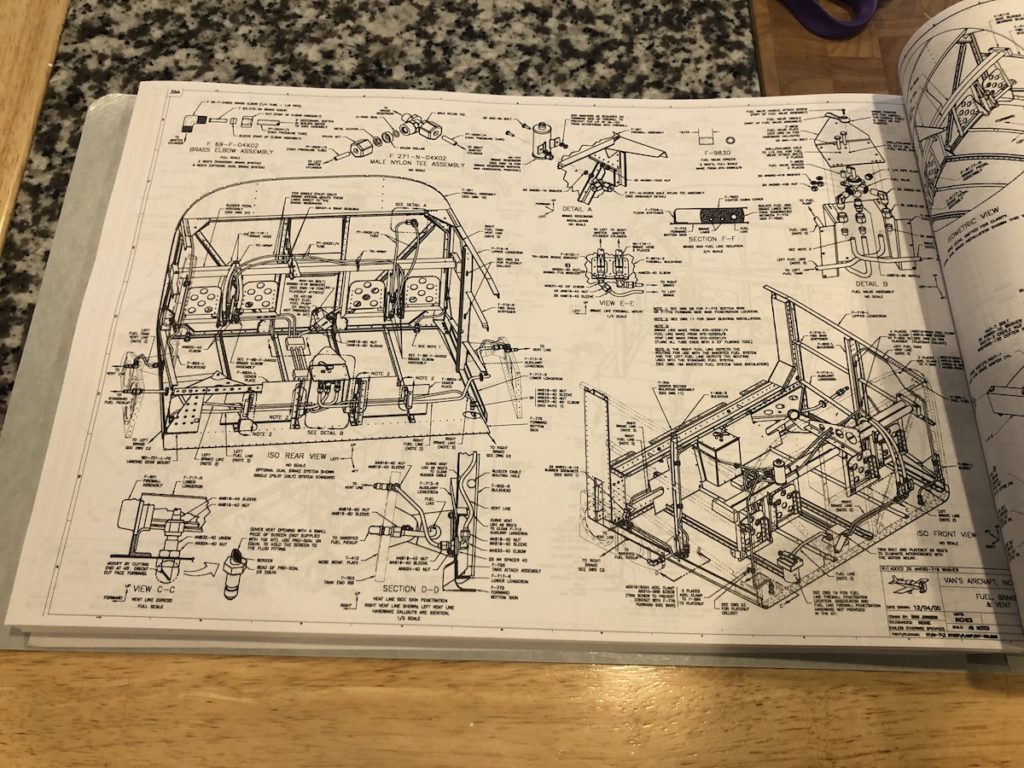
As it turns out, Vans does a really good job at supporting builders. To start with, they offer a plans preview option where, for $55, they will send you the complete plans overview in a nicely-bound 11×17″ format. Well heck…that sounds like a great place to start!

I ordered the plans and received them about a week later:

As you can see…pretty scary looking! I tried not to be intimidated by some of the illustrations. The best way to acconplish a large, complex project is to break it down into small pieces. Vans does a great job of this (the above image is just an overview, not a single “step” in the process).

One of the most useful sections in the plans is the Required Tools list. Vans says on it’s website that most builders can expect to pay $1,500 or more for tools. That seemed reasonable. However, there are other ways to come across required tools! I know a number of pilots who are builders. Also, I joined EAA, or the Experimenta Aircraft Association, which is the go-to club for builders. The Livermore chapter has 4 members who have built or are building RV-7s.

So, I started looking through the tool list and started searching around for a good supplier…or 2 or 3. I found both aircraft-tool.com (ATS) and aircraftspruce.com. Even if I bought every tool I needed from the outset, I still have zero experience with building a plane, or even metalworking. There are mentions of weekend workshops which introduce one to the skills required, but with COVID-19, those are scarce to not available.

I found a great alternative, though. Vans has everal “learning projects” that you can buy and build! What a novel idea! They have a flap section (very airplane-y), a metal toolbox and a metal illuminated sign. Great! Next purchase: the flap section kit!

Posted in Learning, Research | Tagged | Leave a comment