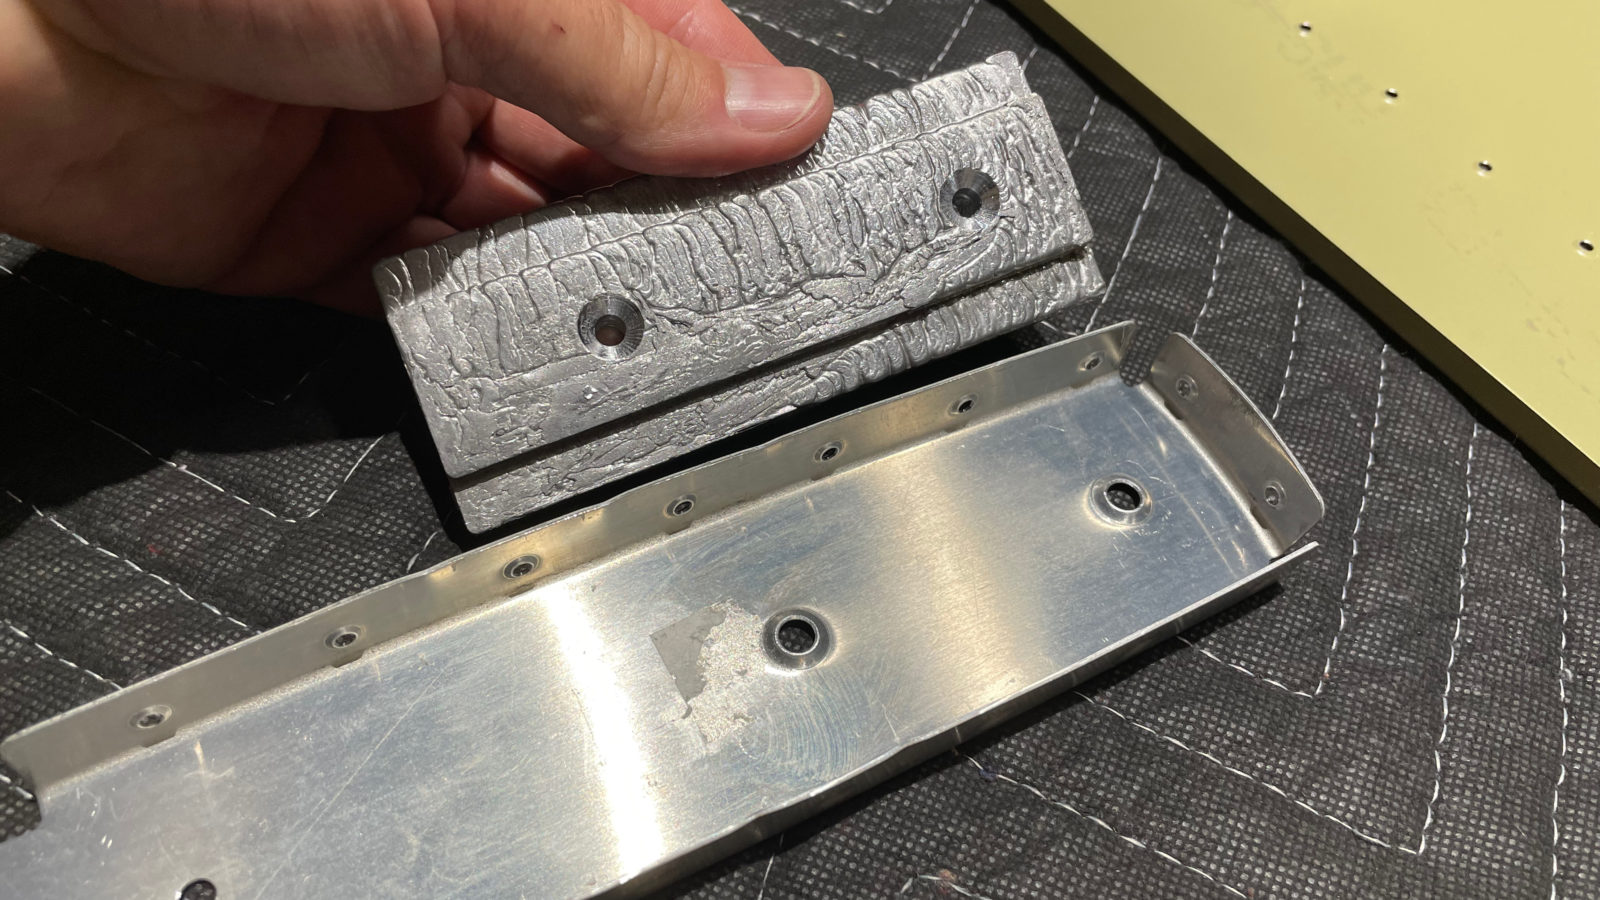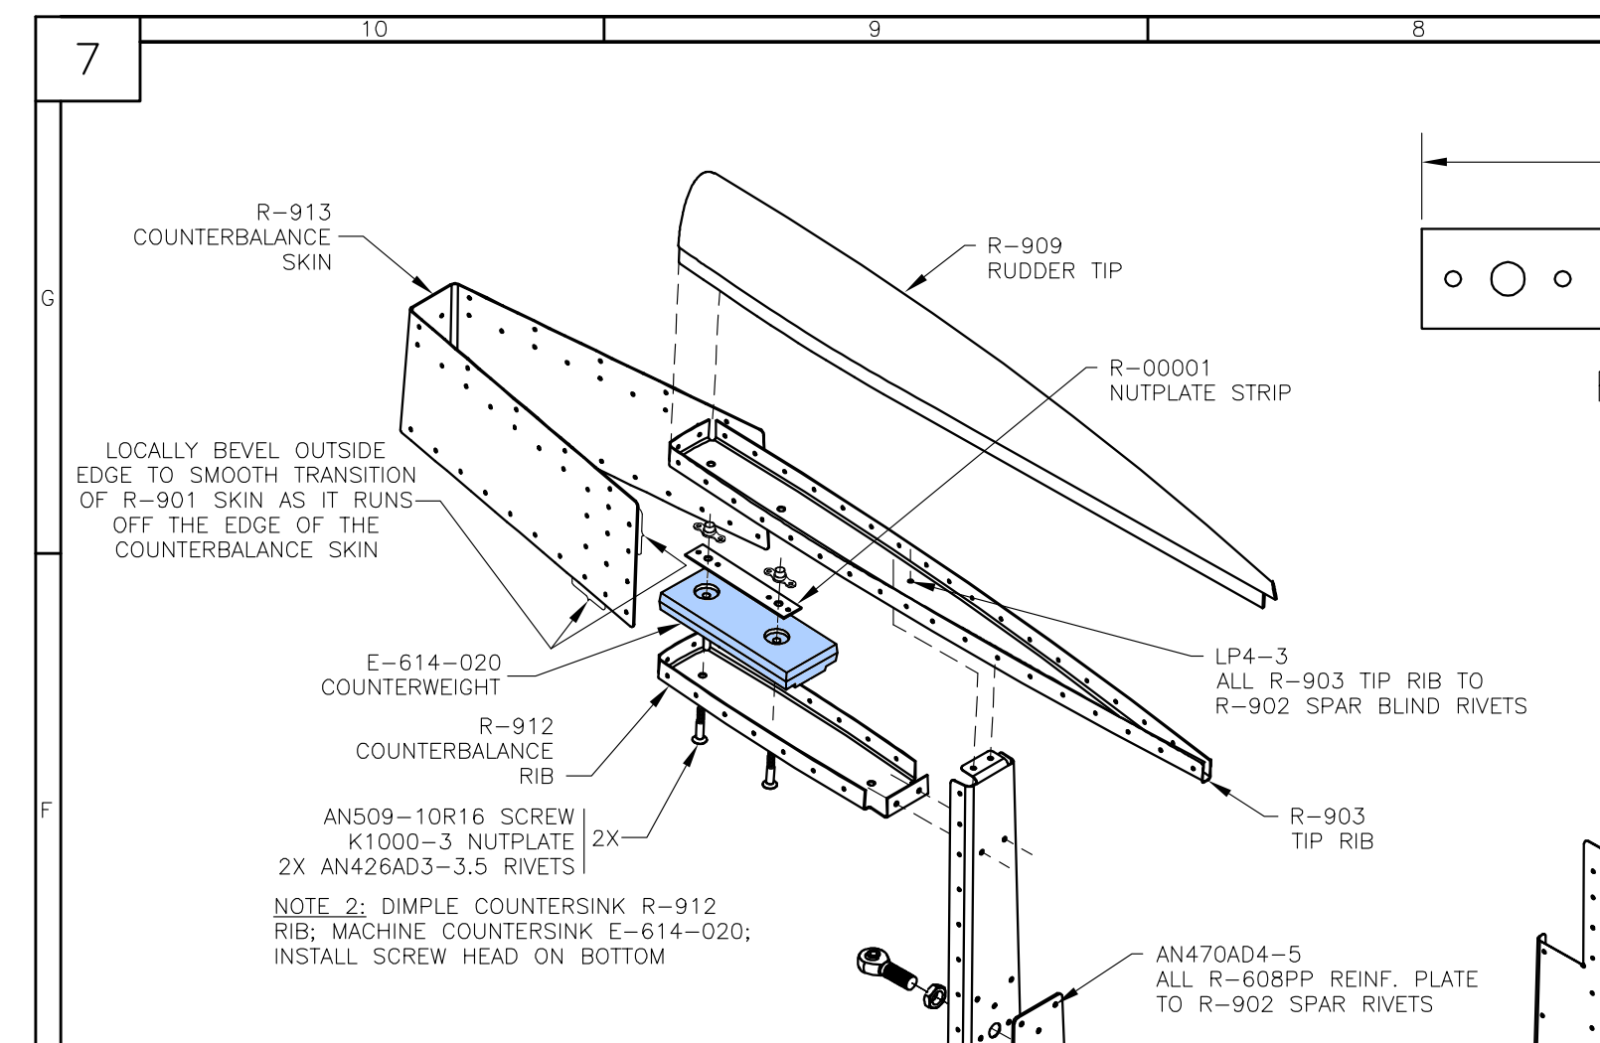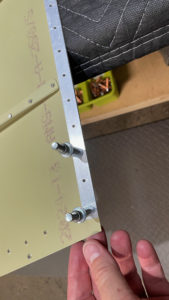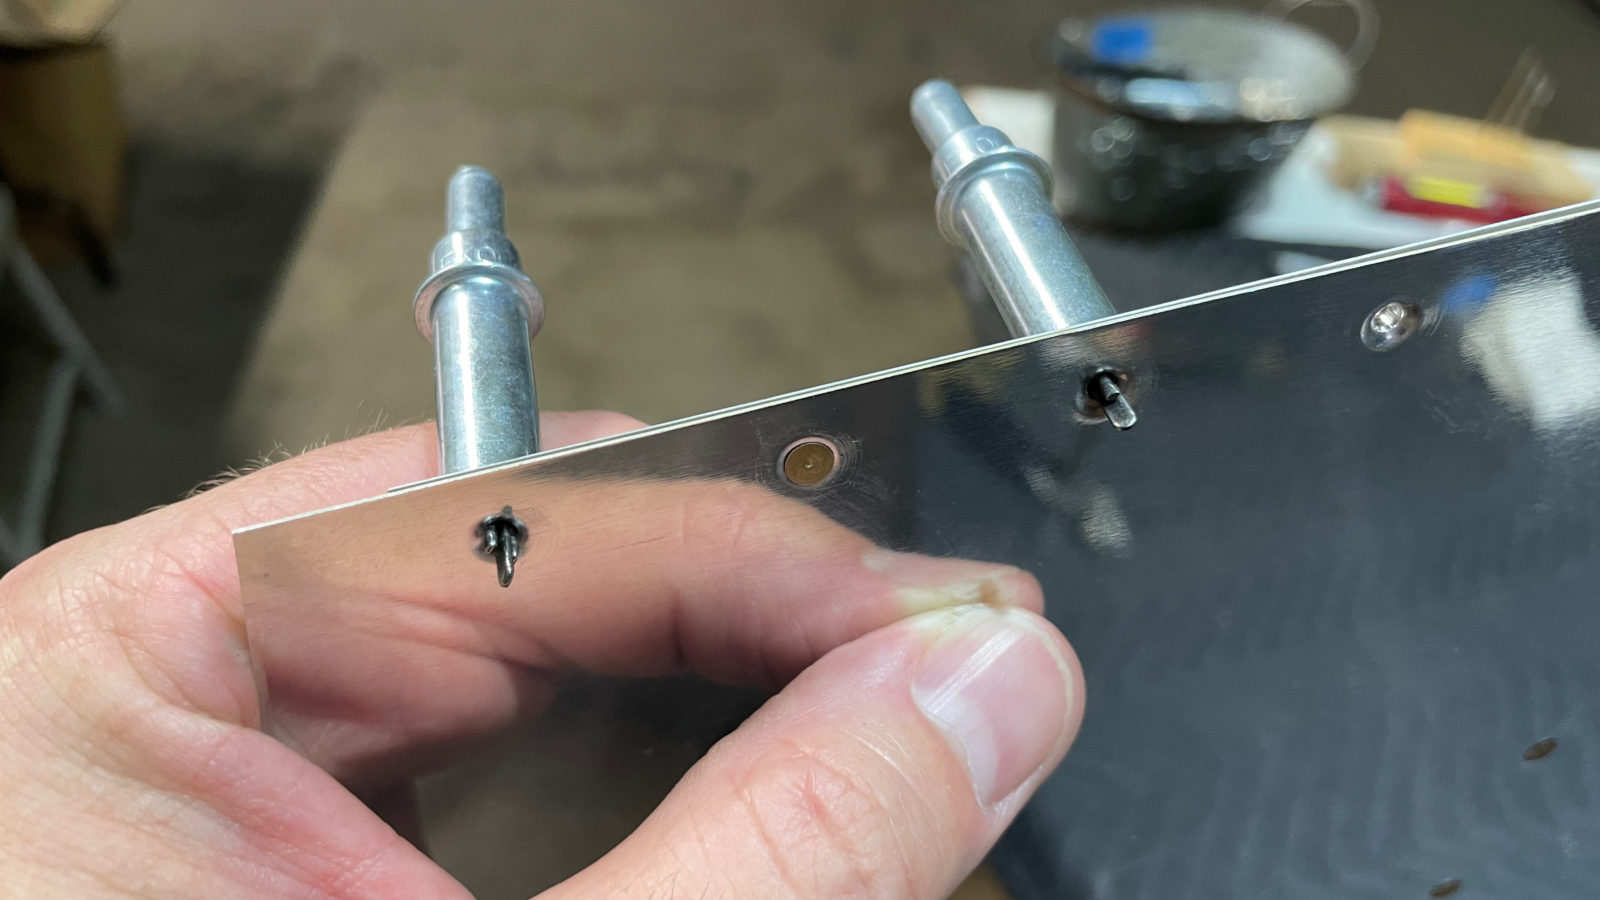
So we’ve taken a bit of break, but we’re back at it! Today we continued working on prepping the rudder for assembly. I had to wait for a #10 dimple die set I bought from Cleaveland Aircraft in order to make 2 dimples in the counterweight rib. I hope I get to make more #10 dimples…these die sets ain’t cheap! 😛
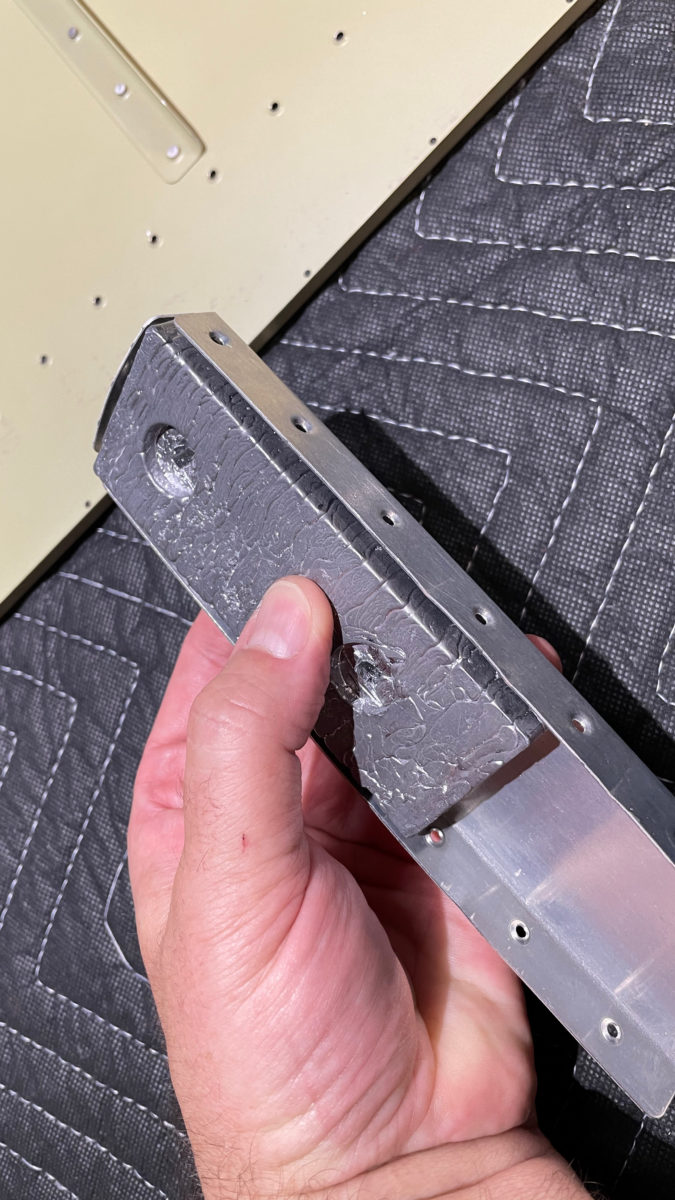
Once the dimples were in, it was time to machine countersink the lead counterweight. As it turns out, I did have the #10 countersink cutter! Fortuitous me! These parts are located at the top tip of the rudder, and I believe the weight helps with preventing flutter in the rudder while flying, which unchecked could lead to a dangerous condition.
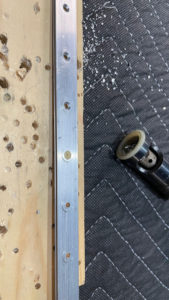
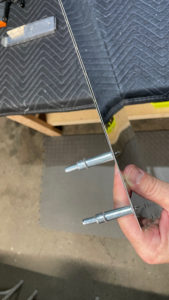
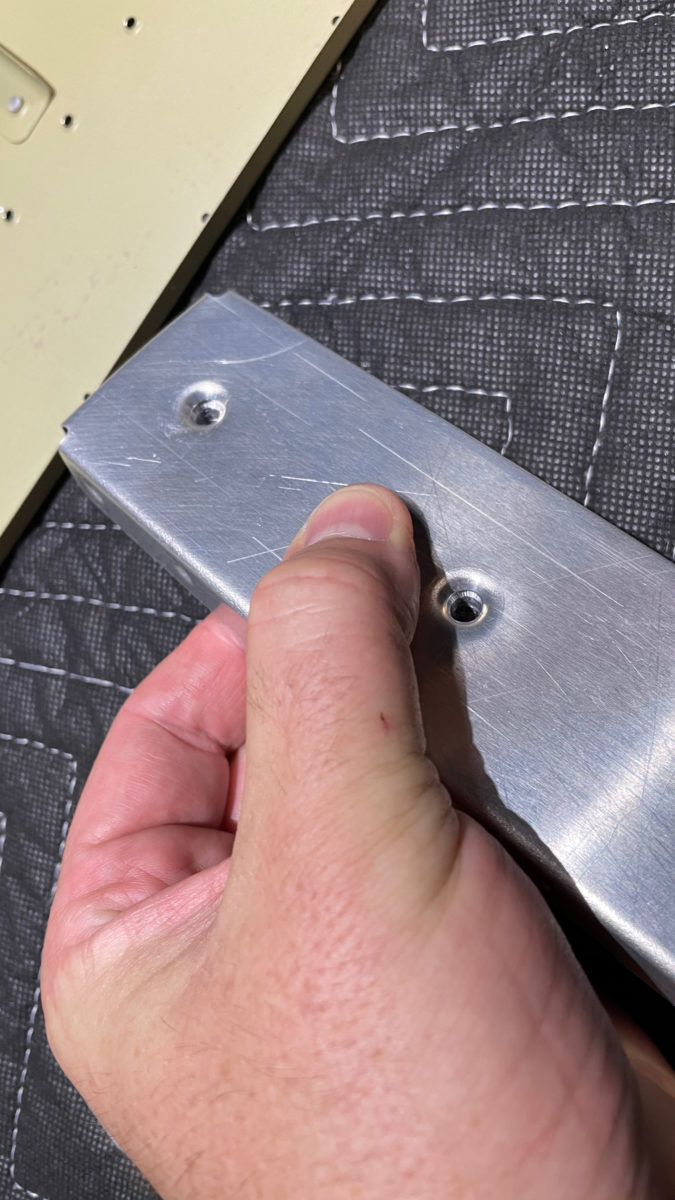
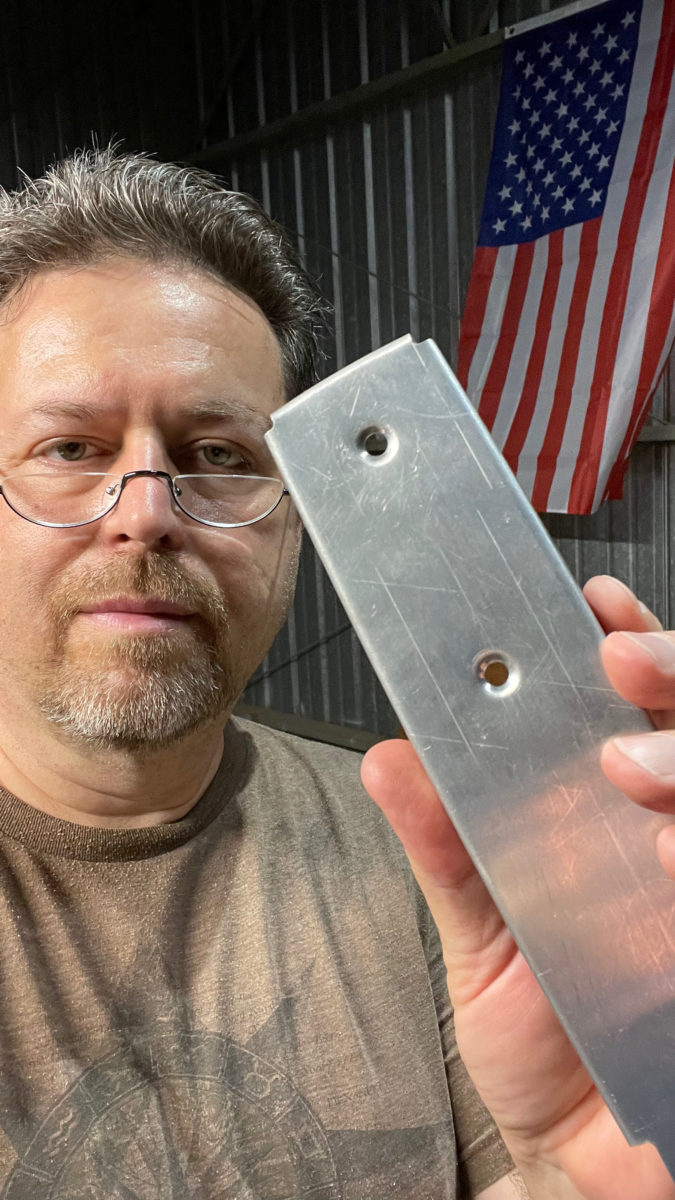
The other thing I worked on was machine countersinking the through holes in the trailing edge wedge. This aluminum wedge is what joins the aft rudder skins together. Since the skins are dimpled, the wedge needs to receive countersinking for the holes so that the skins nest snugly against it with no gaps.
In the above pictures, starting from the left, I’m doing the machine counterskinking using a special countersinking drill attachment. In the middle and right pics, I’ve finished all those damned countersunk holes and I’m testing the fit. No gaps! This part wasn’t as bad as I thought. When riveting the trailing edge, I’ll be using a technique called double-blind riveting, where the rivets are back-riveted while progressively tilting the rivet gun to semi-smoosh the shop end of the rivet so that it sits flush. It doesn’t completely fill the rivet dimple, but looks pretty nice if you do it right. I demonstrated this early in the blog when we worked on the flap kit.
Here are a couple other pics from this short work night (just 2 hours). Next up is priming, then we start assembling the rudder!
Wing kit update: Looks like the wings are delayed a bit in shipping. They should be here soon though!

