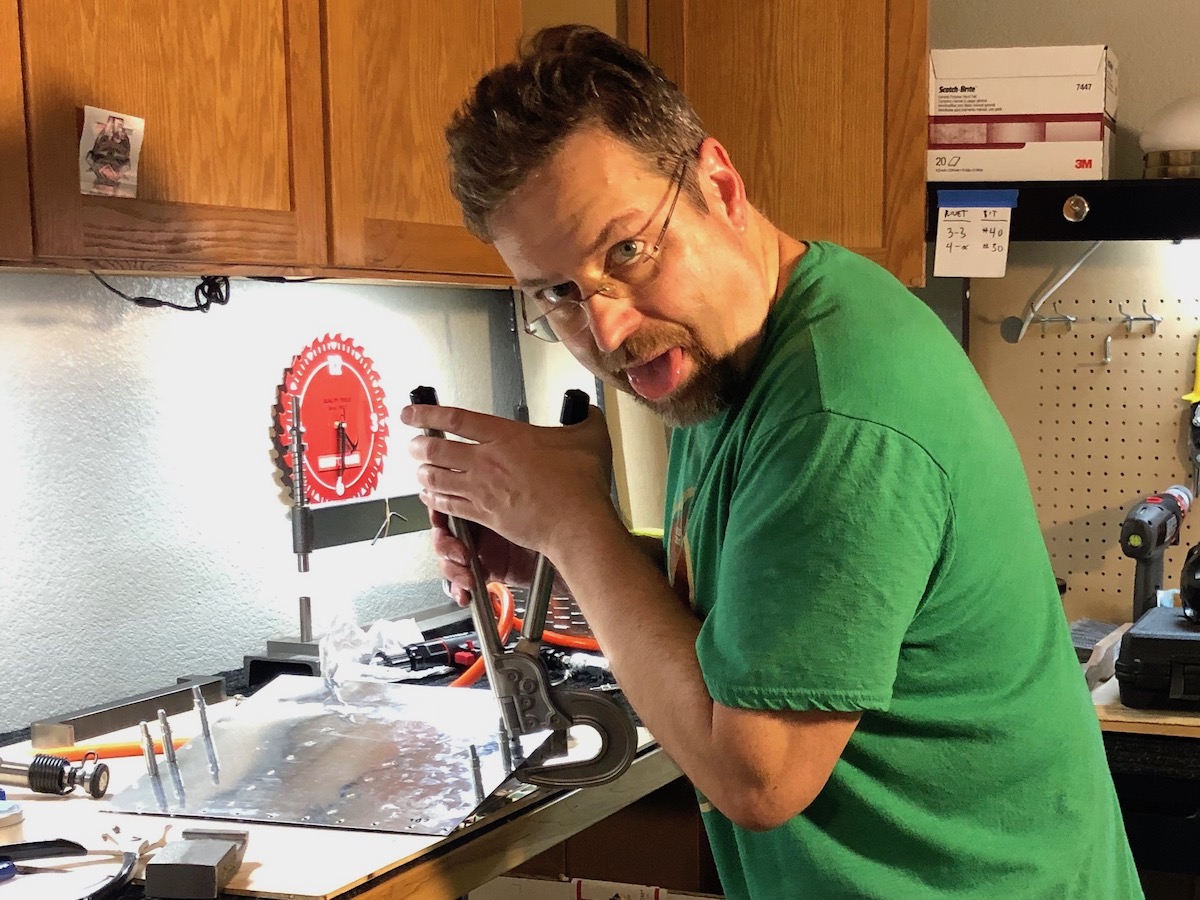
Yesterday I thought it’d be more advantageous for us to start working during the day, and as a result, we had a marathon of sorts. We worked on and finished 4 steps! Now we’re down to the last one.
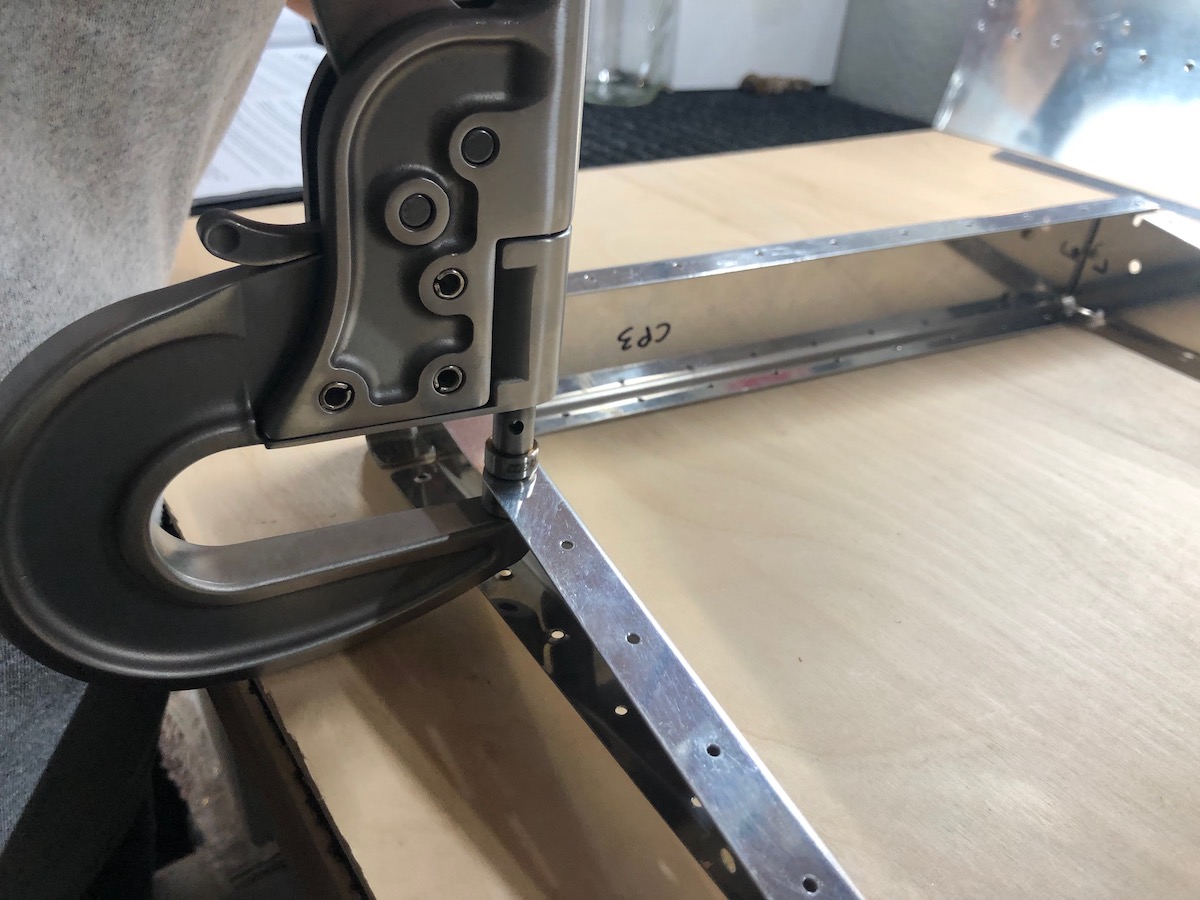
So far the practice kit has been a great learning experience. Not only did we get acclimated to using our new air tools, but we tried several different methods of riveting, which will absolutely help us tackle the actual airplane. I’ve been asking around to borrow a pneumatic squeezer, but now that I have our hand squeezer dialed in, I think I’ll forego that. They run about $800 to purchase, which is equivalent to a second 10″ avionics display AND a couple smaller gizmos.
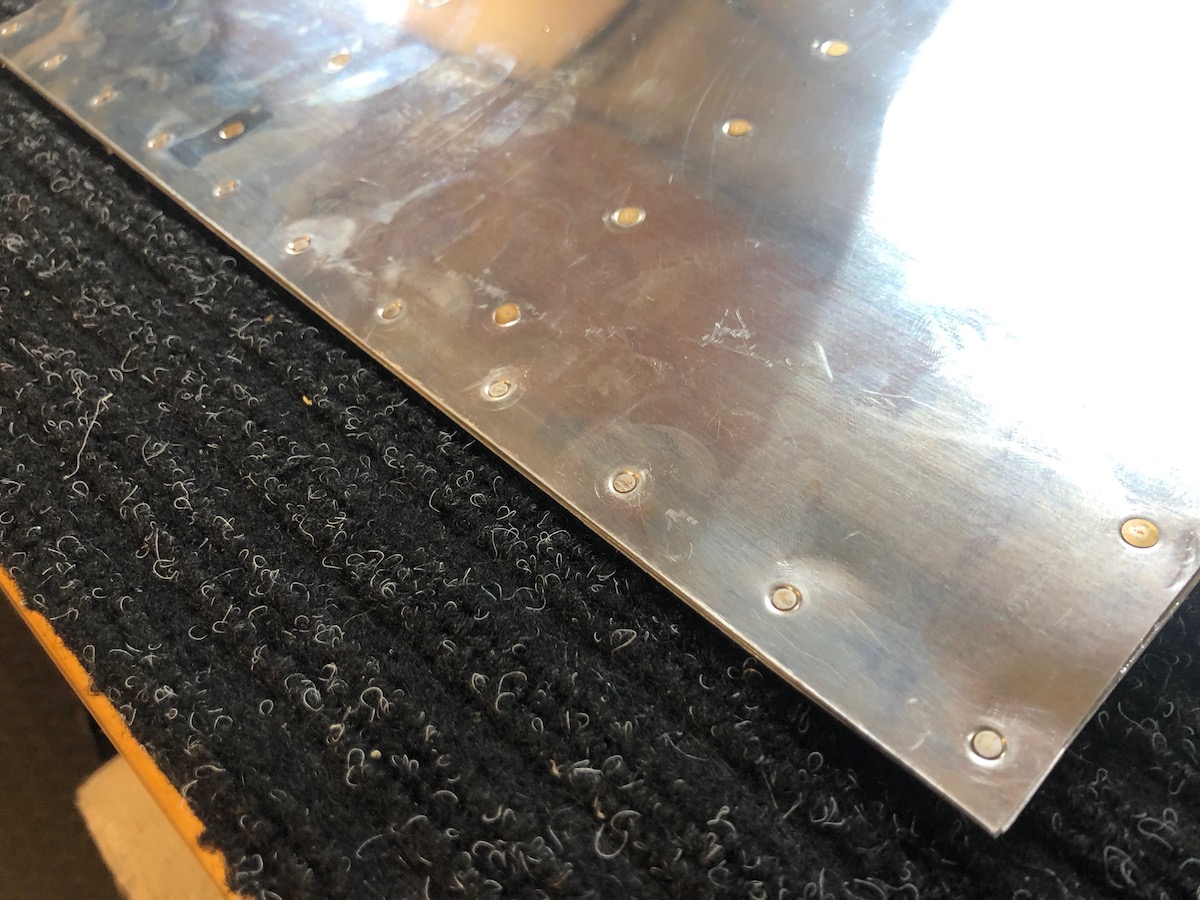
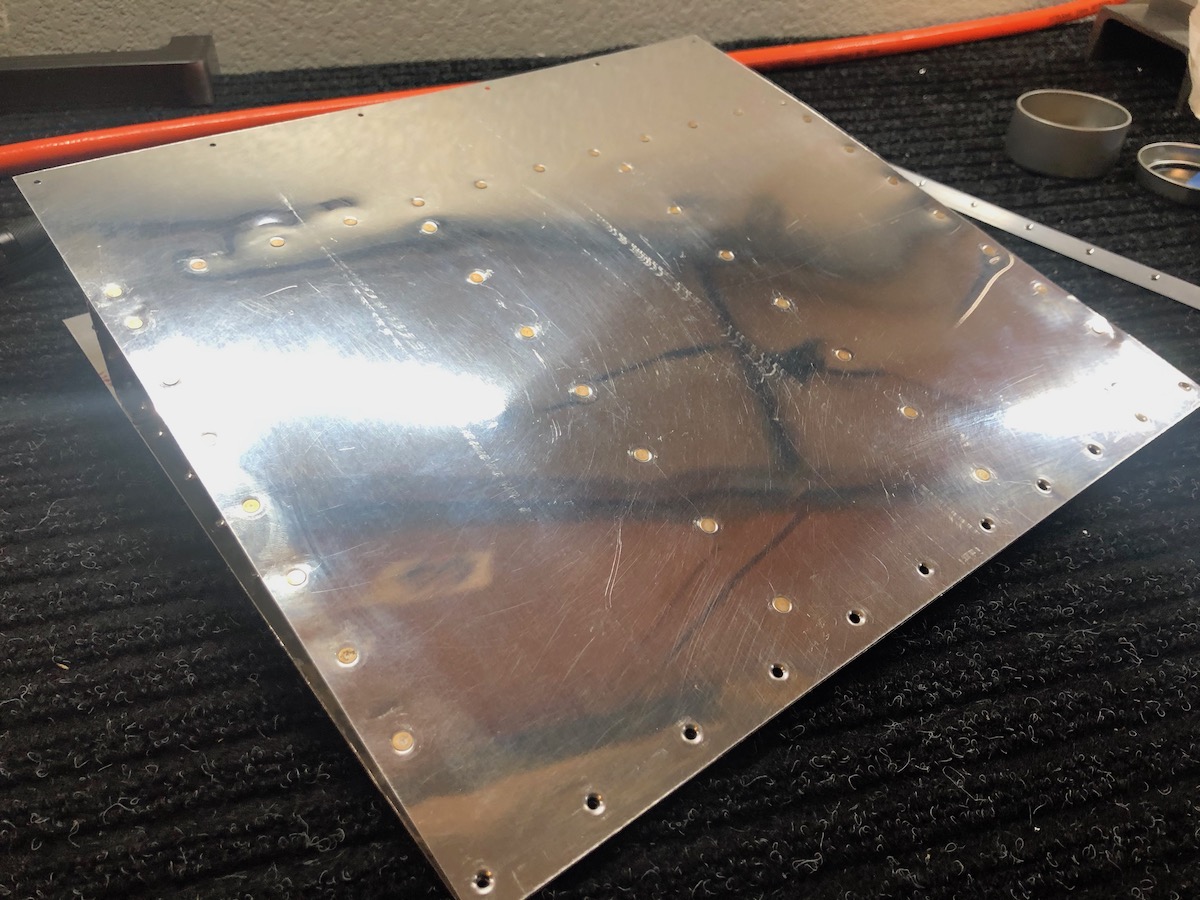
We did run into some issues with riveting this time. Namely, we both achieved our first Smiley Faces. These were tough rivets to place, and we learned through trial and error what not to do. We now have several rivets that we will drill out and replace, so that we get that practice (I tried one, but really screwed it up when the drill ran off the rivet head and onto the aluminum).
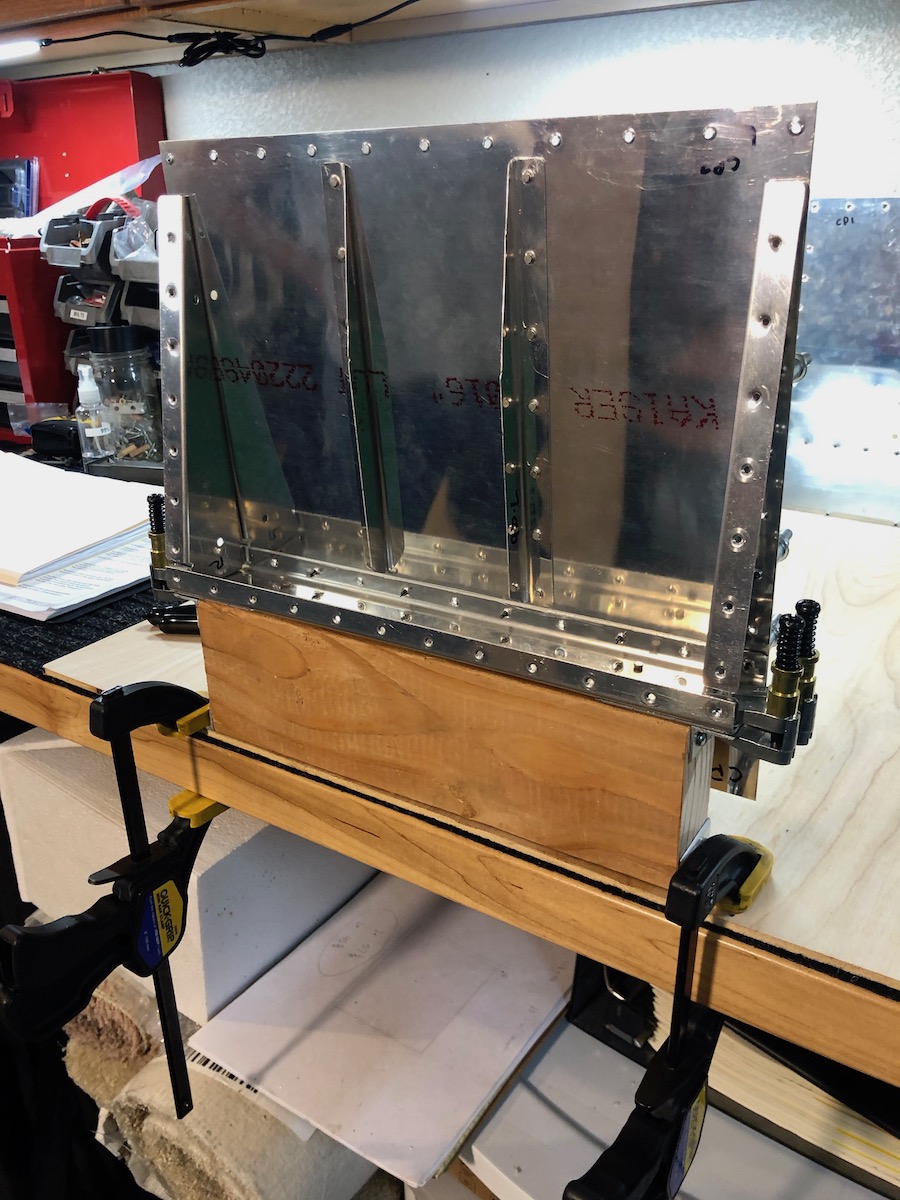
On the plus side, setting the double-blind rivets along the trailing edge went surprisingly well. It was one of the steps I was sure I was going to blow, but with the help of the builder’s guide and a little patience, they ended up looking pretty darn good!
Today we move on to the last step: rolling the leading edge and riveting it. That’s the last one, and short of practicing drilling out some rivets, we’ll be finished.
I promised myself once we finish the practice kit, it’s time to order the empennage!
Here are some shots from our marathon:

