Next up on the shopping spree is another tool order from ATS! This order continues on the short list for the learning project. Here is the detail…
| Part # | Description | Qty | Price | Total |
|---|---|---|---|---|
| 181 | Swivel Flush Rivet Set | 1 | $15.95 | $15.95 |
| 2470 | Back Rivet Set | 1 | $19.95 | $19.95 |
| AEDDS-3 | Spring Back Dimple Die Set 3/32″ | 1 | $40.95 | $40.95 |
| 133KIT | Countersink Kit w/Pilot Cutter | 1 | $46.95 | $46.95 |
| 470-3-1/8 | 1/8″ Rivet Set 3″ Long | 1 | $6.95 | $6.95 |
| MKR | Wiss MetalMaster Aviation Snips (set of 3) | 1 | $49.95 | $49.95 |
| ATSRS-3SD | ATS Pro Super Duty Rivet Squeezer (3″) | 1 | $122.95 | $122.95 |
| Sub | $303.65 | |||
| Tax/Ship | 0 | |||
| Total | $303.65 |
A bit more this time! Also, the price is going up…I suppose that’s to be expected! Building an airplane is not cheap…although it’s cheaper than buying an airplane somebody else has put together!
Here’s the breakdown of the tools and what they do…
Swivel Flush Rivet Set
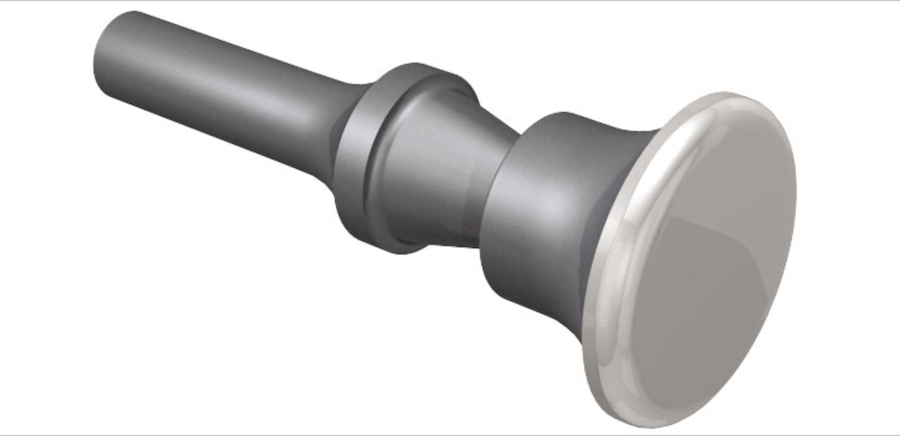
So, the rivet set is an attachment that goes into the rivet gun. It’s the business end that pushes down on the front of the rivet. The swivel flush rivet set is nice because there will be times when you can’t line up your rivet gun exactly in line with the rivet. When that happens, somethimes the side of the rivet set touches the aircraft skin and makes a depression (a “smile). The swivel features allows you to drive the rivet at an off-angle and not make smiles.
Back Rivet Set
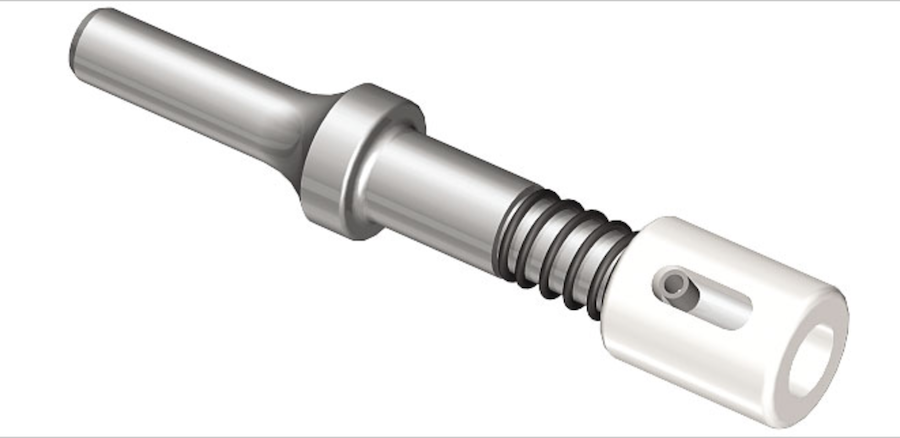
The Back Rivet Set does baseically what it’s namesake suggests…it rivets from the “back” side. Sometimes it’s easier to drive rivets by bucking the front of the rivet and using the gun on the back side. “Bucking” is part of the process of riveting where you place a solid, heavy piece of metal against the side of the rivet you’re not driving. This provides push back against the rivet gun and smooshes the rivet properly. Back riveting can be faster too, by lying a part with lots of rivets down on a flat piece of steel…which becomes your bucking bar! This allows “on-handed” riveting. Usually either you’d have to hold the bucking bar on the back of the rivet yourself, or have a helper do so.
Spring Back Dimple Die set
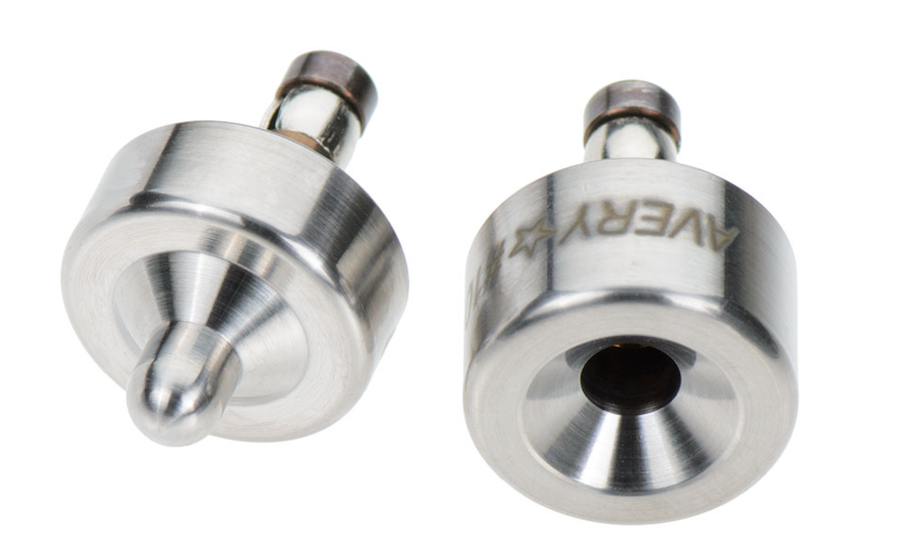
One of the things we have to do before we rivet is dimple the holes in the skin. Dimpling makes the hole countersunk so that when we rivet, the tops of the rivets are flush with the skin. This makes the skin smooth and allows laminar flow across it. It the rivets had tops which protruded into the airflow, it would cause a slight disruption in the airflow over the surface, which would reduce lift and speed. This is one thing that makes the Vans kits very fast! Our RV-7 has a max speed of 210 knots, or 240 mph!
The dies need to press their dimple into the skin. For that there are a couple differnet tools we can use. more on that soon.
Countersink with pilot cutter
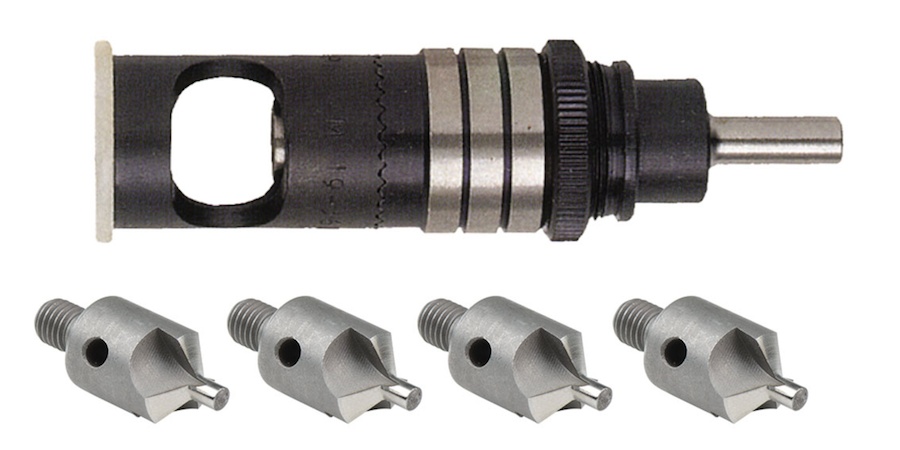
This is a drill attachment for making very nice countersunk holes. The kit from ATS has 4 cutters, of which 2 I need. Still, the cost for the kit was a deal, so I’ll gladly put aside the 2 pilot bits I don’t need. Who knows? Maybe I’ll need them down the road!
Aviation Snips
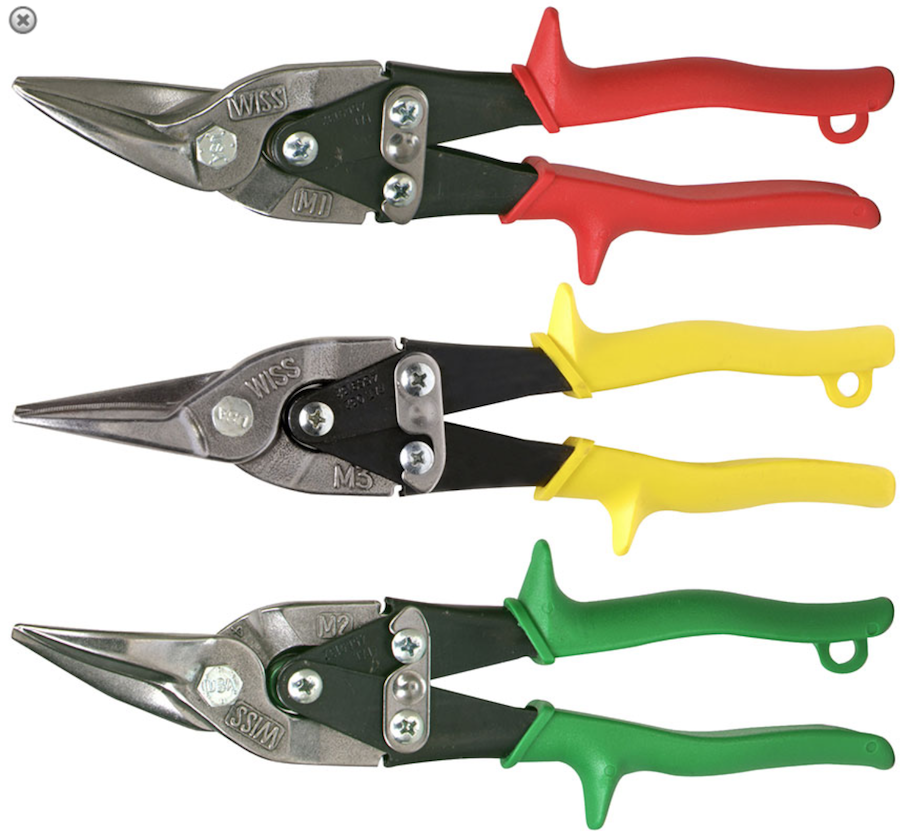
Heav-duty “tin snips” for cutting aircraft aluminum. There will be a lot of trimming of pieces. The kit comes with left-side, right-side and center snips. It’s a pretty good deal, I think. I discovered that ACE Hardware has these, although a bit more expensive, so I got to see what they look like. They’re pretty well built, and are a very common name in the aircraft building business.
Rivet Squeezer
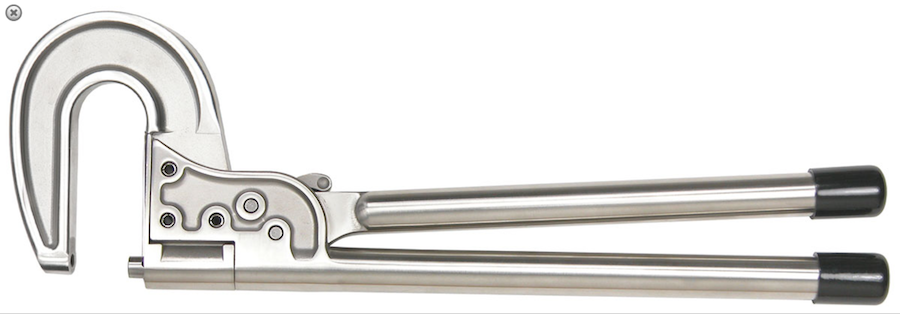
Because of the different angles from which the metal parts have to mate, there will be some times where it’s just not possible to get a rivet gun and a bucking bar on a rivet. In these cases, there is a hand tool that can squeeze the rivet for us, thus installing it. This set is new at ATS, and looks pretty sharp..and the price wasn’t bad. This uses the same rivet sets that the pneumatic riveter uses, which is nice.
Some cool videos
Here are some cool videos of how these tools are used during the airplane-building process!
