
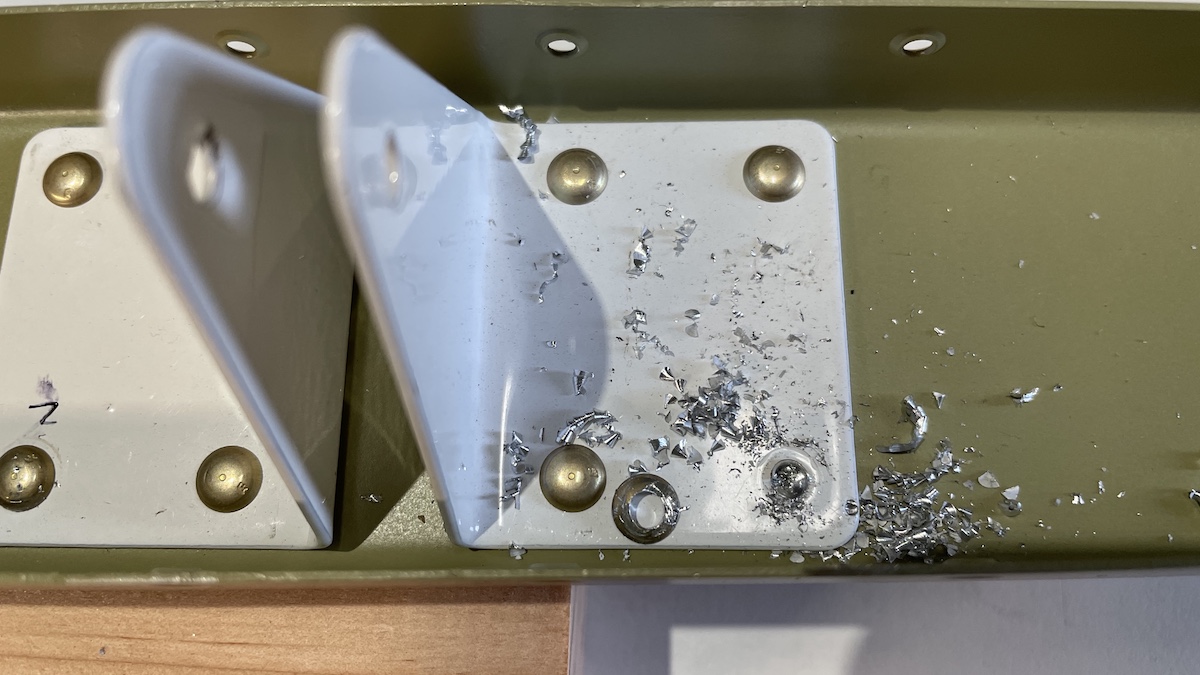
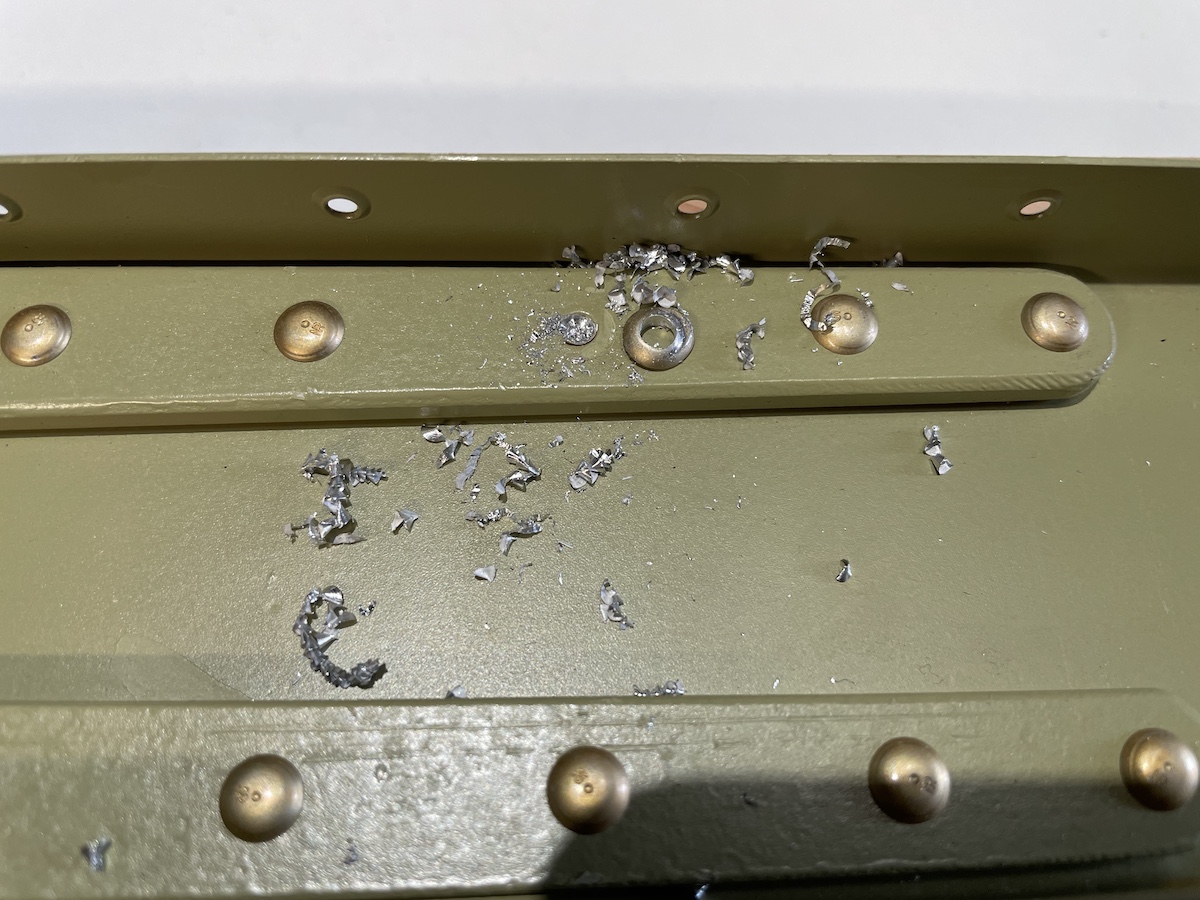
I’m quite happy that after completing the reveting on the rear spar, there were only 3 rivets that I wanted to replace…2 of them for sure, and 1 that probably could have stayed. I ordered a rivet removal tool, which is specifically for universal rivets (round heads). It was another good buy!
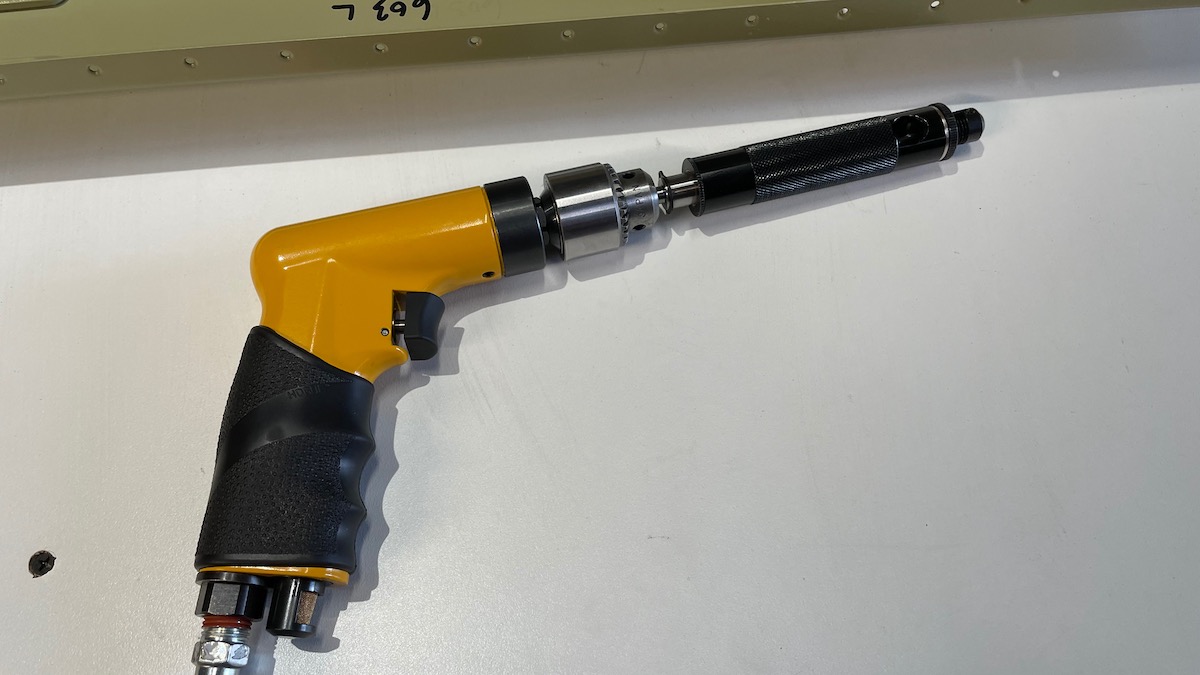
The tool attaches to a drill and has a drill bit which travels through the center. A spring keeps it retracted. The end of the tool has a recess that allows it to fit completely over the rivet head, and the drill bit travels through a hole in the end, thus keeping it centered on the rivet. Without this arrangement, it’d be very hard to drill perfectly in the center of the rivet (given the sloping head).
Drilling in the exact center is important, so that you don’t accidently drill and deform the underlying rivet hole. You can set the depth the drill bit extends through the end of the tool as well. The goal is to drill just beyond the surface of the skin. You then use a punch in the hole you just drill to snap off the head of the rivet, then punch out the bottom.
Front Spar
On the front spar, we couldn’t use the pneumatic squeezer for the bulk of the rivets since they sat behind a rather tall set of angle brackets. So, I broke out the rivet gun and bucking bar, and went old school for most of them! They turned out better than I thought they would given I’ve been spoiled by using the pneumatic squeezer for most the riveting of the spars.